WHERE THE TINY IS NOW + OUR NEXT ADVENTURE (A TINY FIXER UPPER ON LAND)

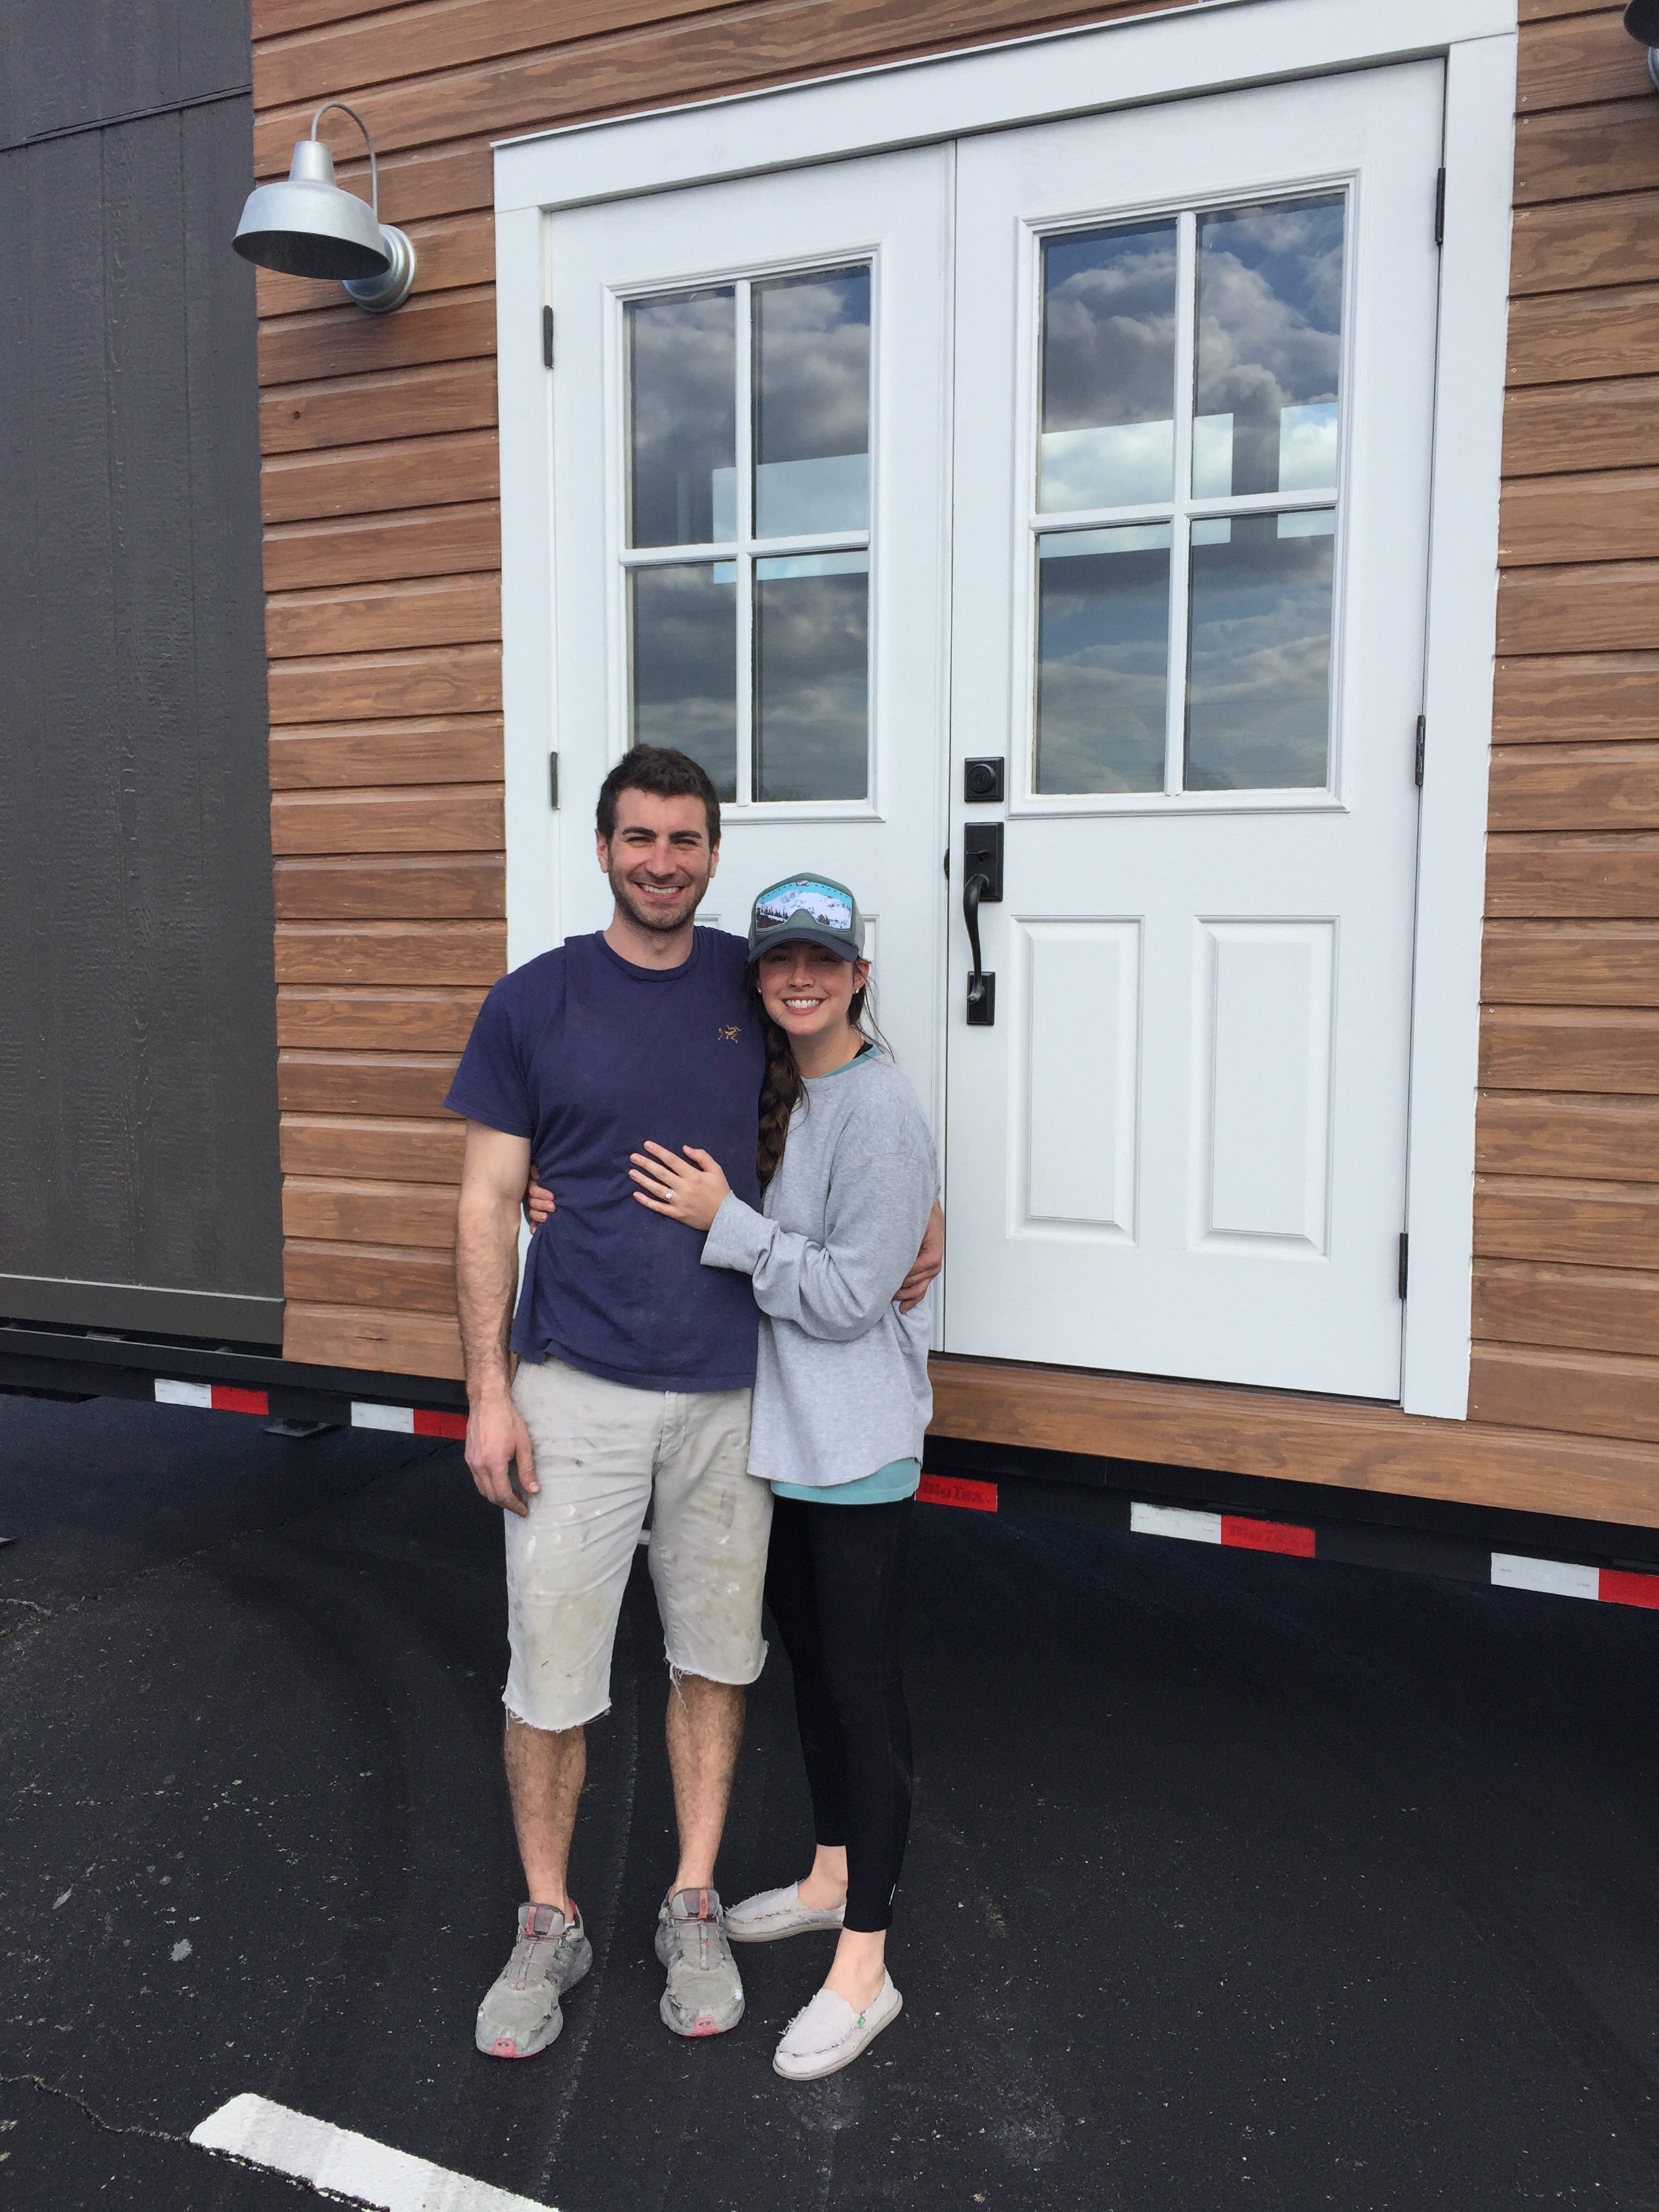
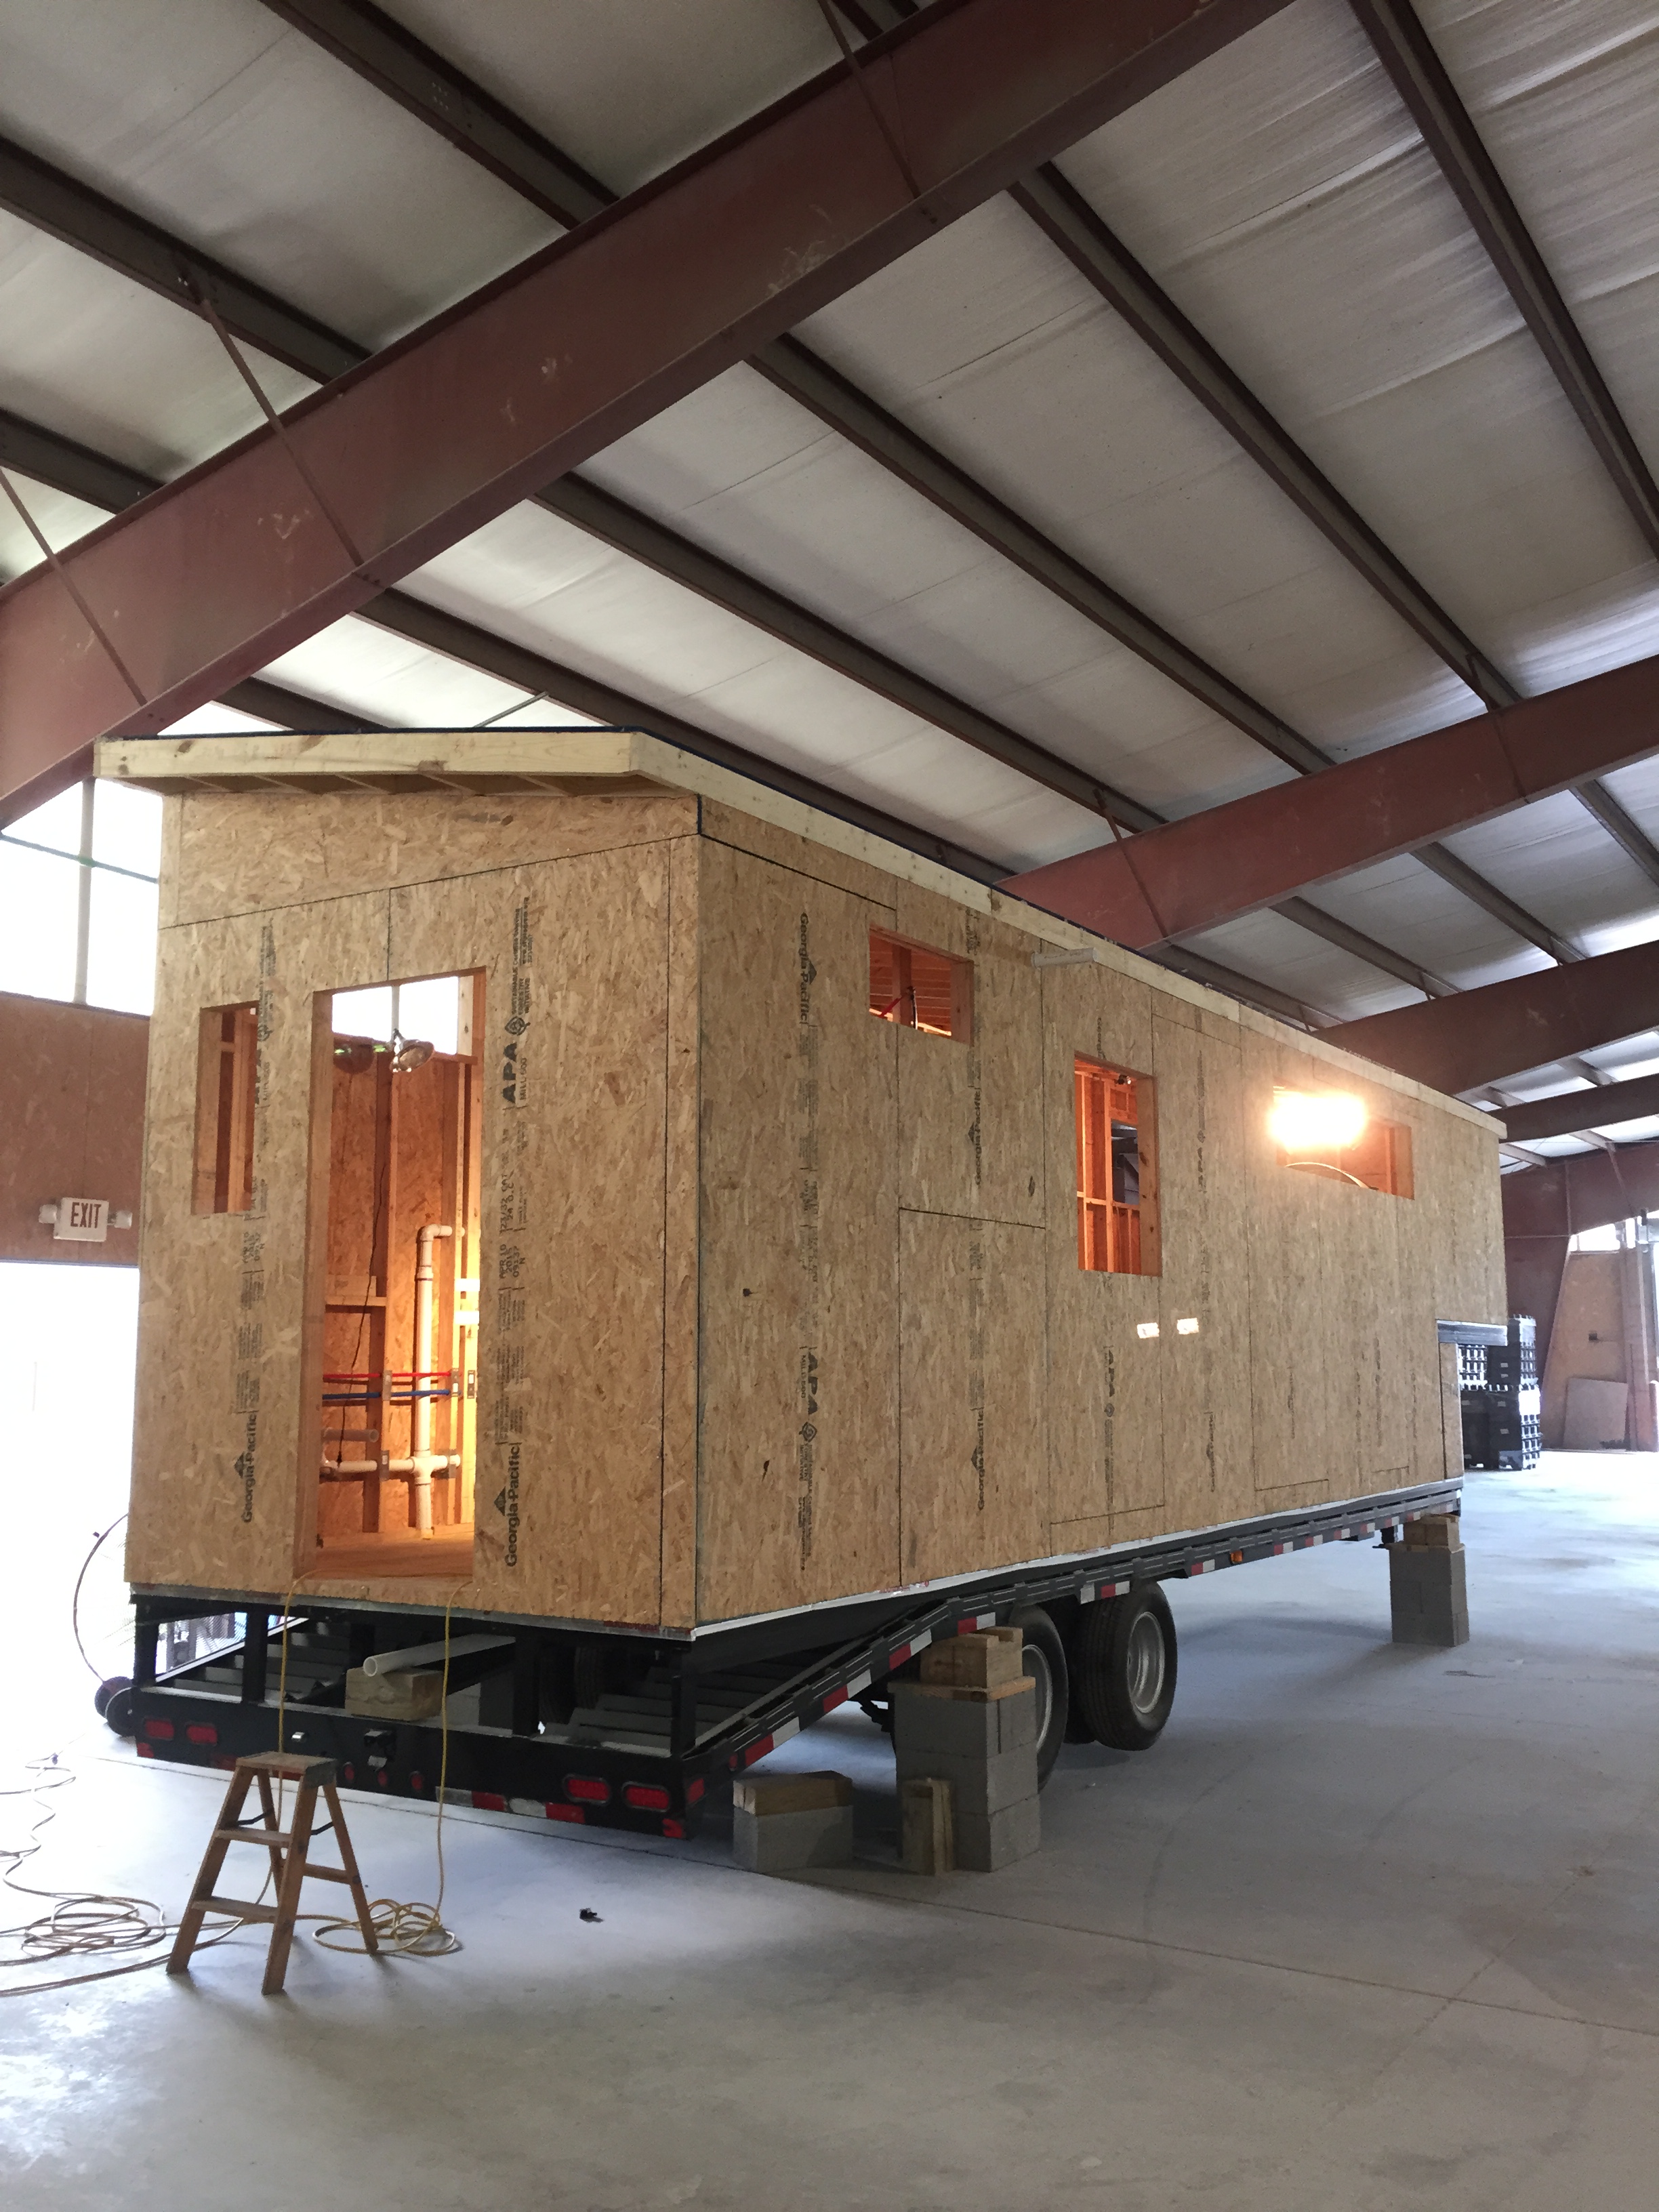
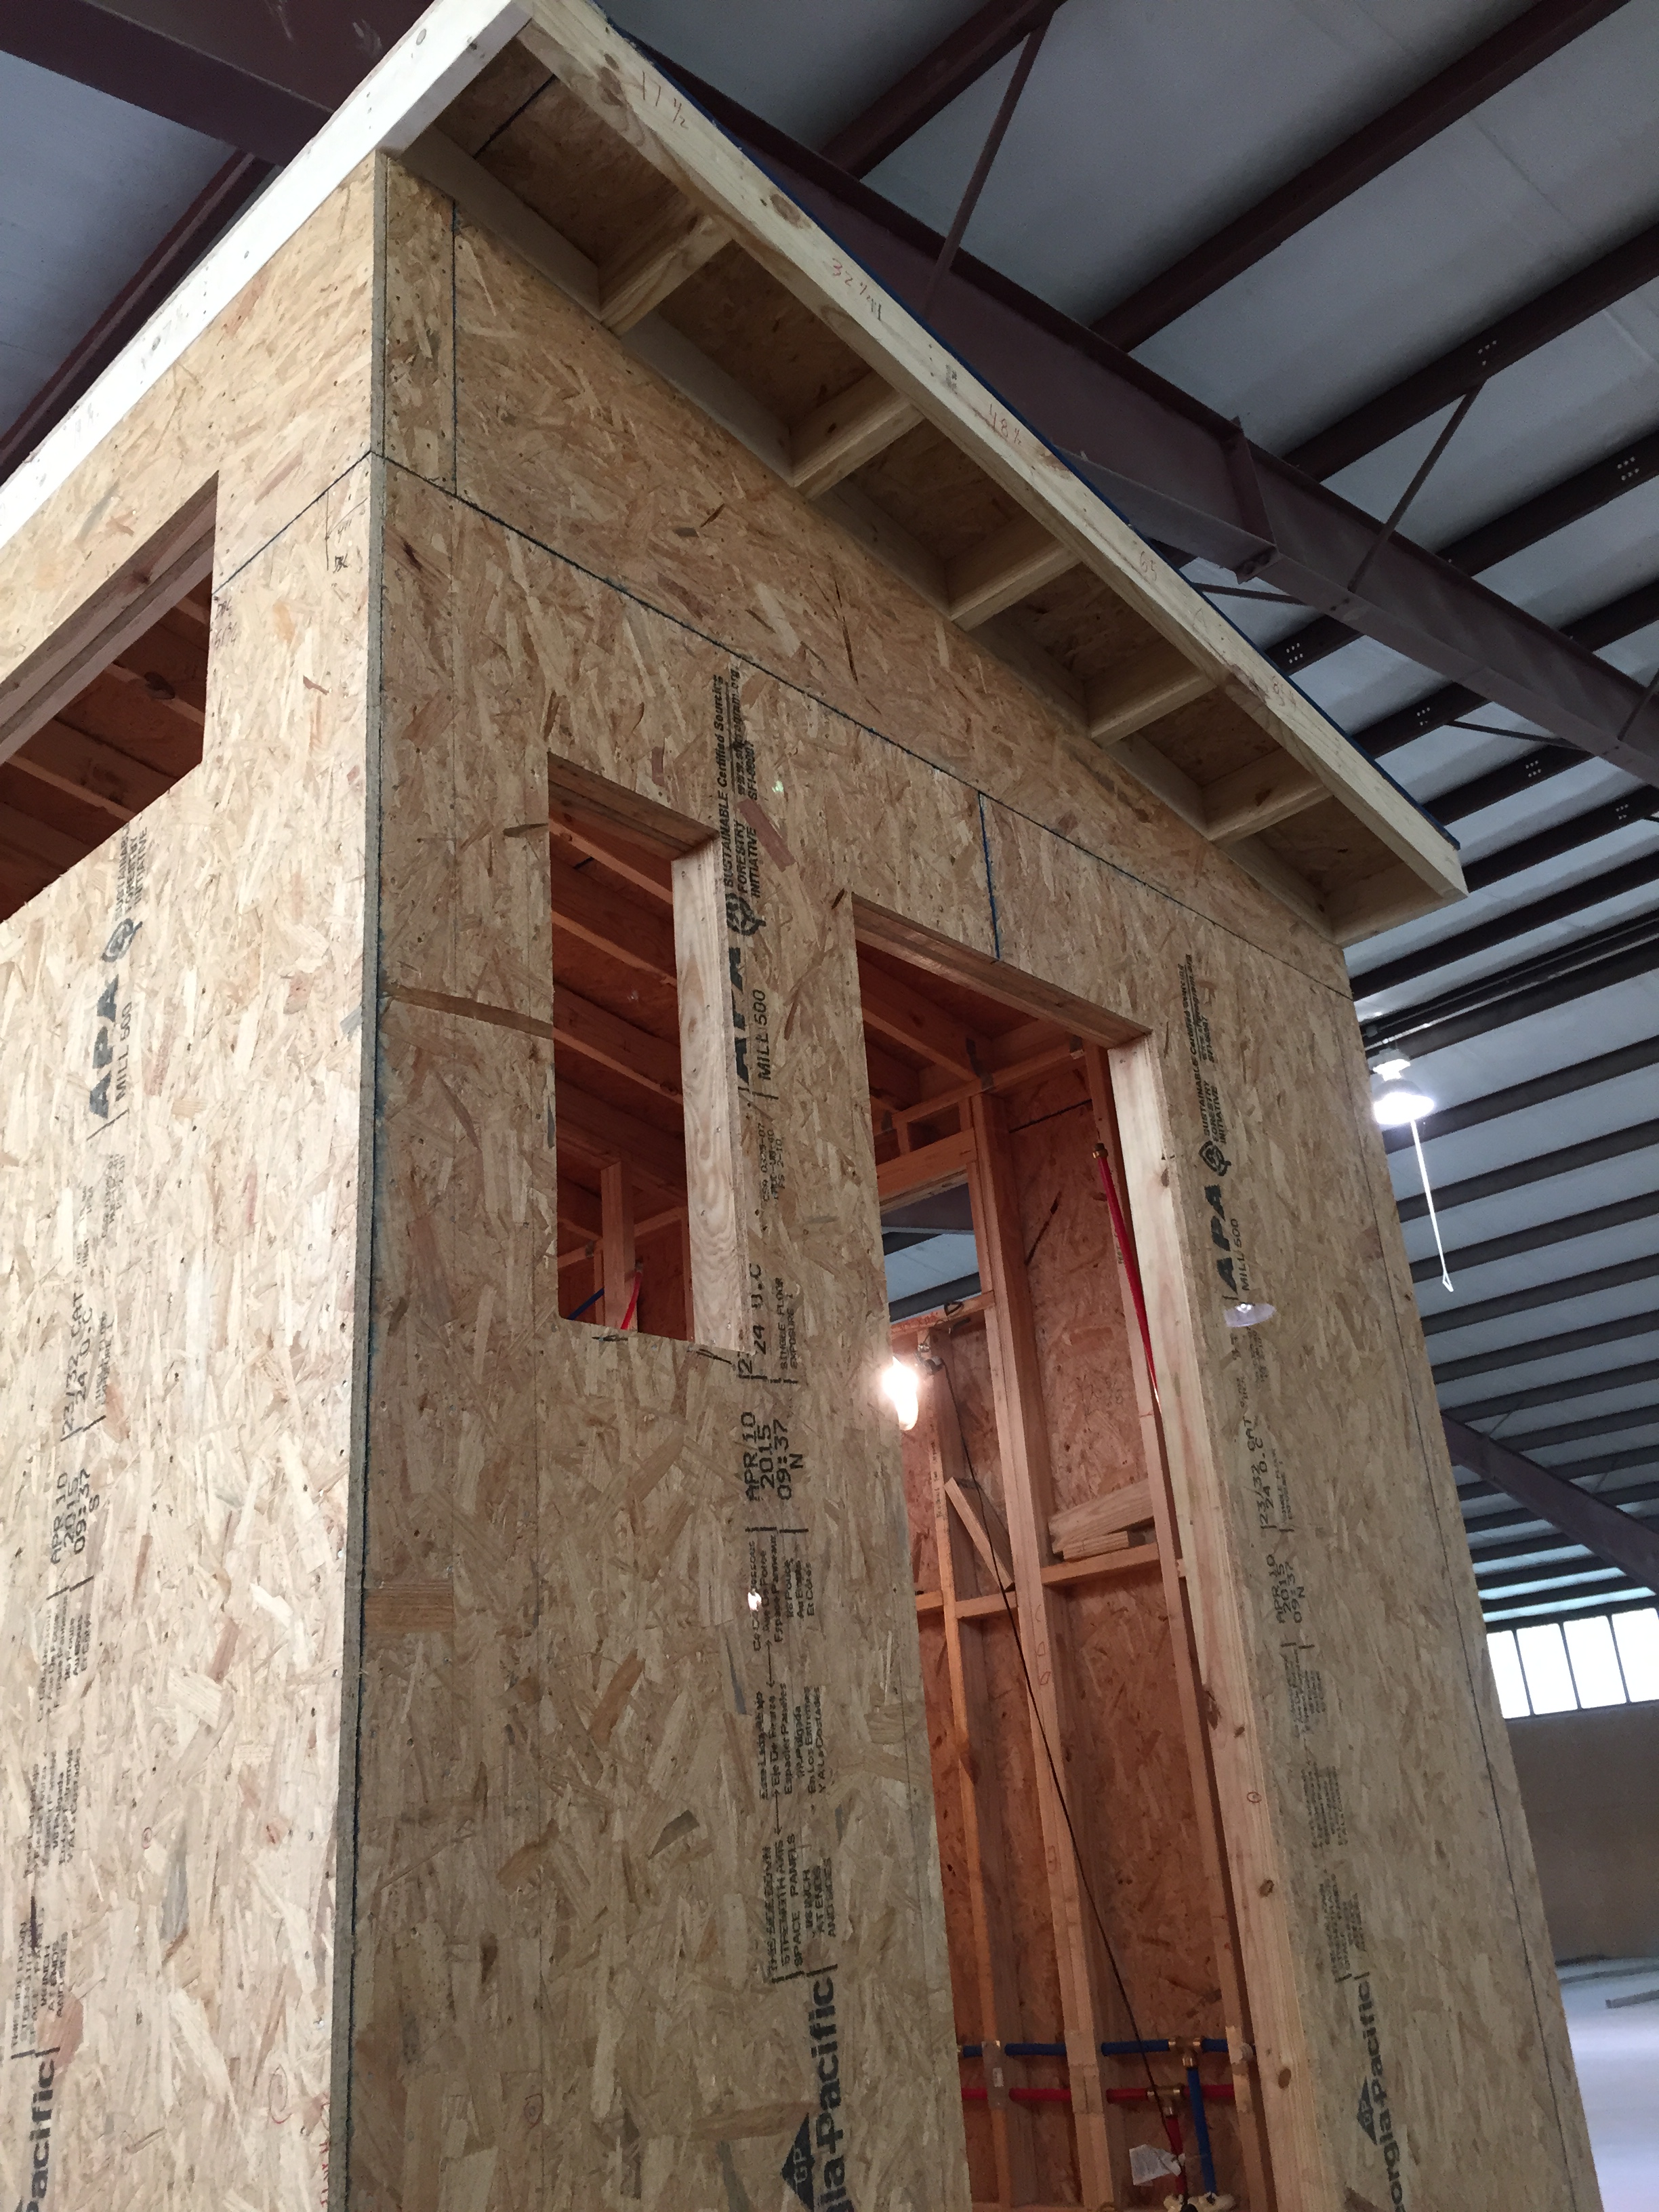
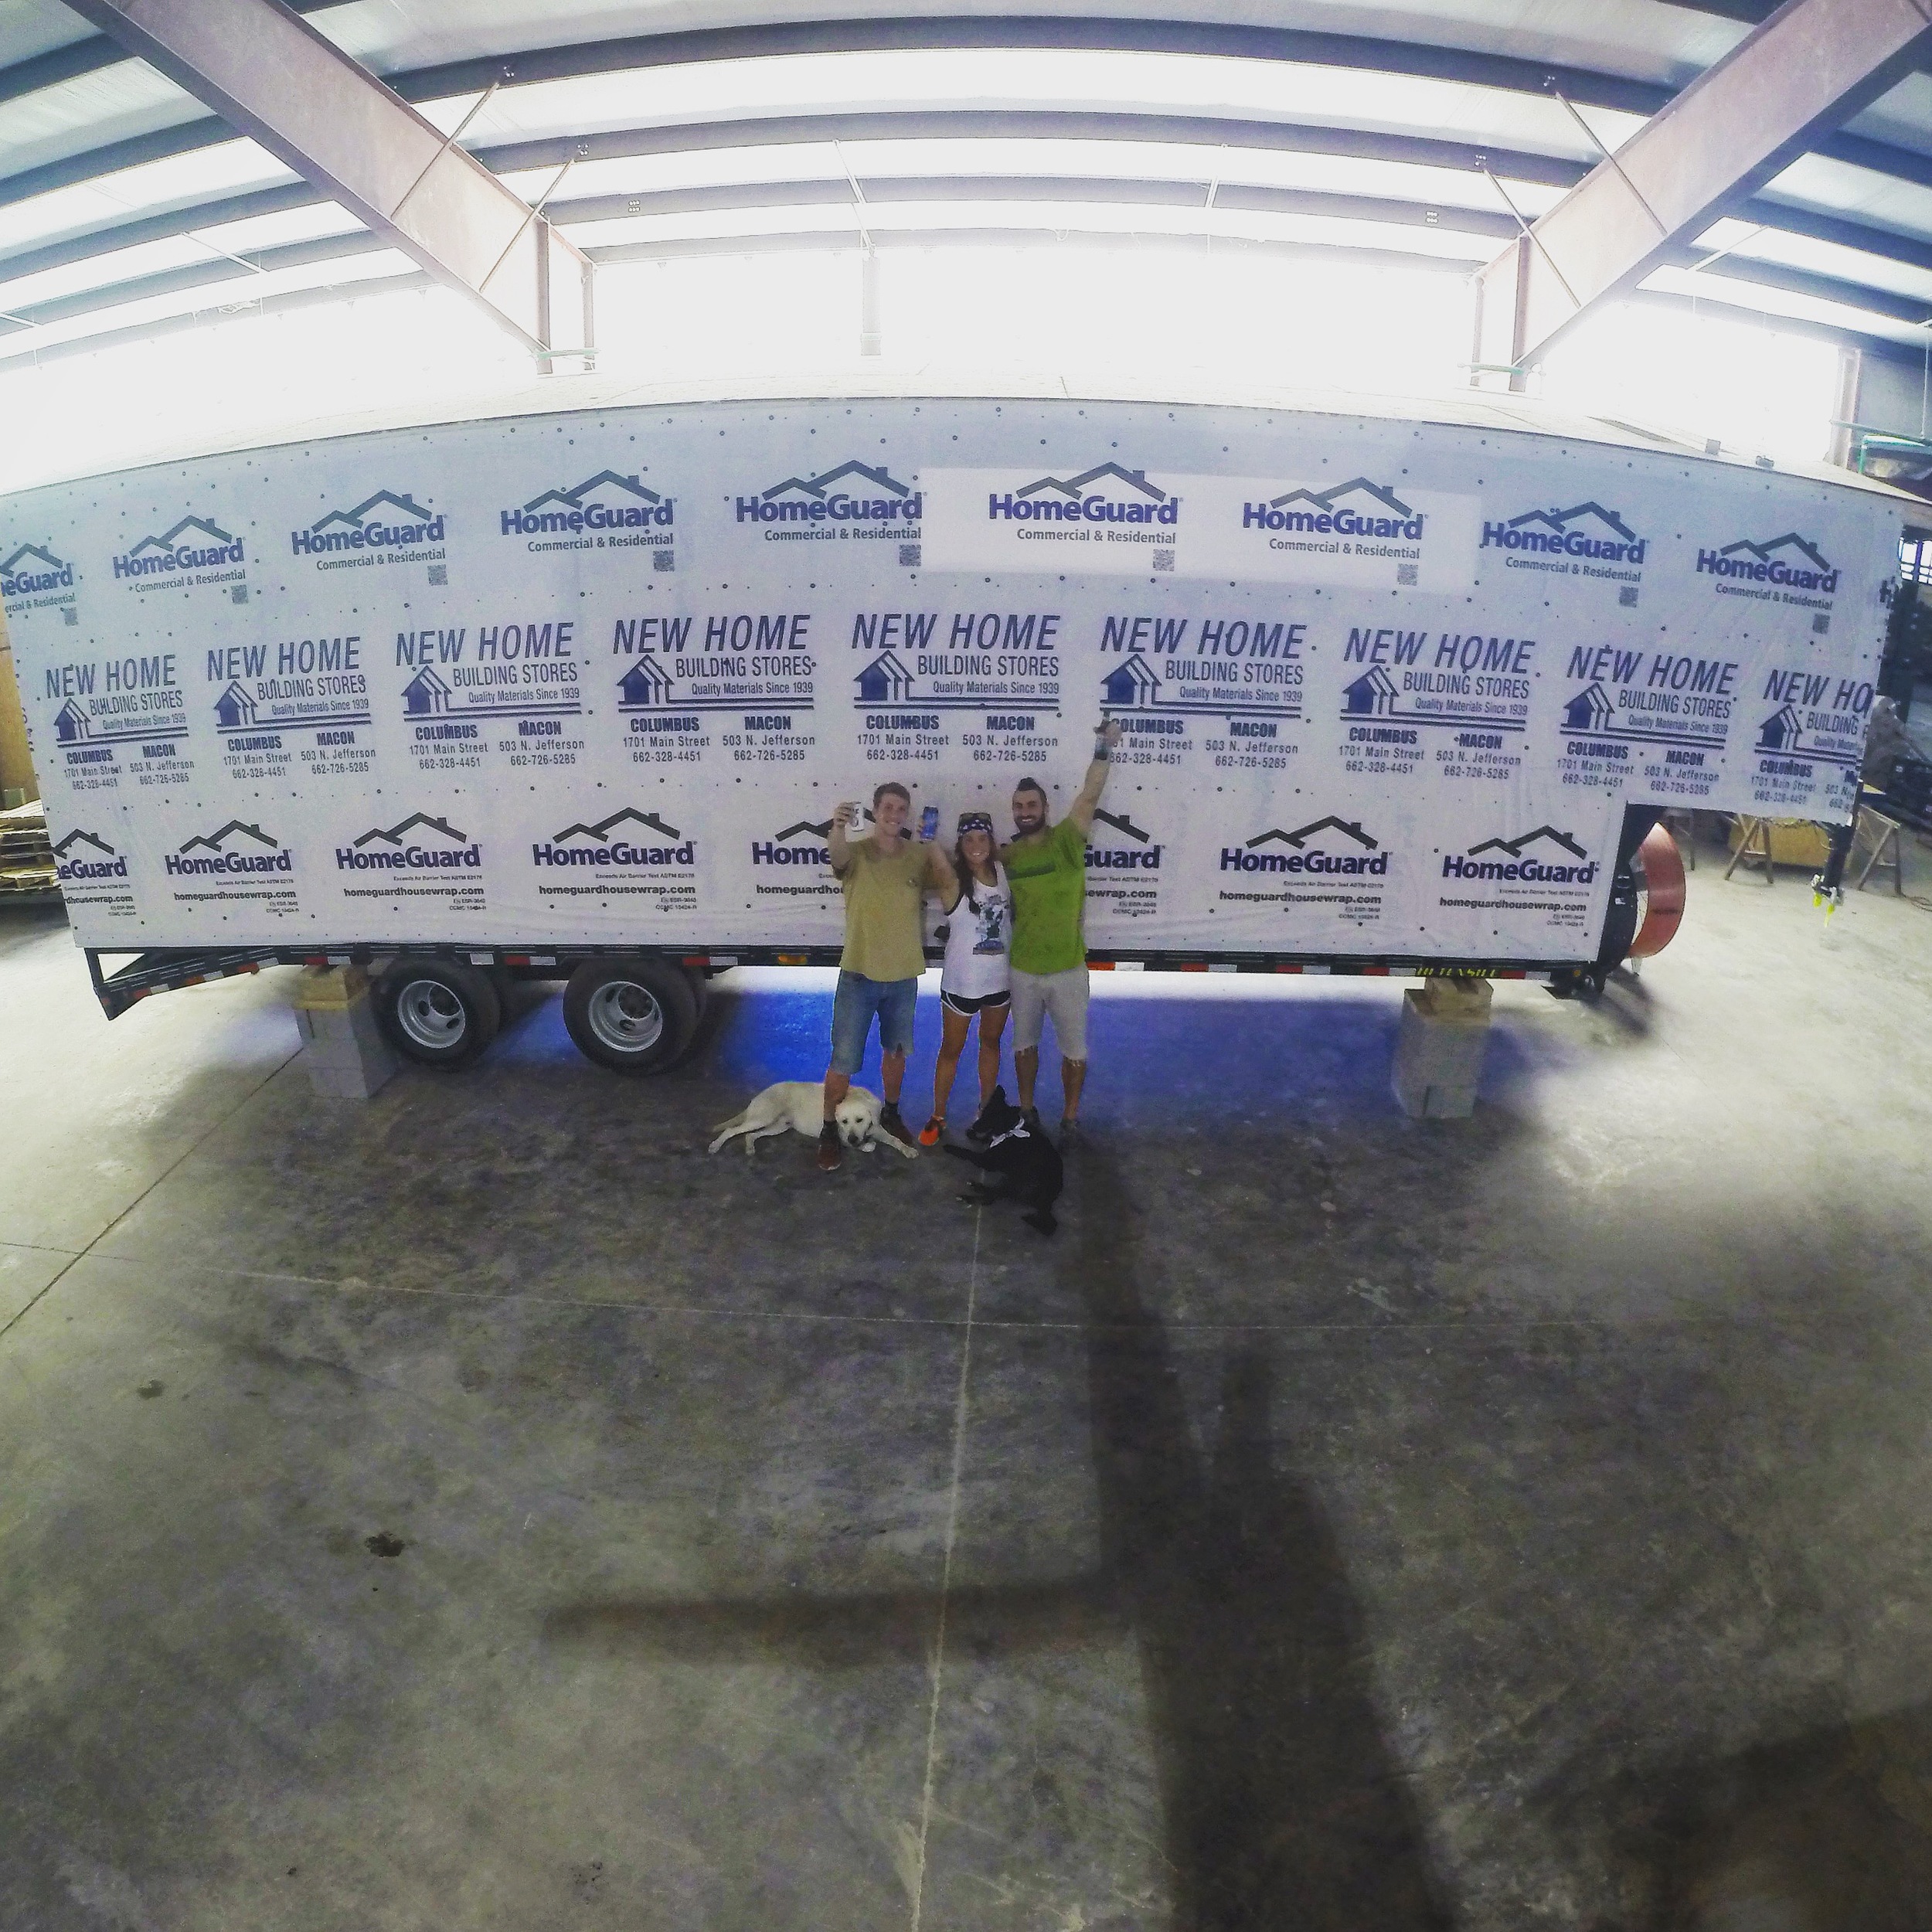
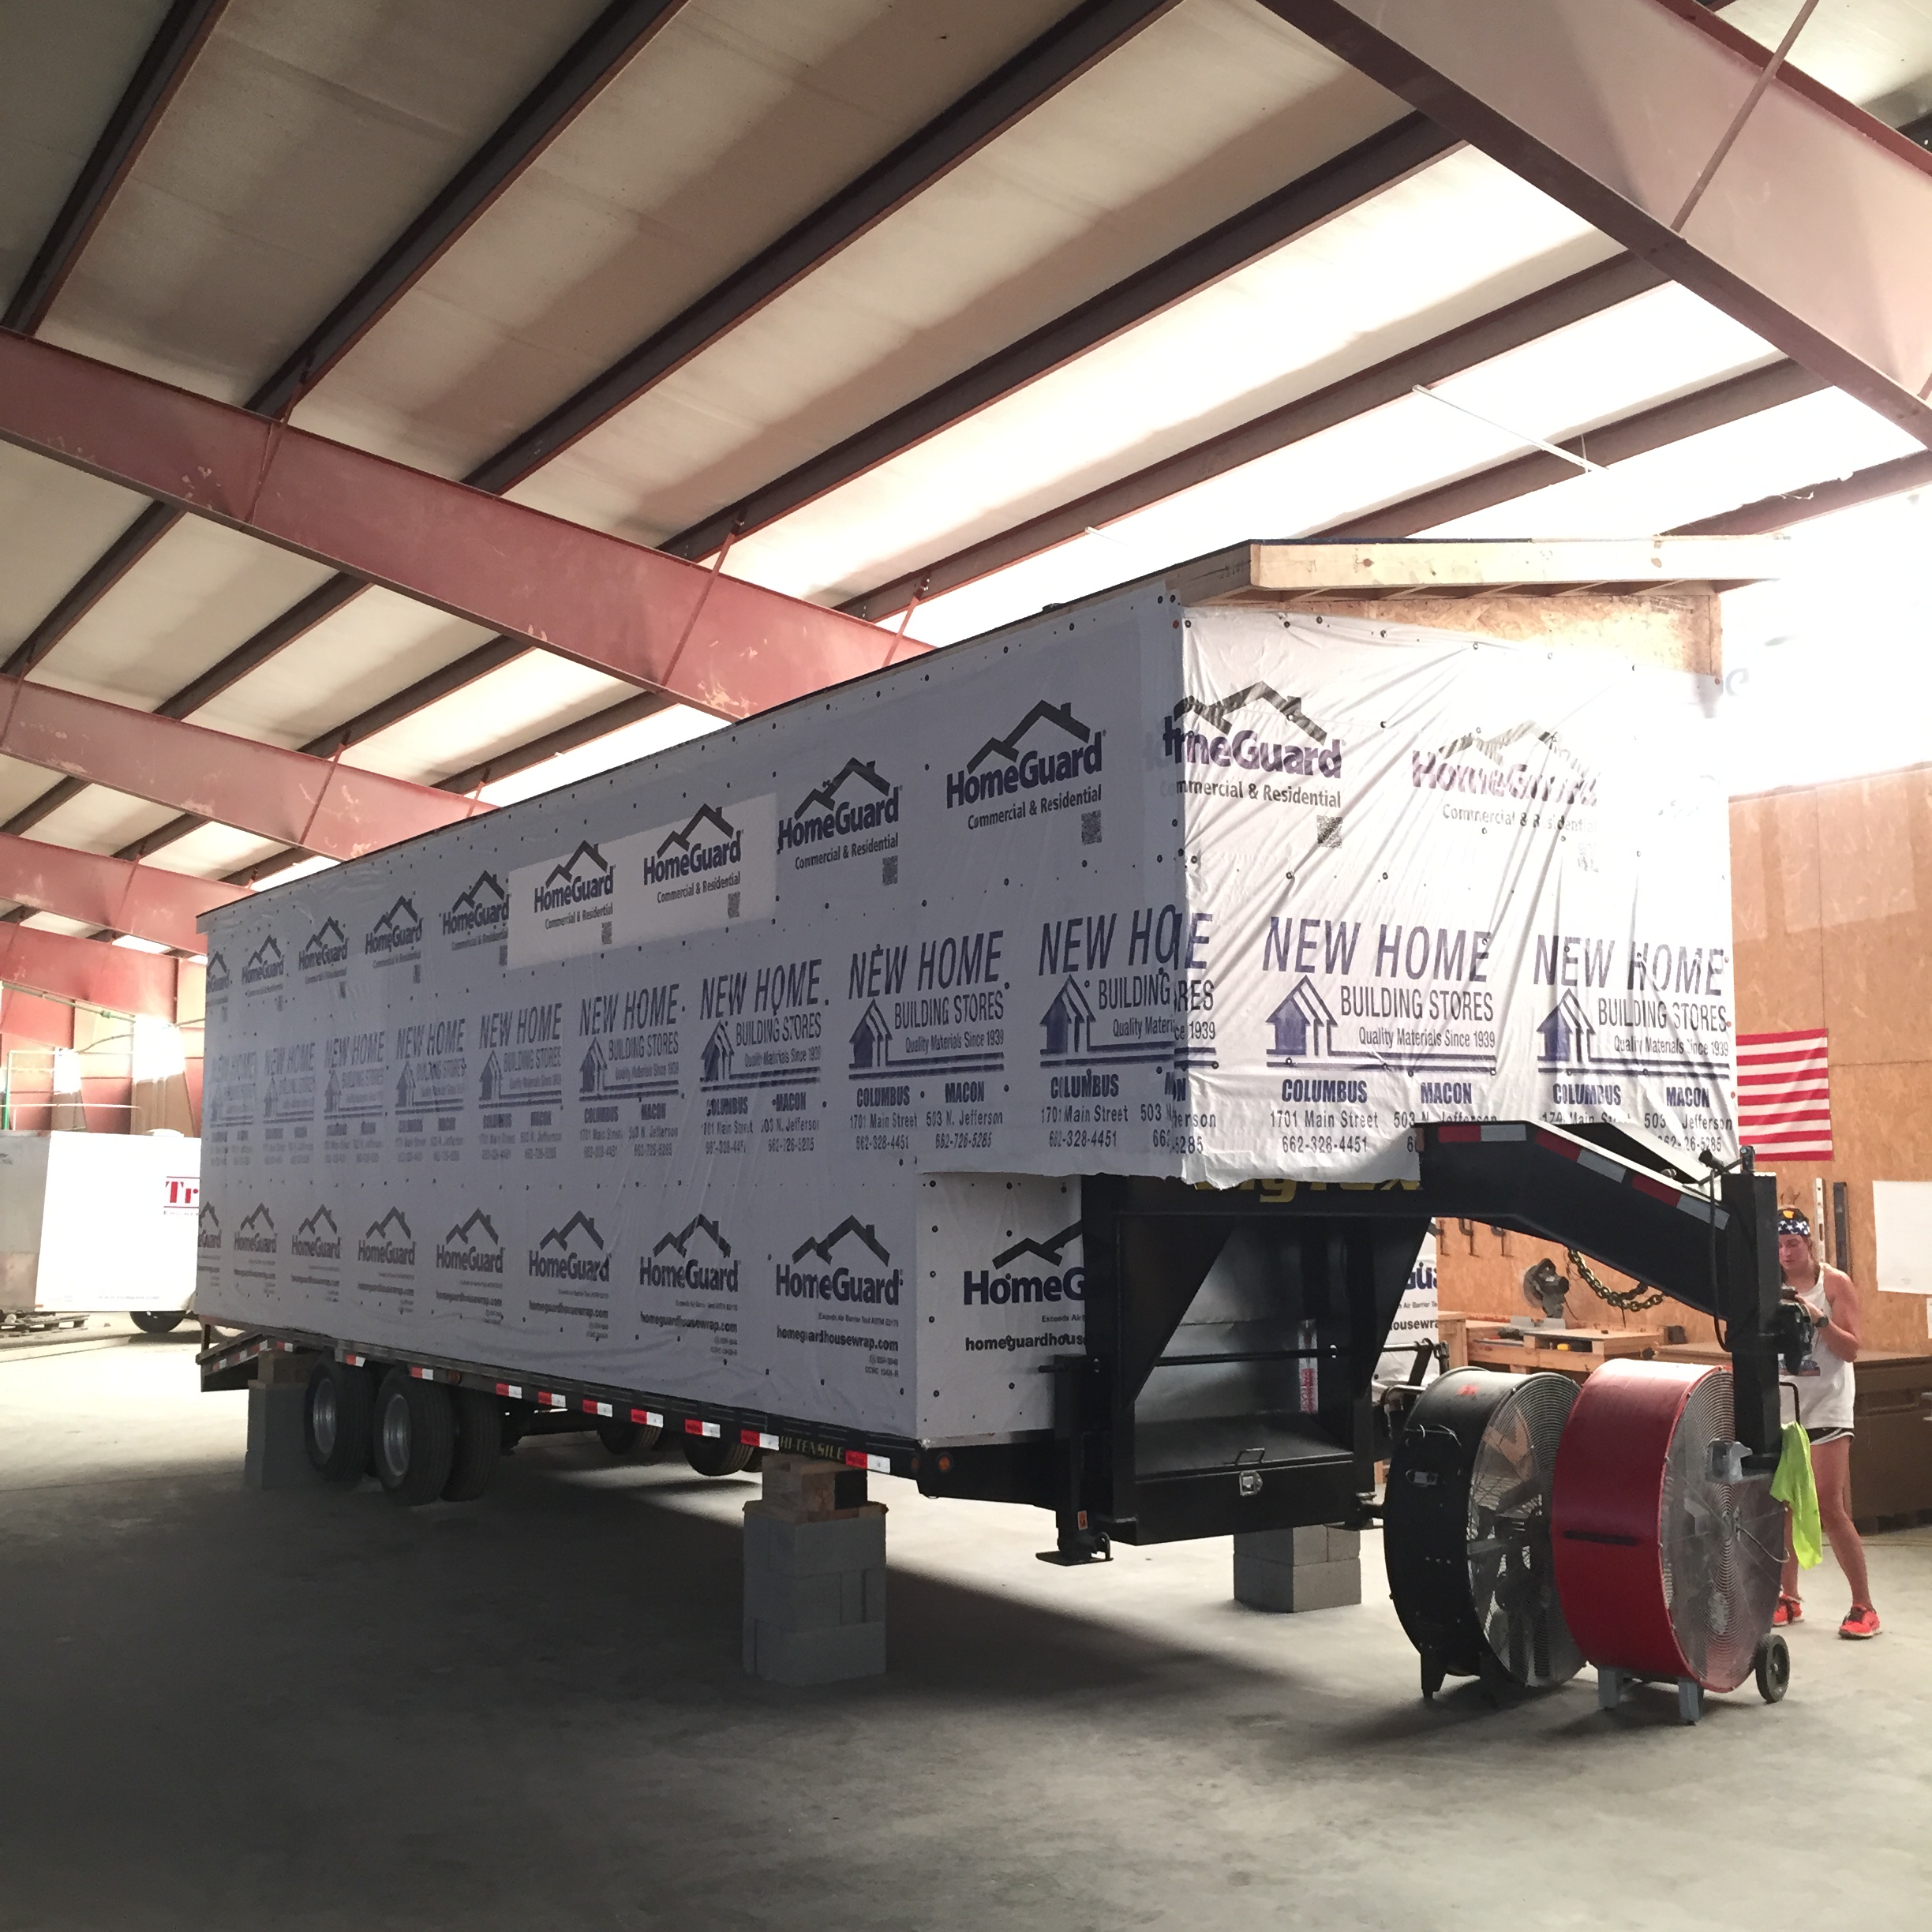
Hiiii friends! It's been a hot second since we've written a post, but I'm so glad we're reconnecting to share some really cool new with you. Since we last posted, we've been happily living in western Colorado in our tiny house which has been SO good to us. For those of you that are new around here, Brian and I (Skyler) worked on/lived in our tiny from 2014 - 2017 and it was nothing short of amazing. If you're reading this, you're probably thinking of going tiny, have gone tiny, or are interested in why people do go tiny. Well, everyone has their ideas + goals + reasons for going tiny and our main goal was financial freedom.

Living in the tiny house allowed for A LOT of things to happen -- the ability for us to move west (to Grand Junction, CO where we currently reside), the opportunity for me to leave corporate America and go full-time with my passion and start-up, SugarSky,  the ability for us to purchase a camper to travel anywhere for vacation (shoutout to Four Wheel Campers)... and now that we've sold the tiny (I know, I know, more on that in a sec), the financial freedom for us to purchase our own house and purchase a fixer upper in downtown. Though we were sad to part with the Wandering On Wheels Tiny for so many reasons, it really fulfilled it's goal in our lives and for that we couldn't be more thankful. We want to be clear that going tiny afforded us so much opportunity and, though seemingly short-lived, it (plus the power of the Lord + prayer from family, friends, etc.) has given us the means to take next big steps in life. We could not be more thankful.

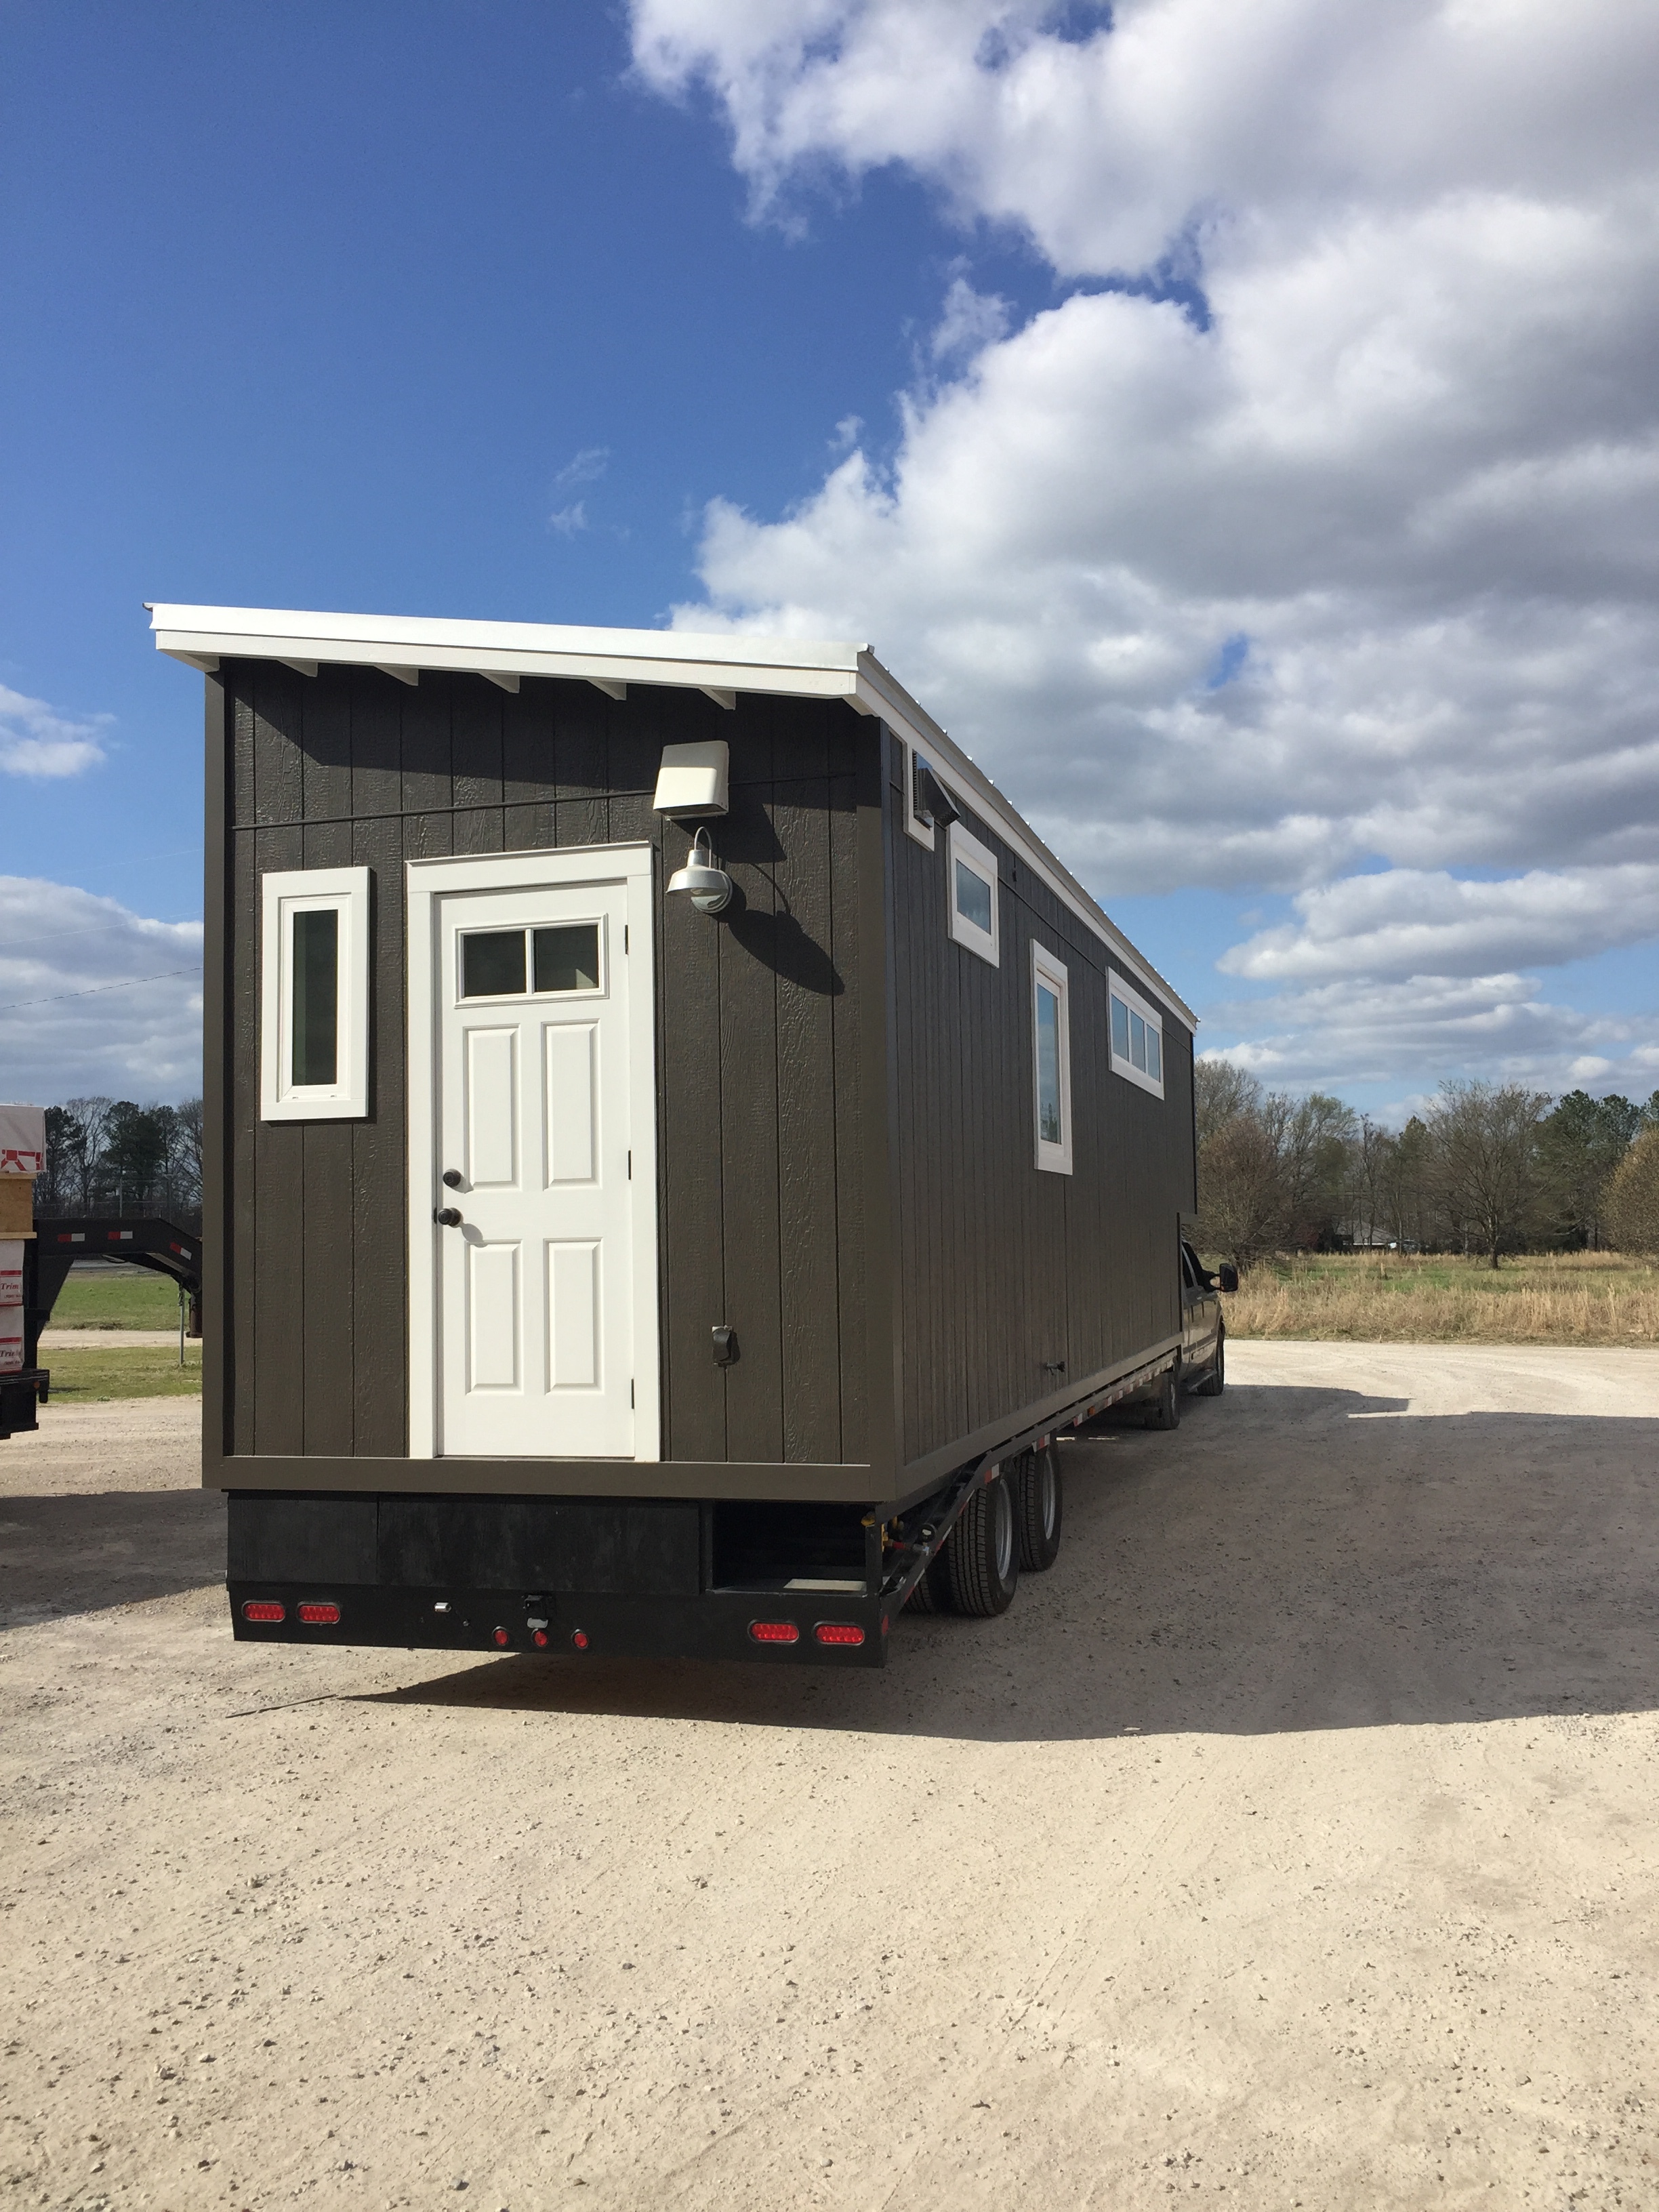
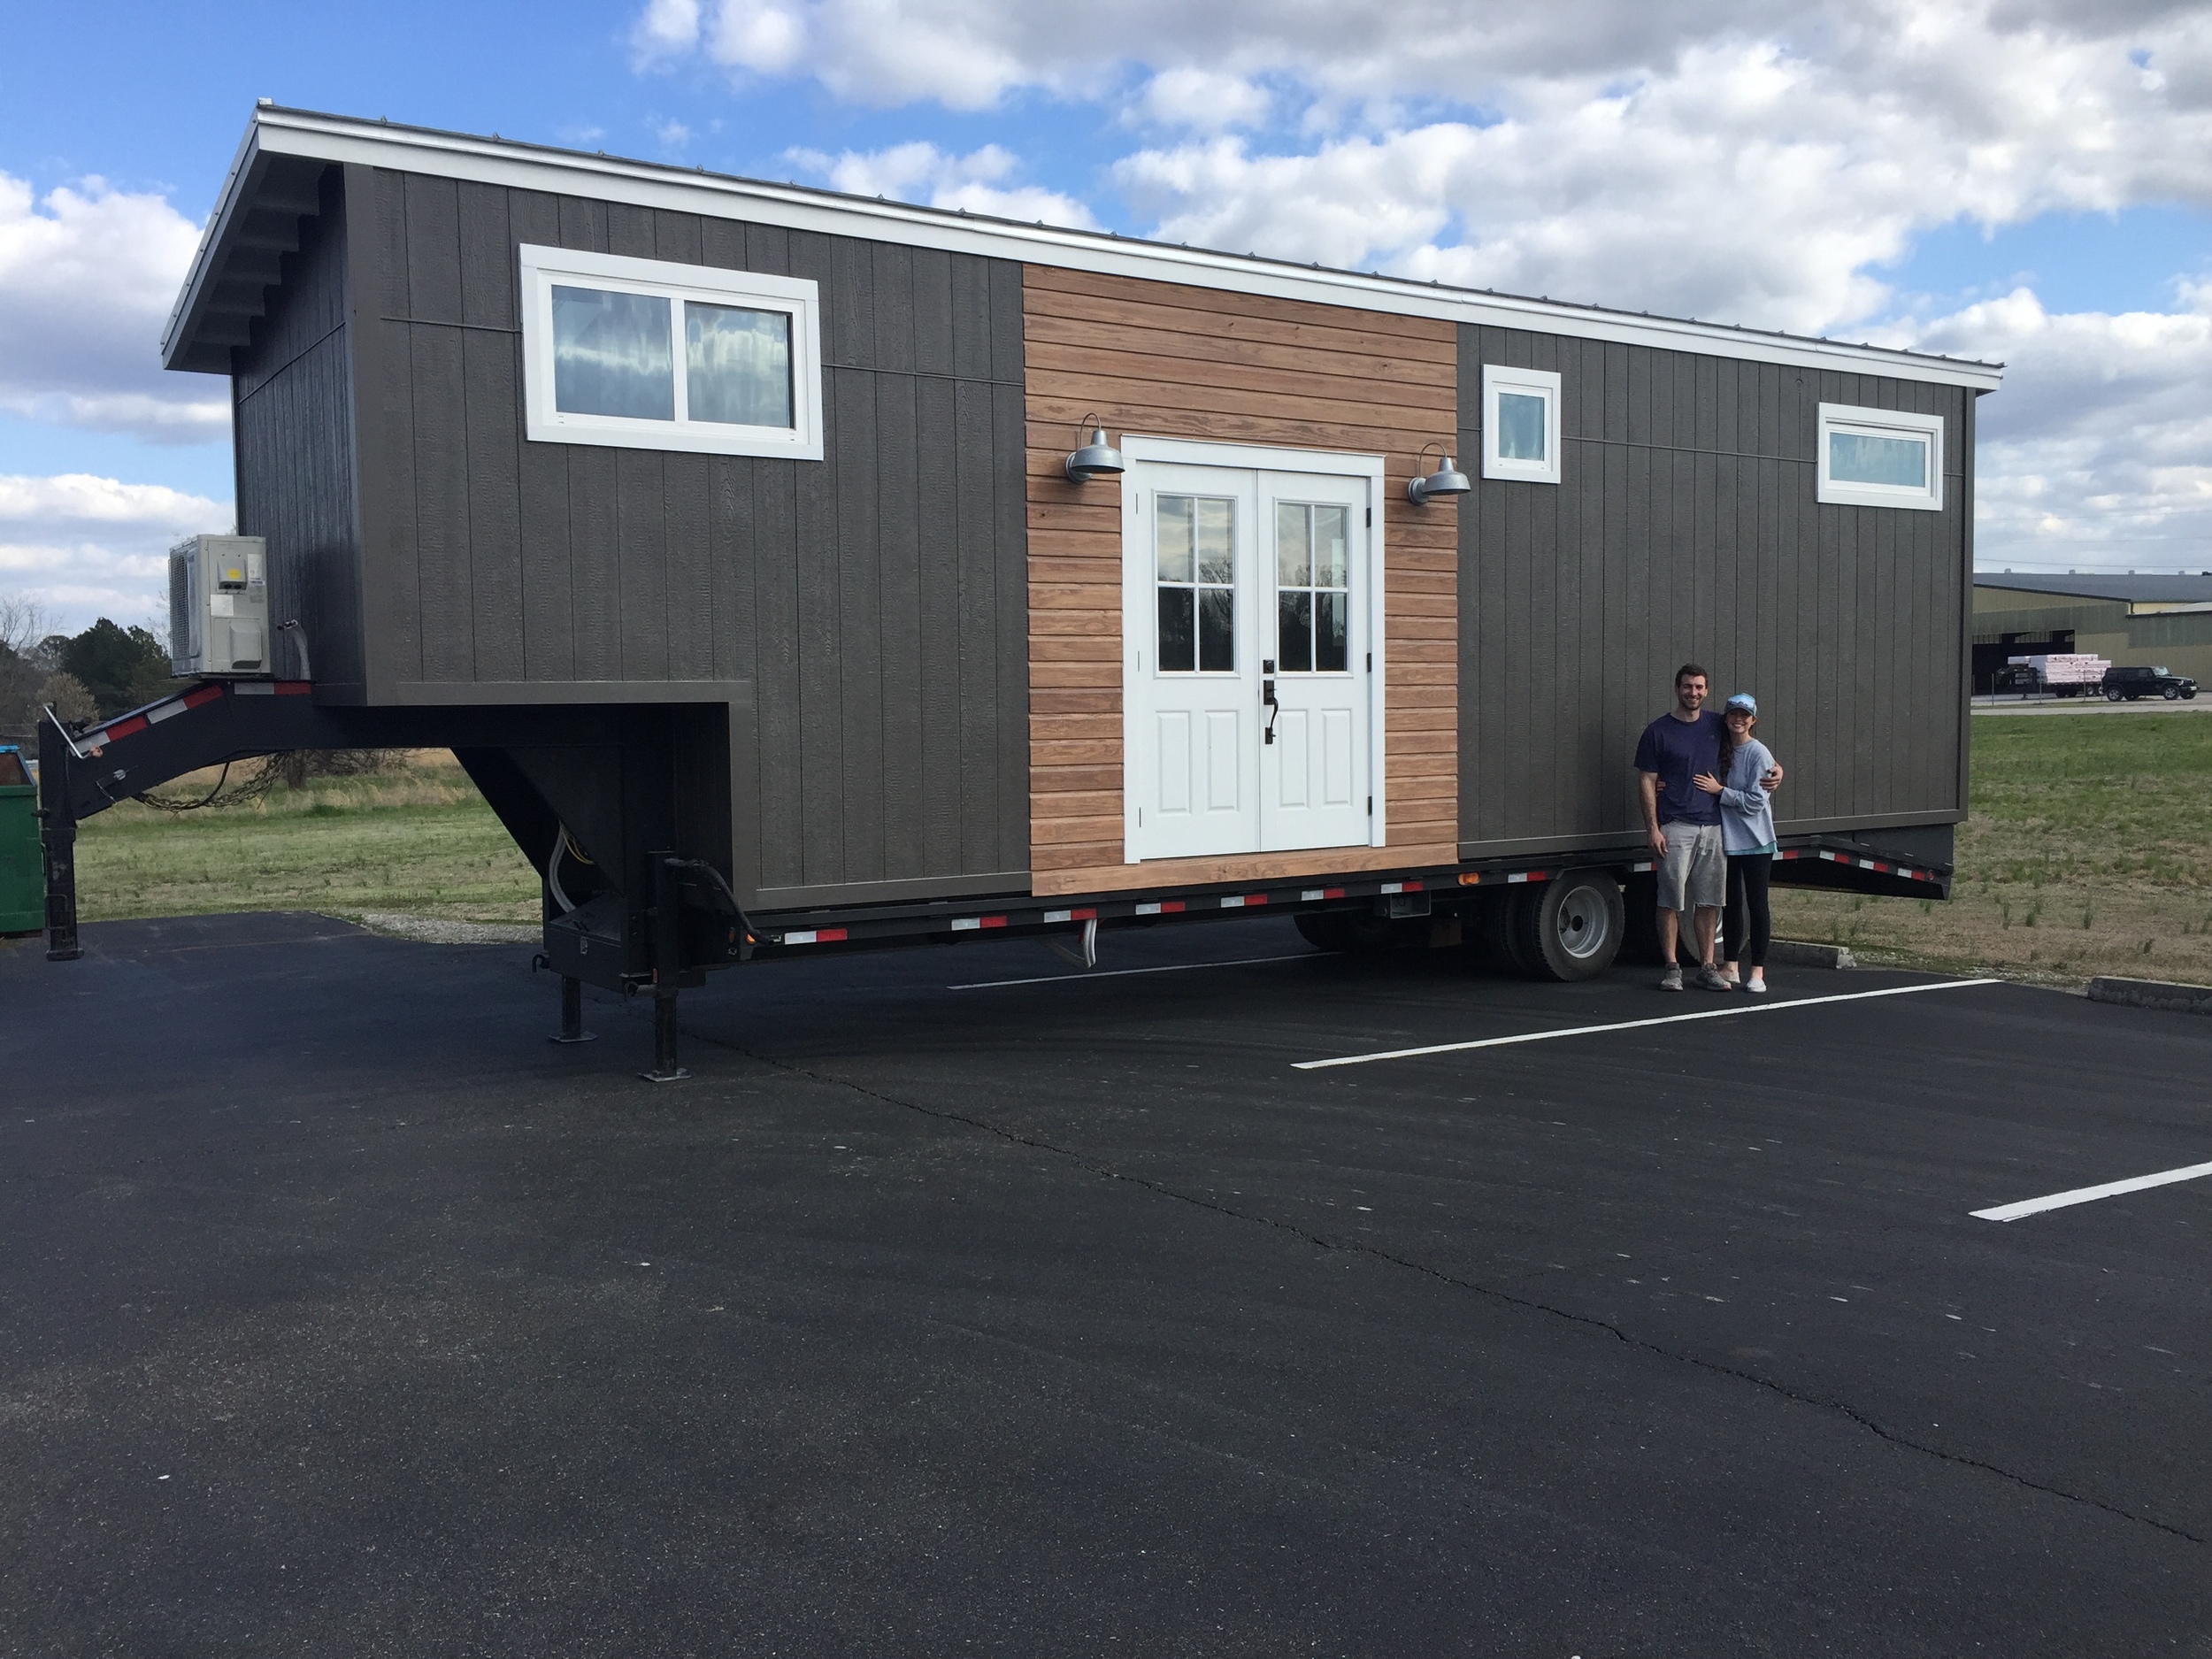
so where is the tiny now?!

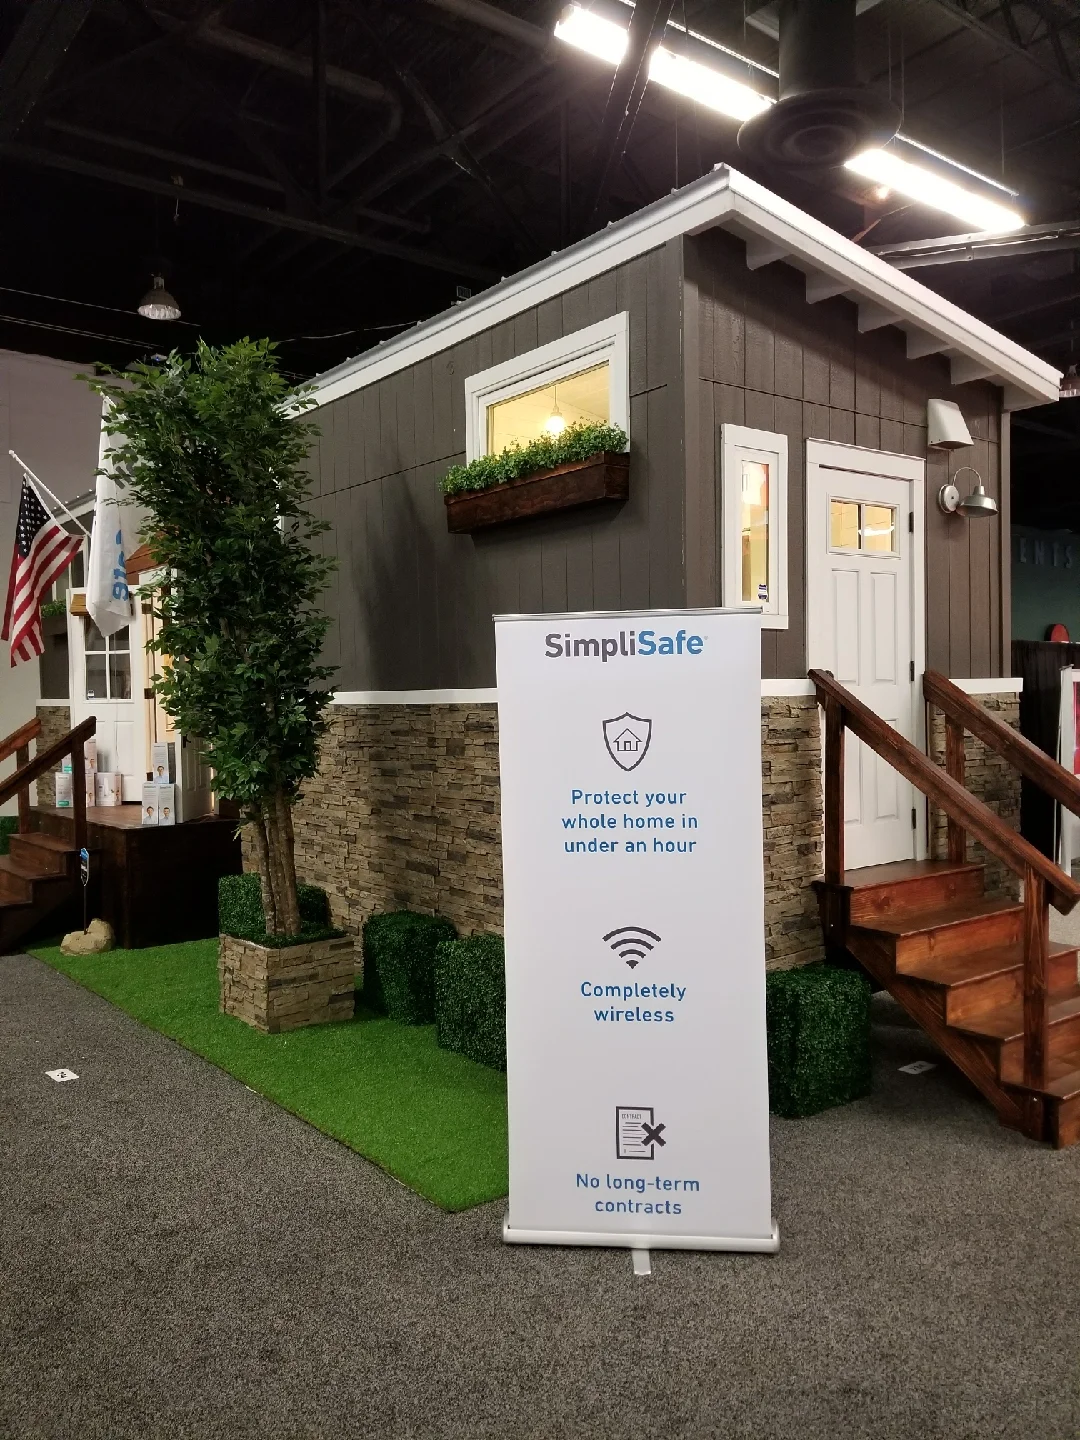
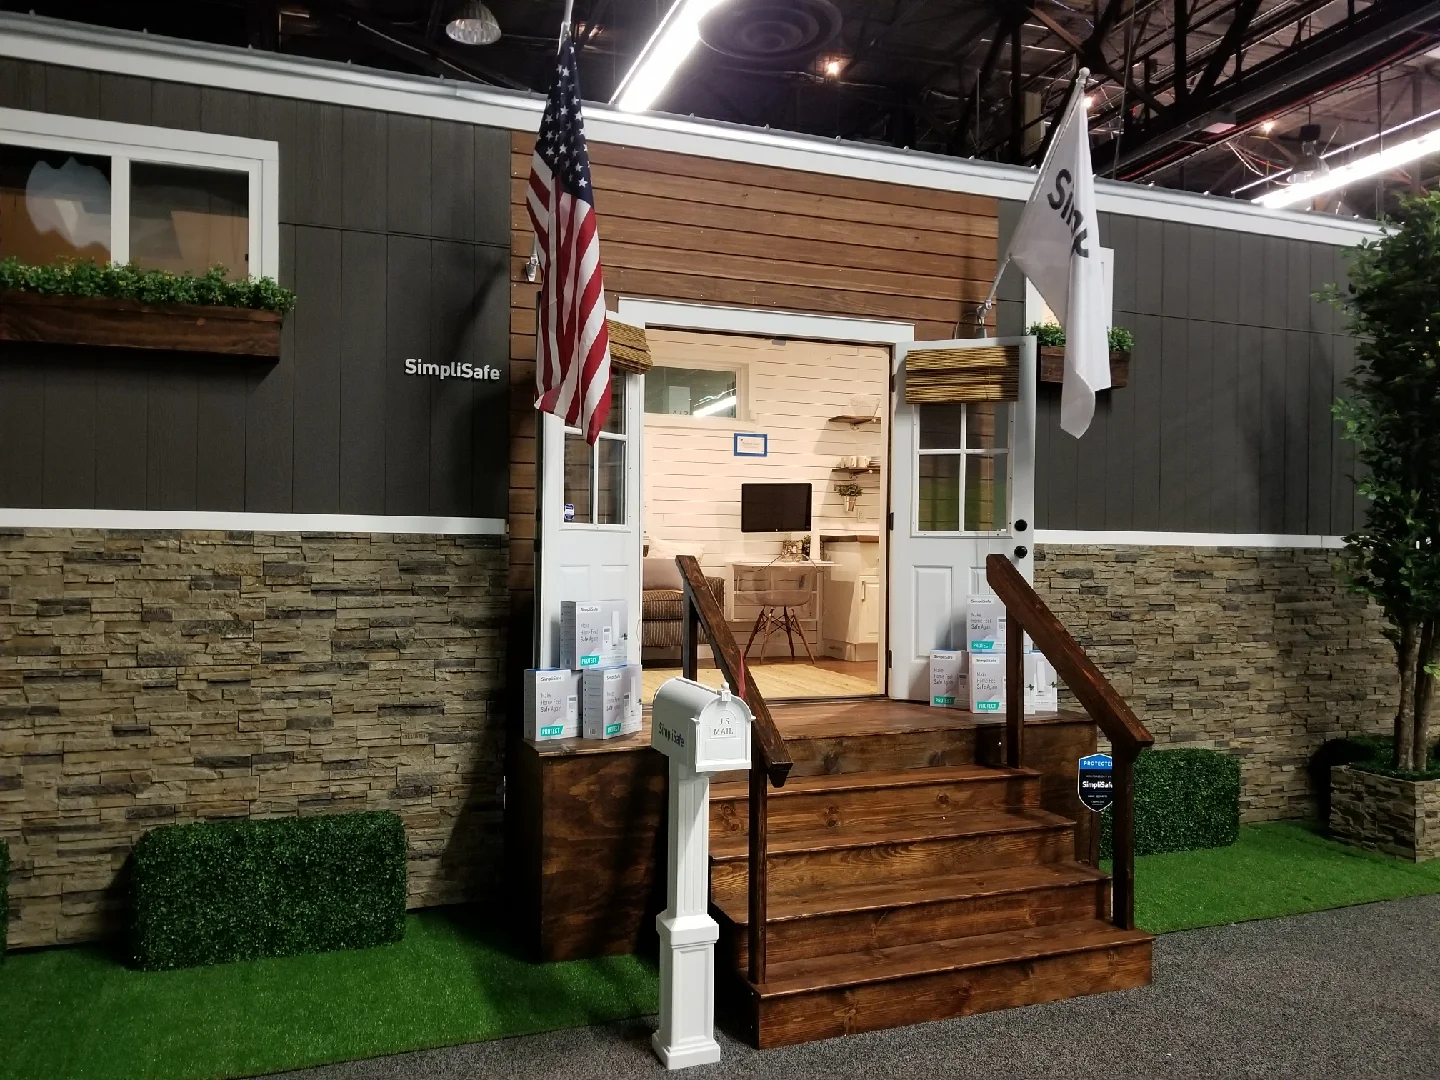
We sold her to the wonderful folks over at SimpliSafe. Have you heard of them? They're an awesome contract-free, new-age home security + monitoring system company. Think of this: You know how cell-phones disrupted the land-line telephone? That's what their doing in security. As opposed to long-term, iron grid contracts, you can purchase a system and have live monitoring for a fraction of the cost. Brian and I are definitely sold. 

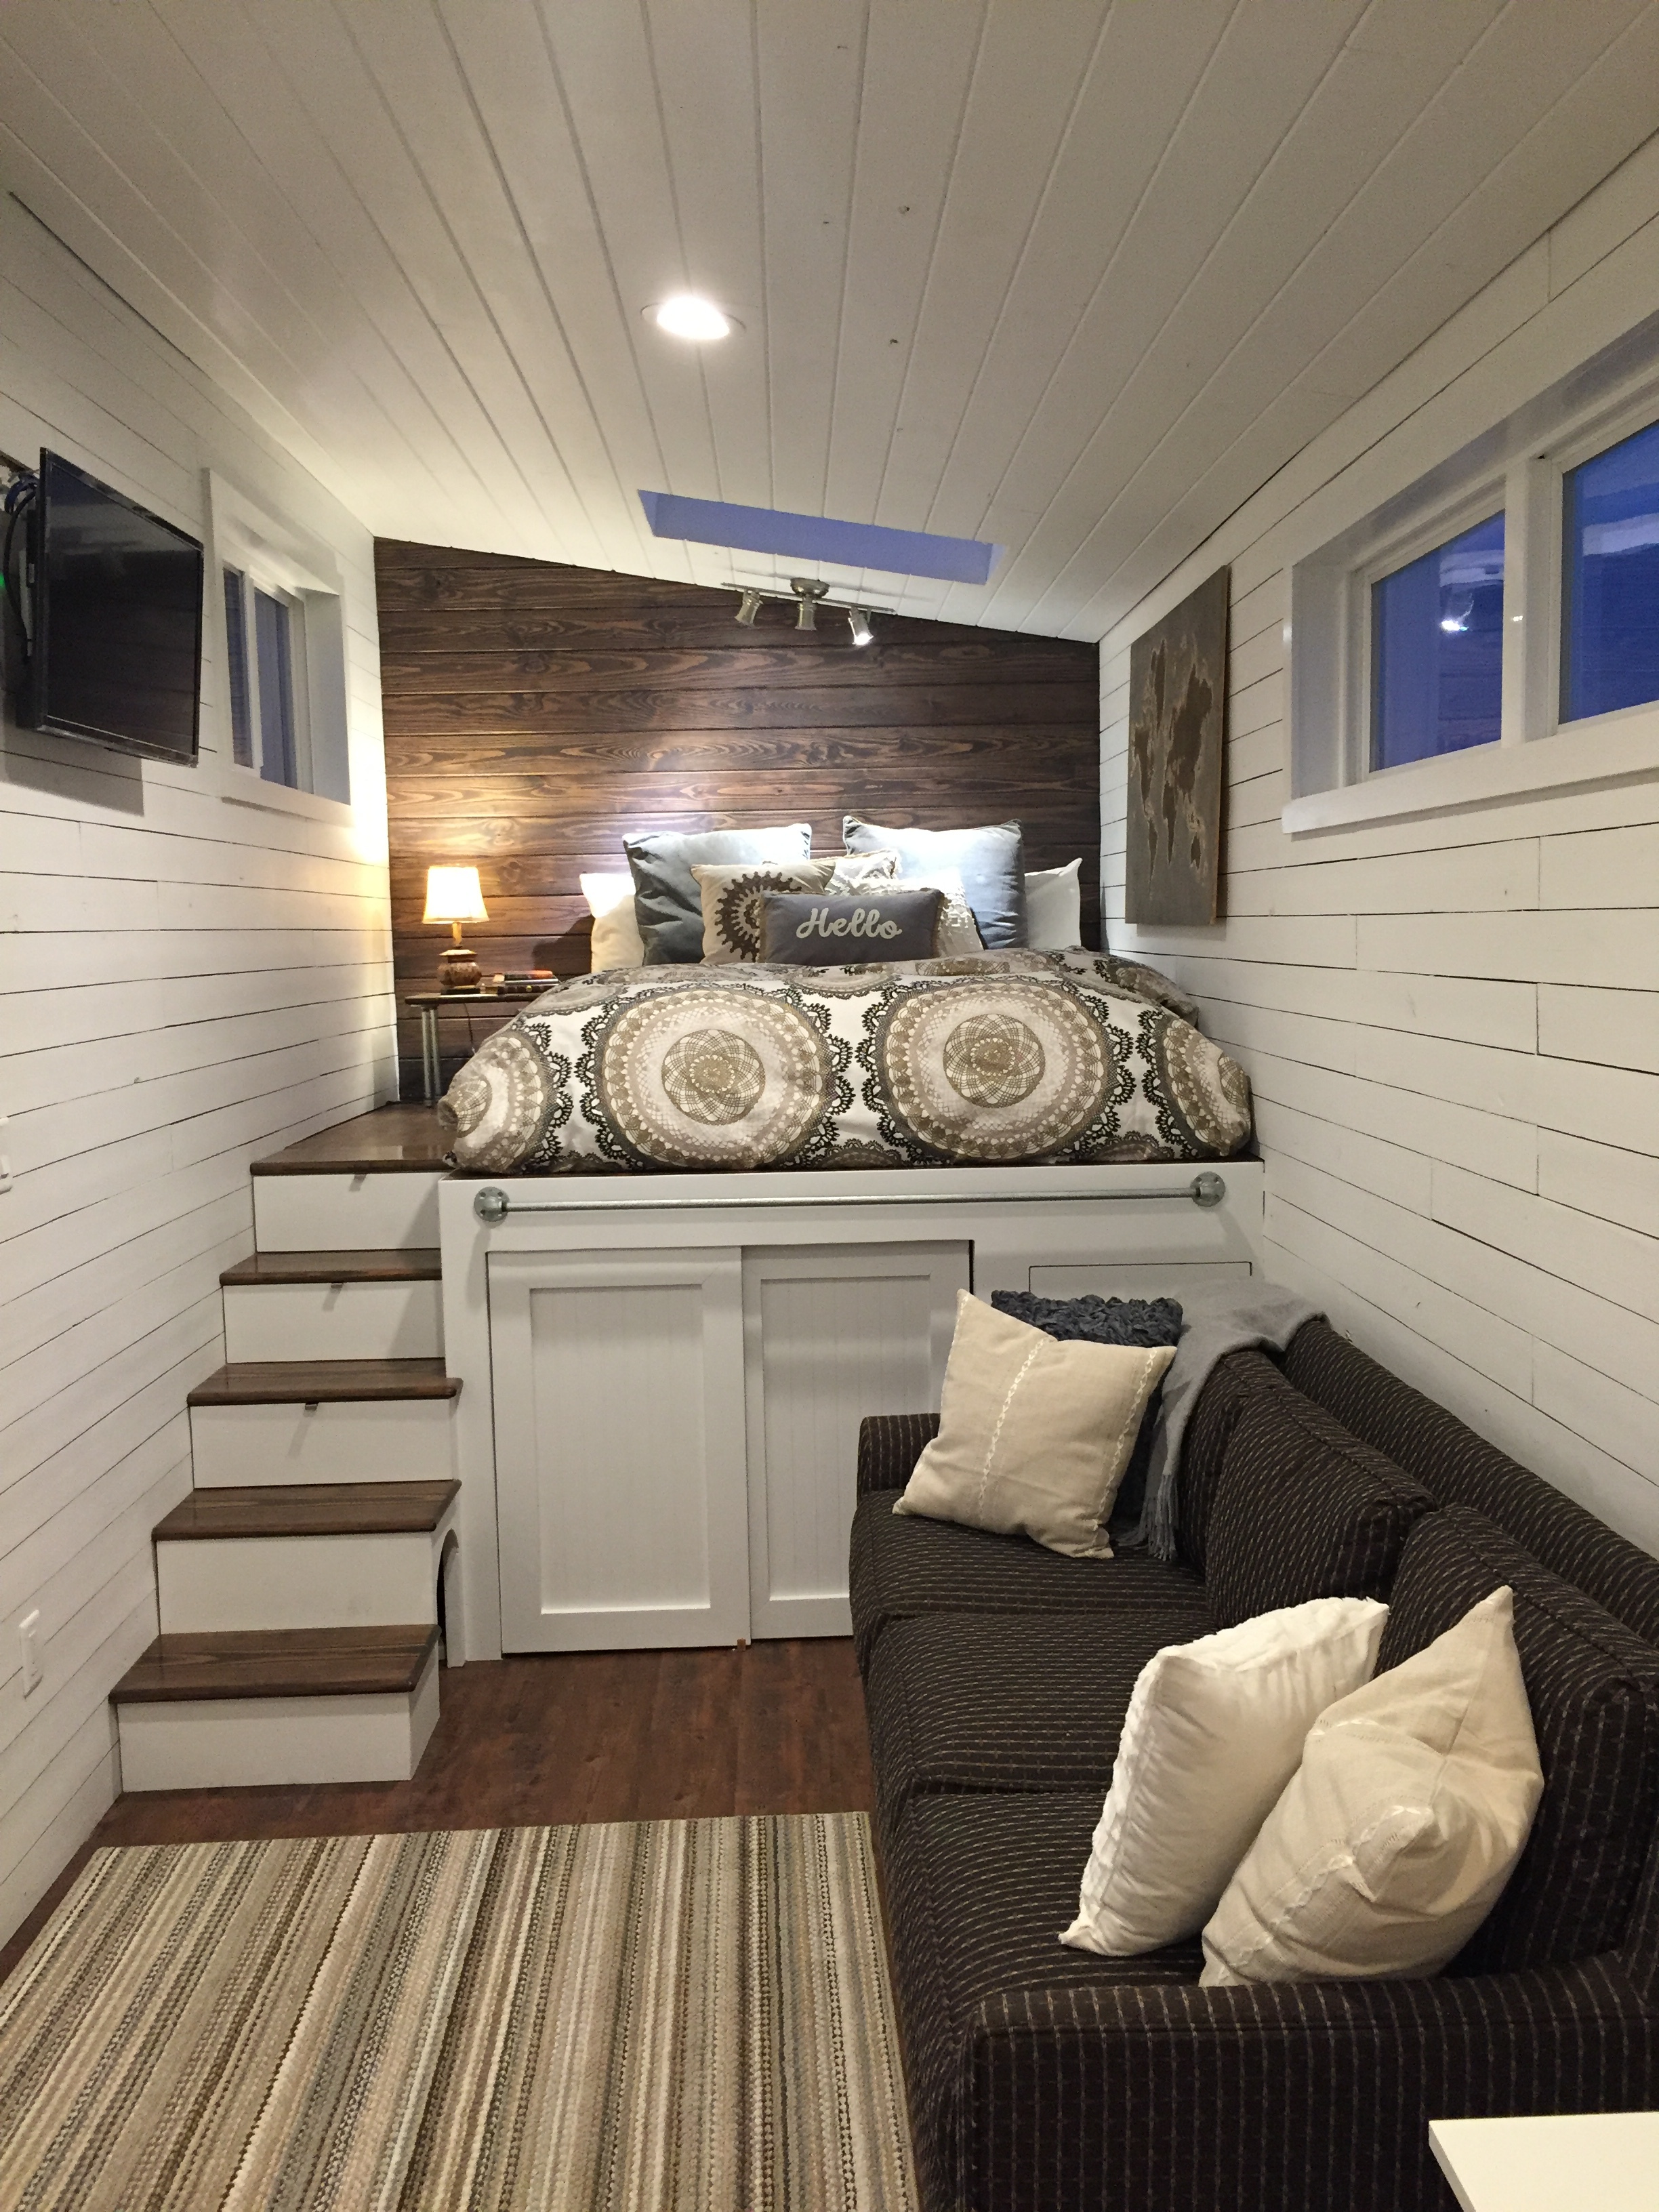
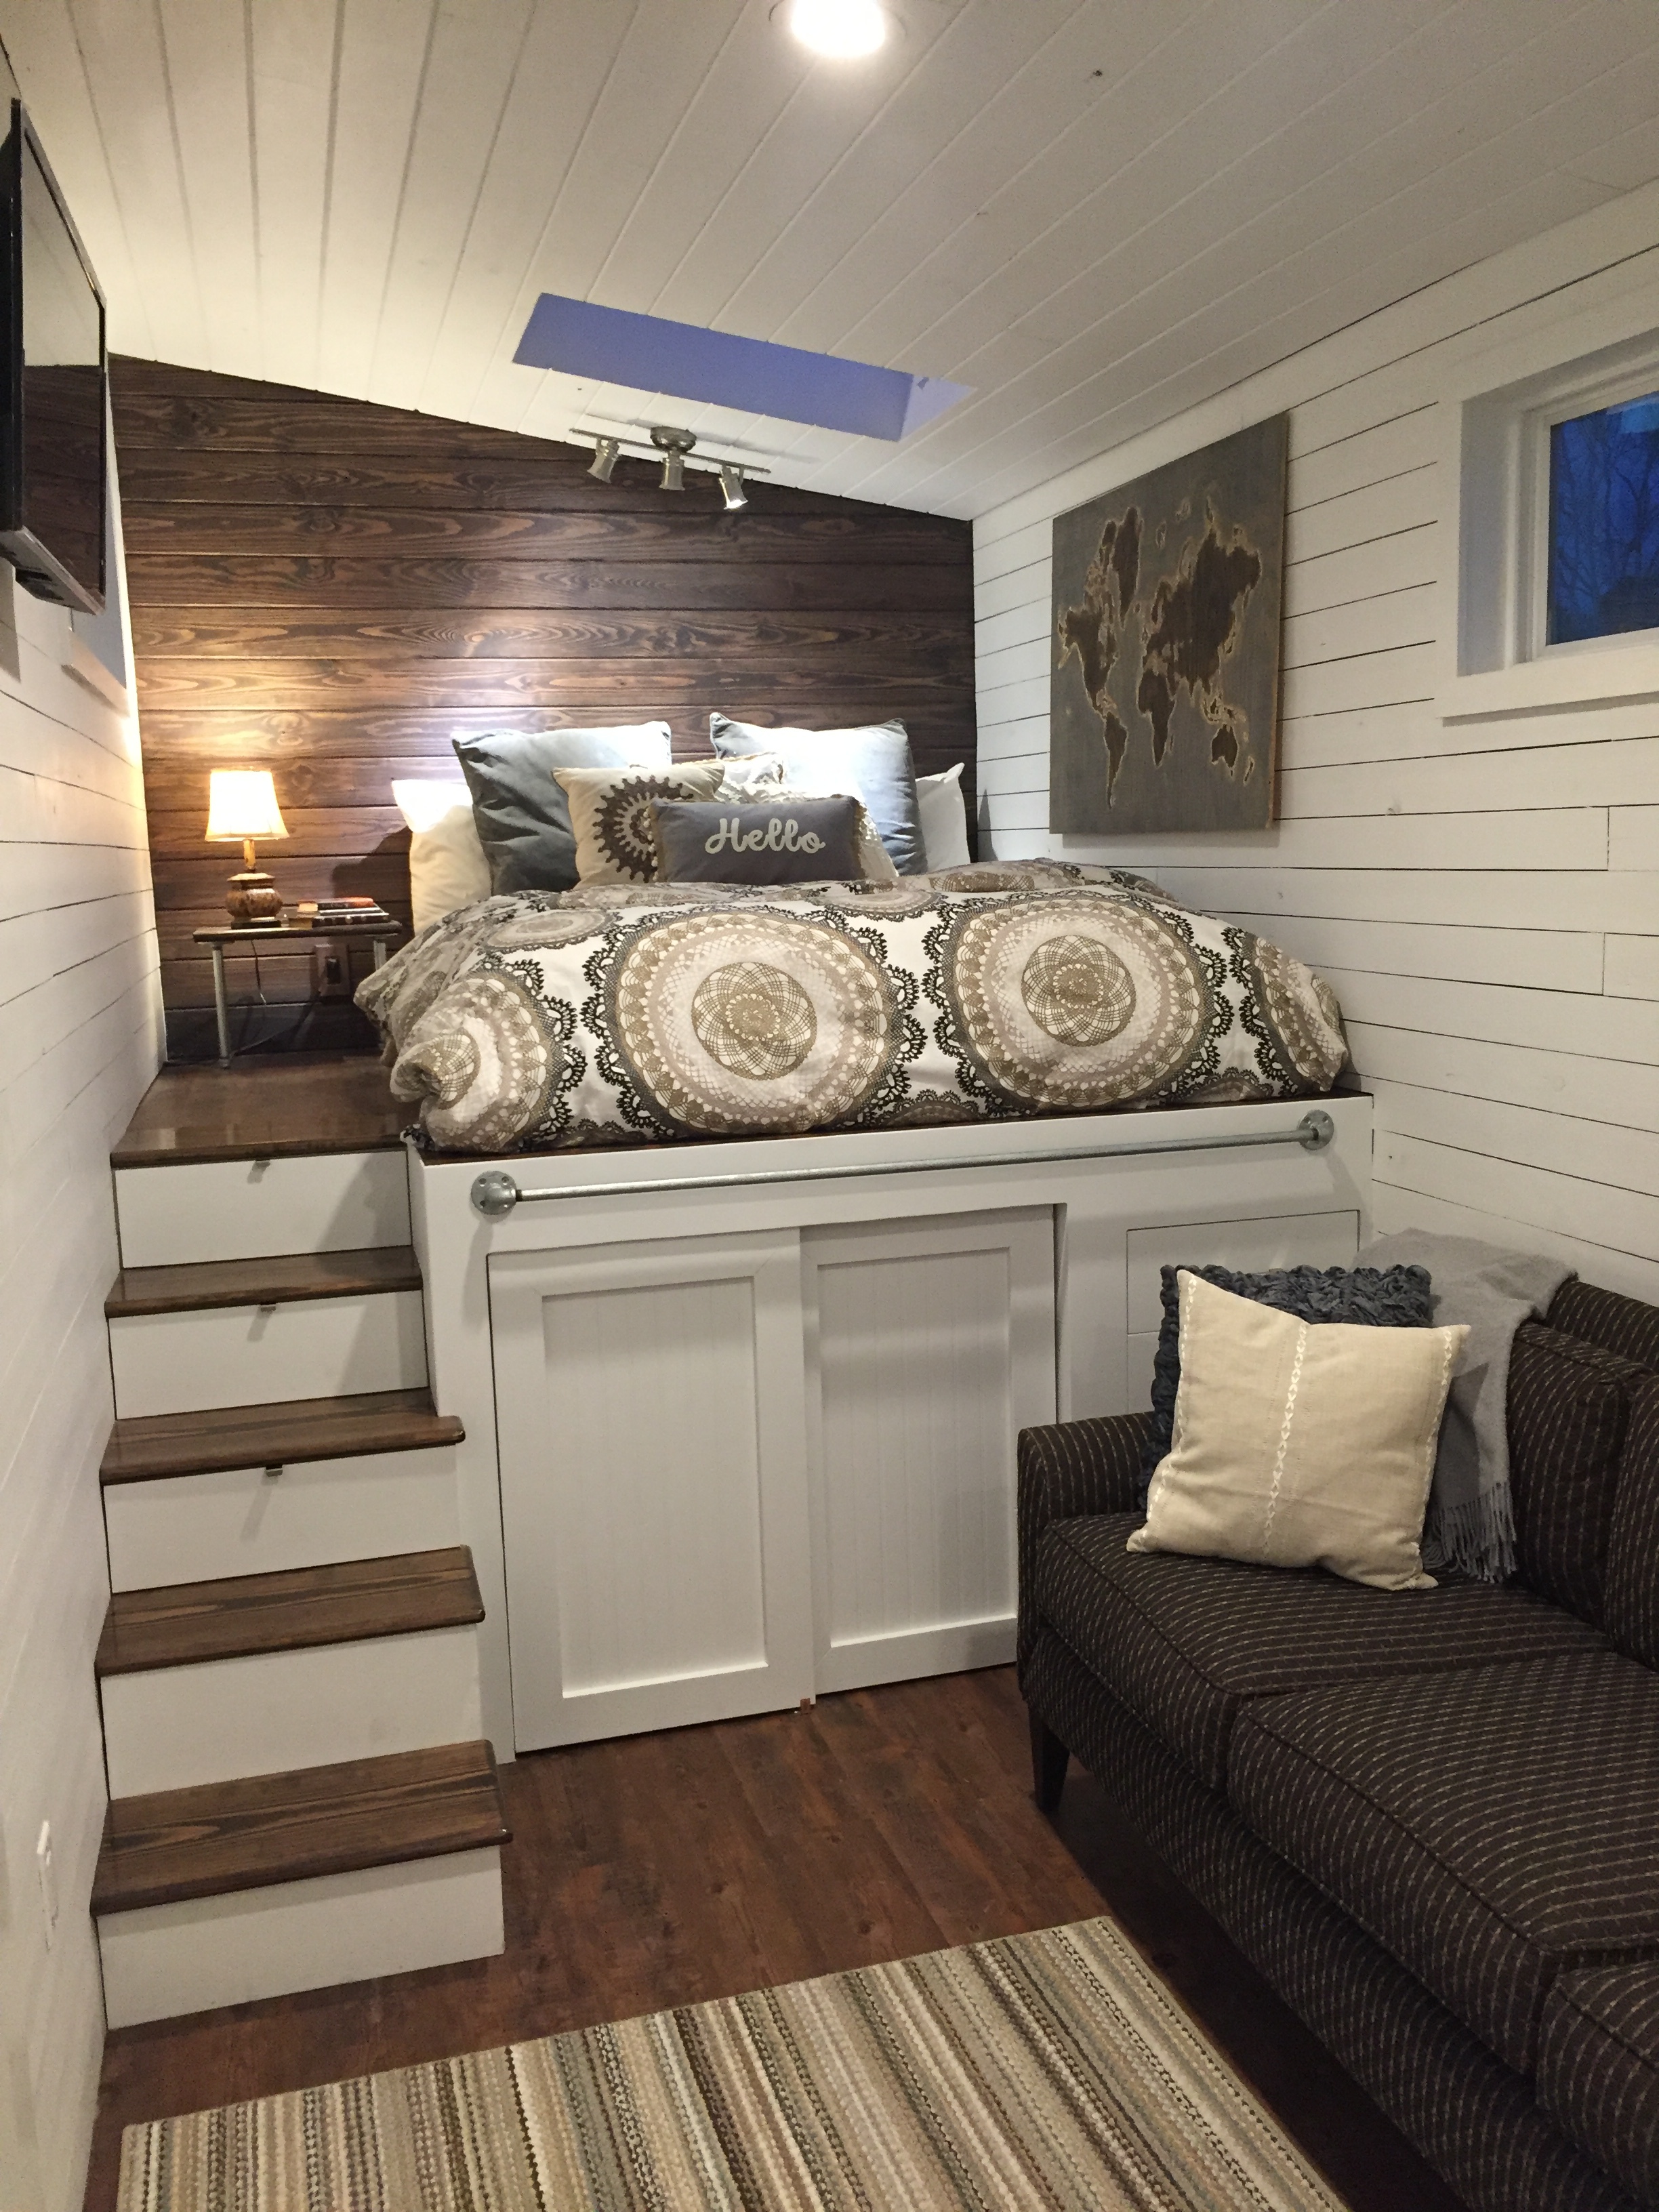
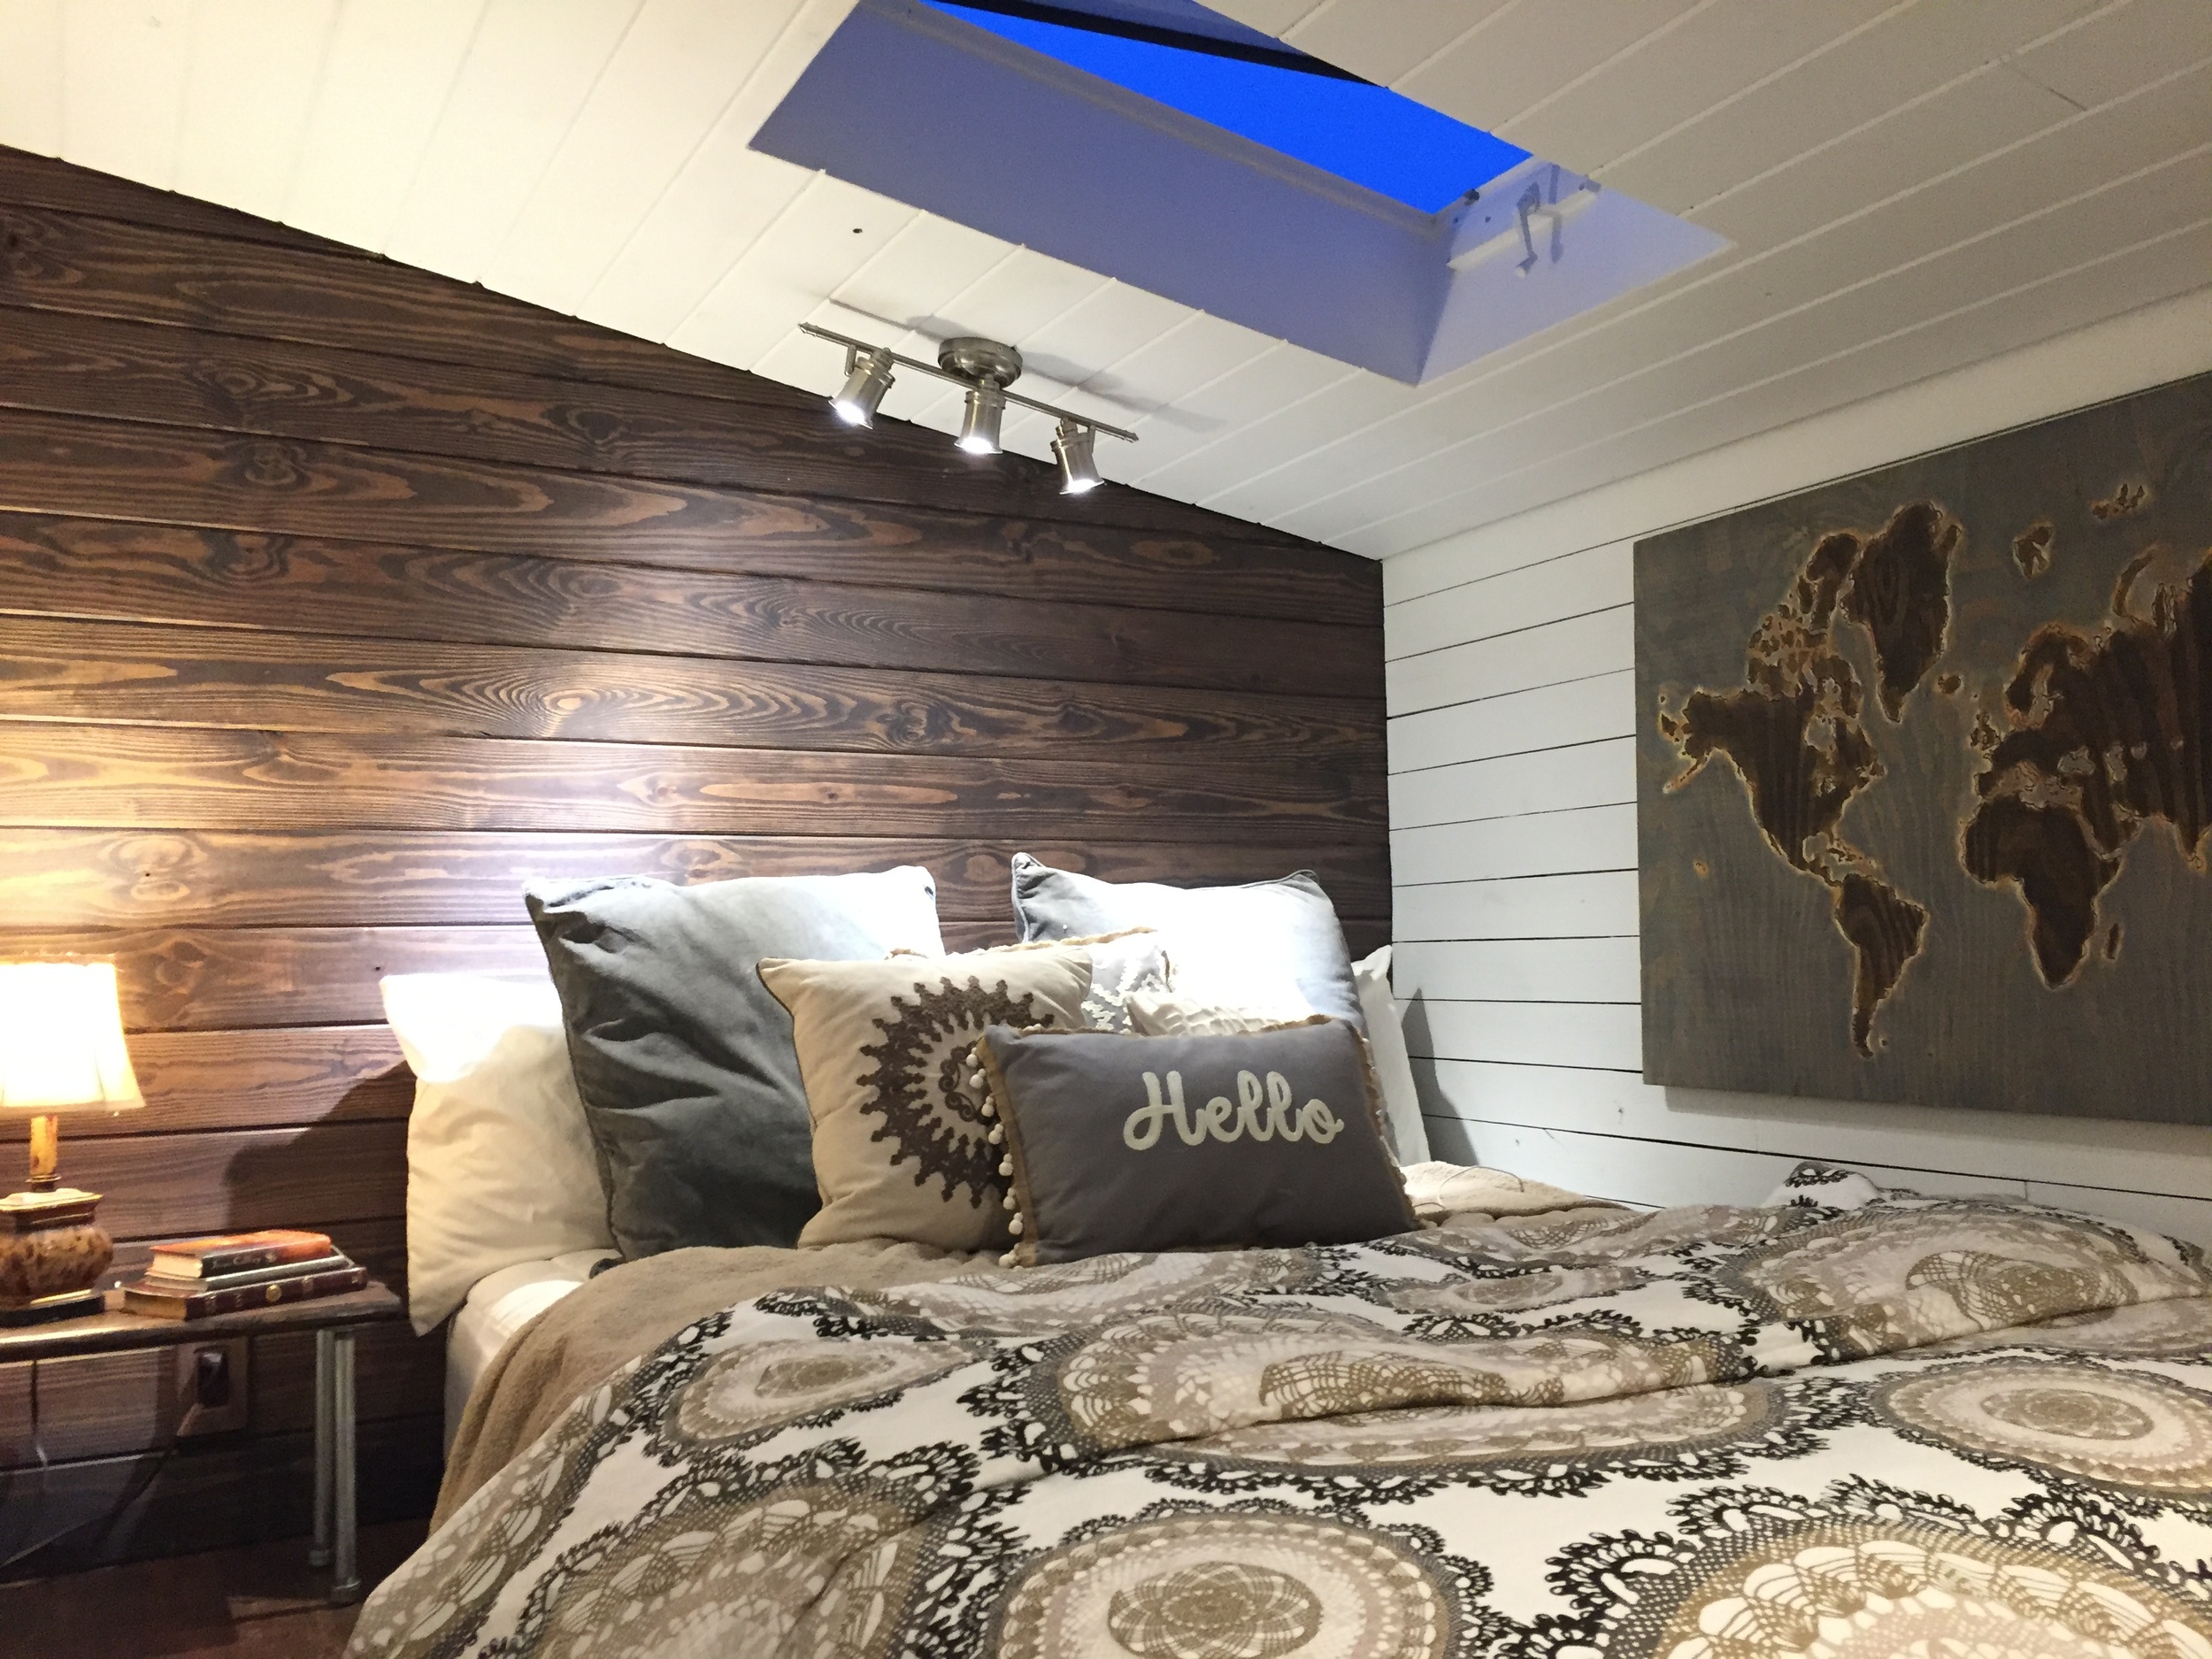
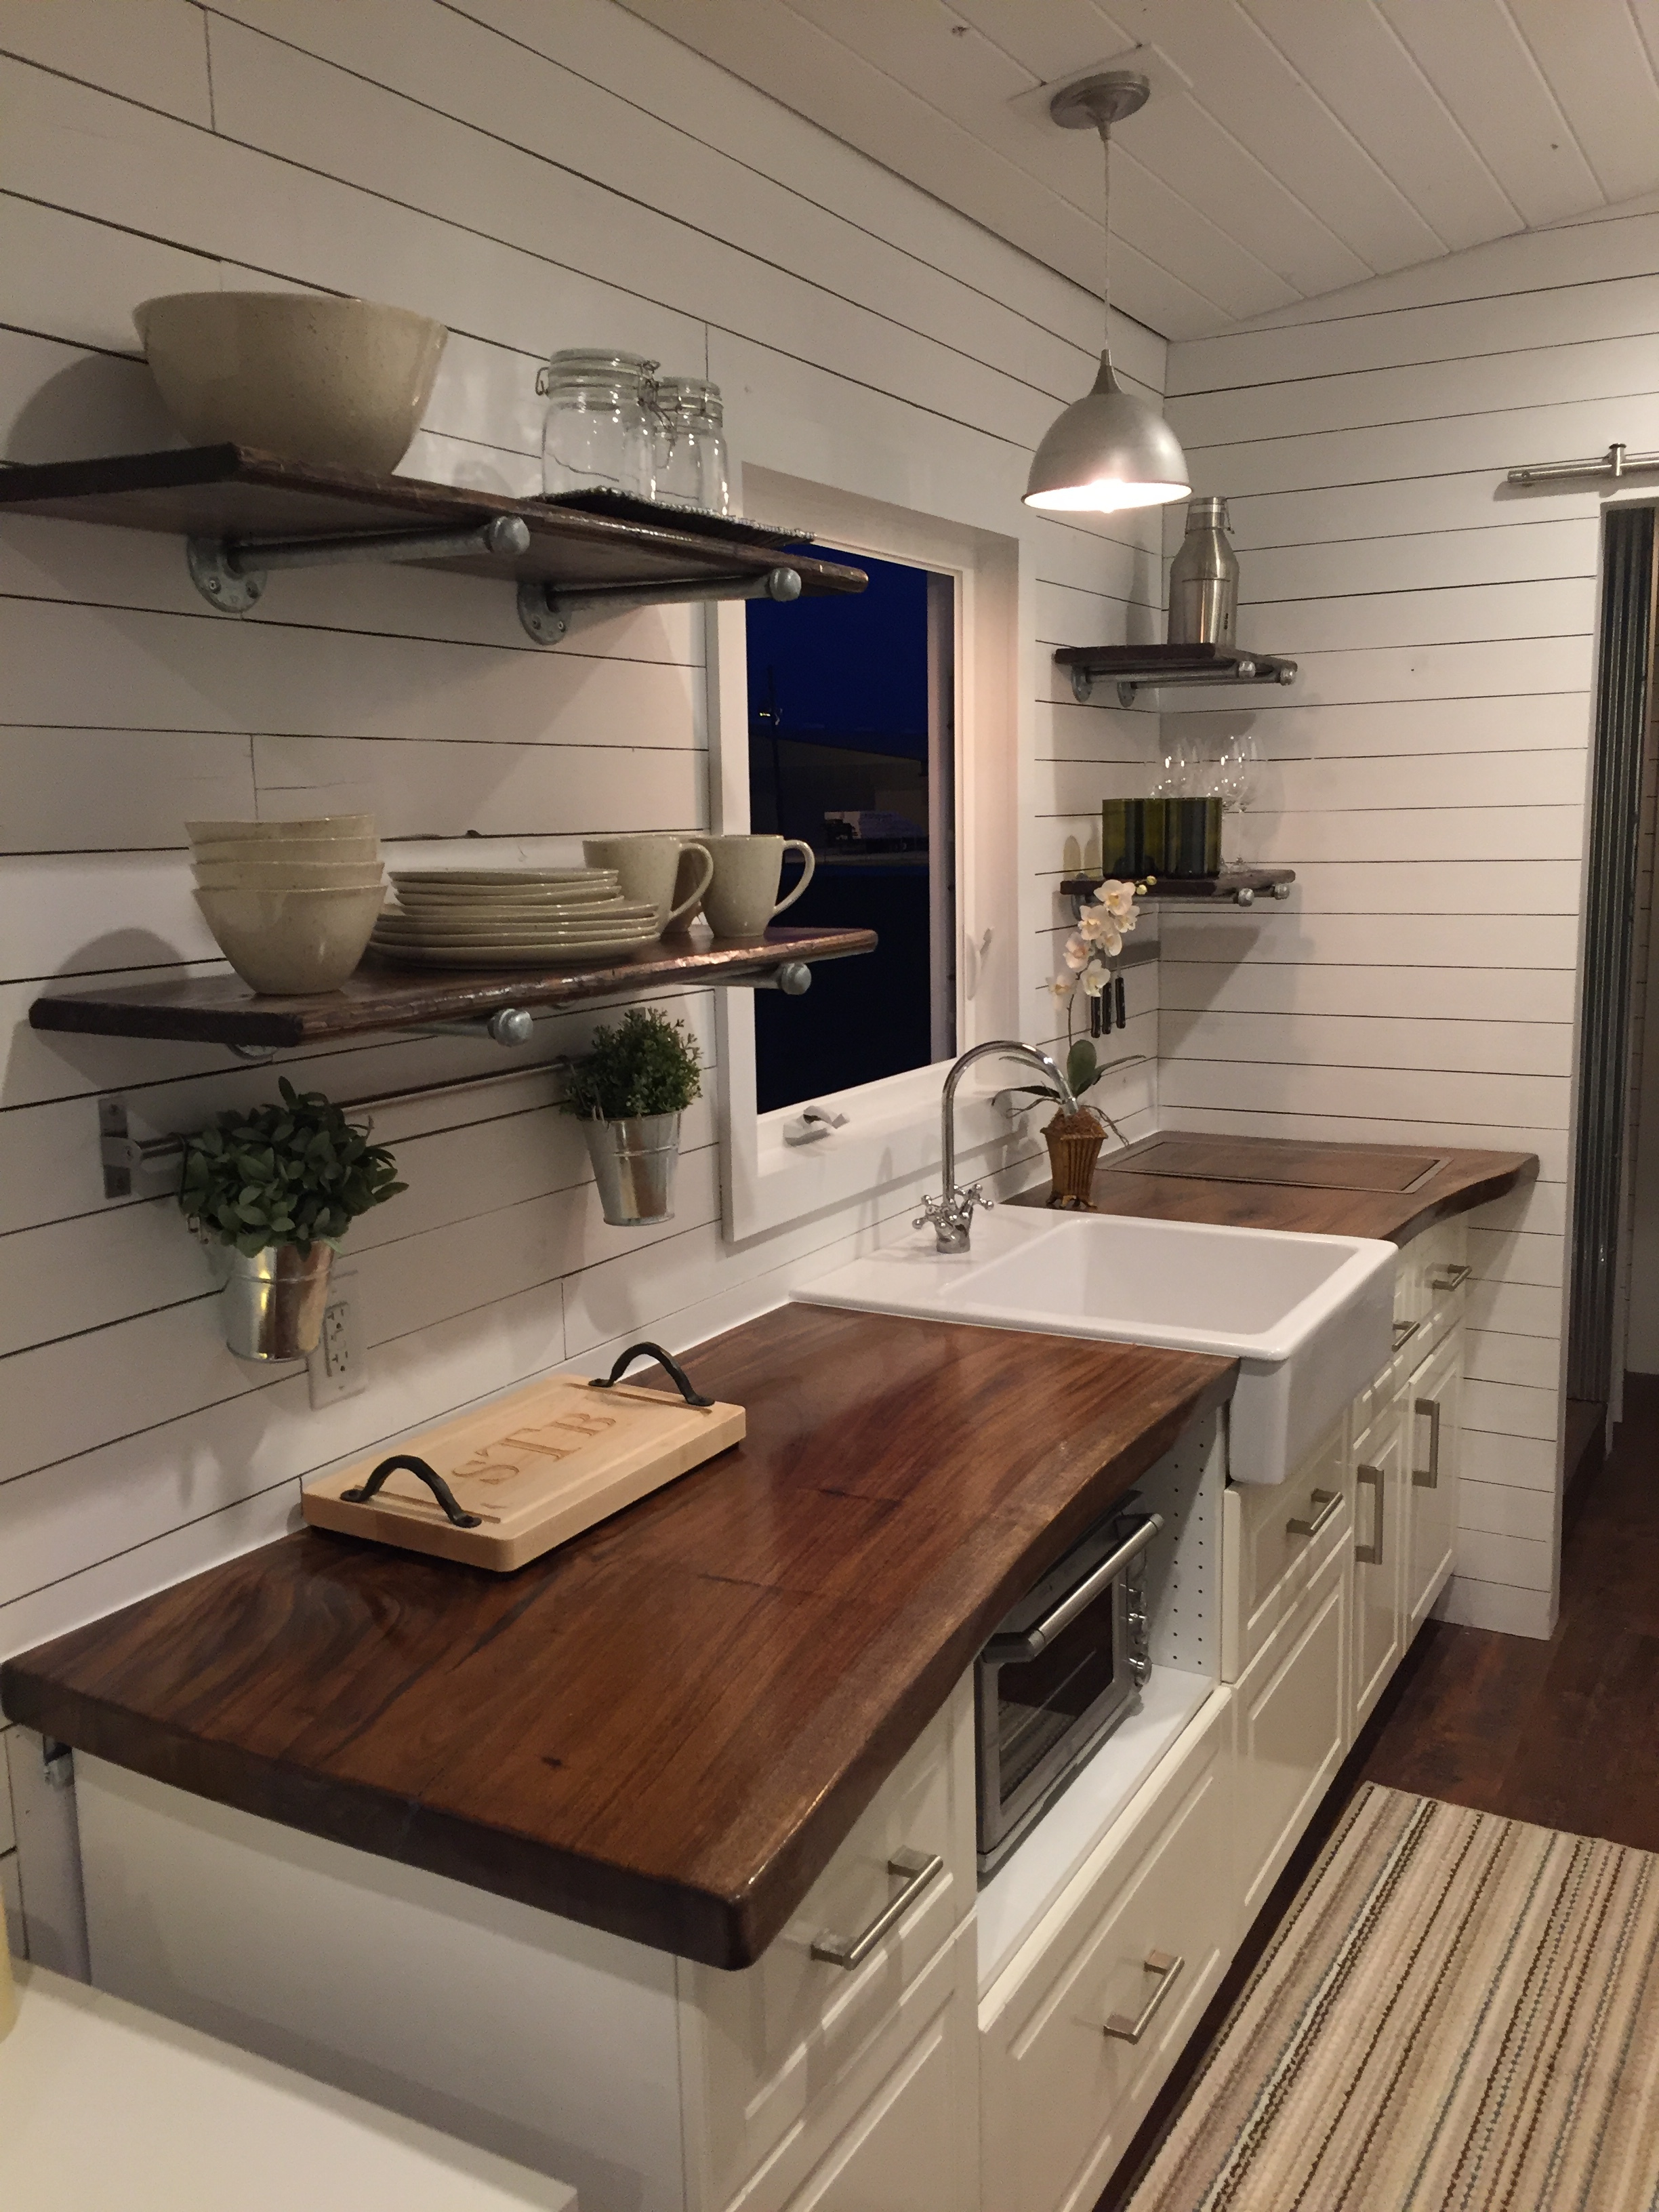
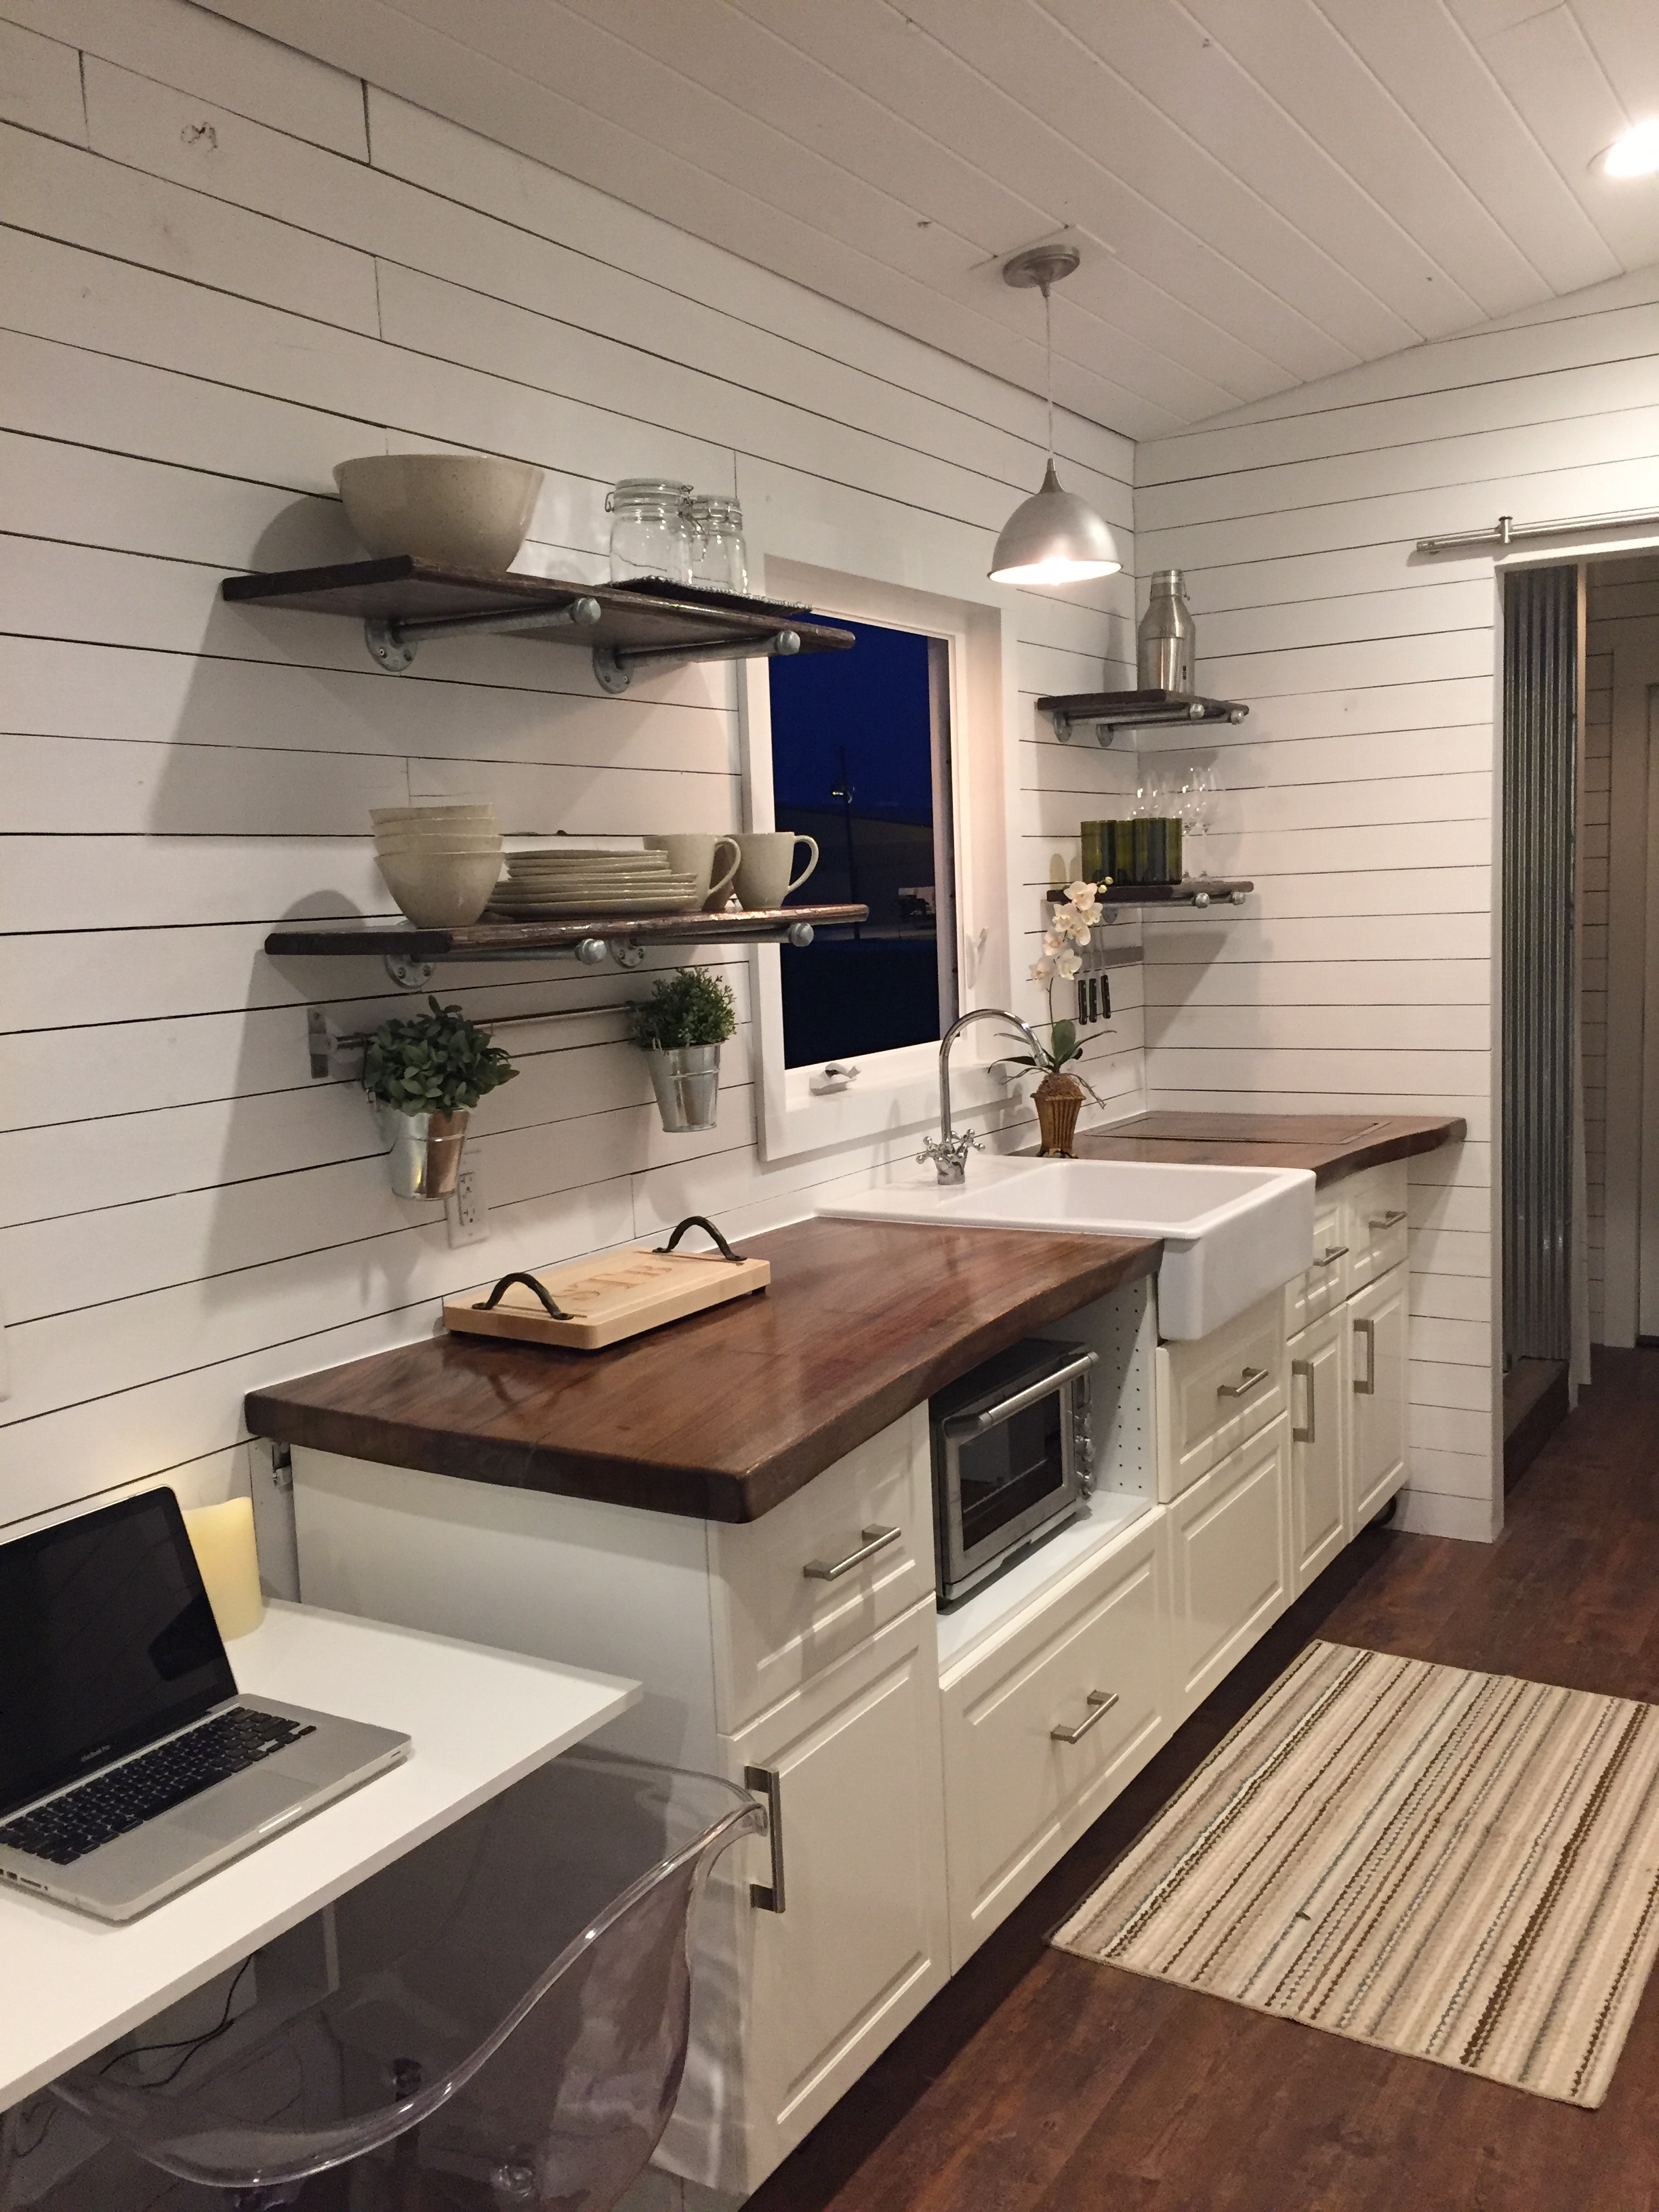
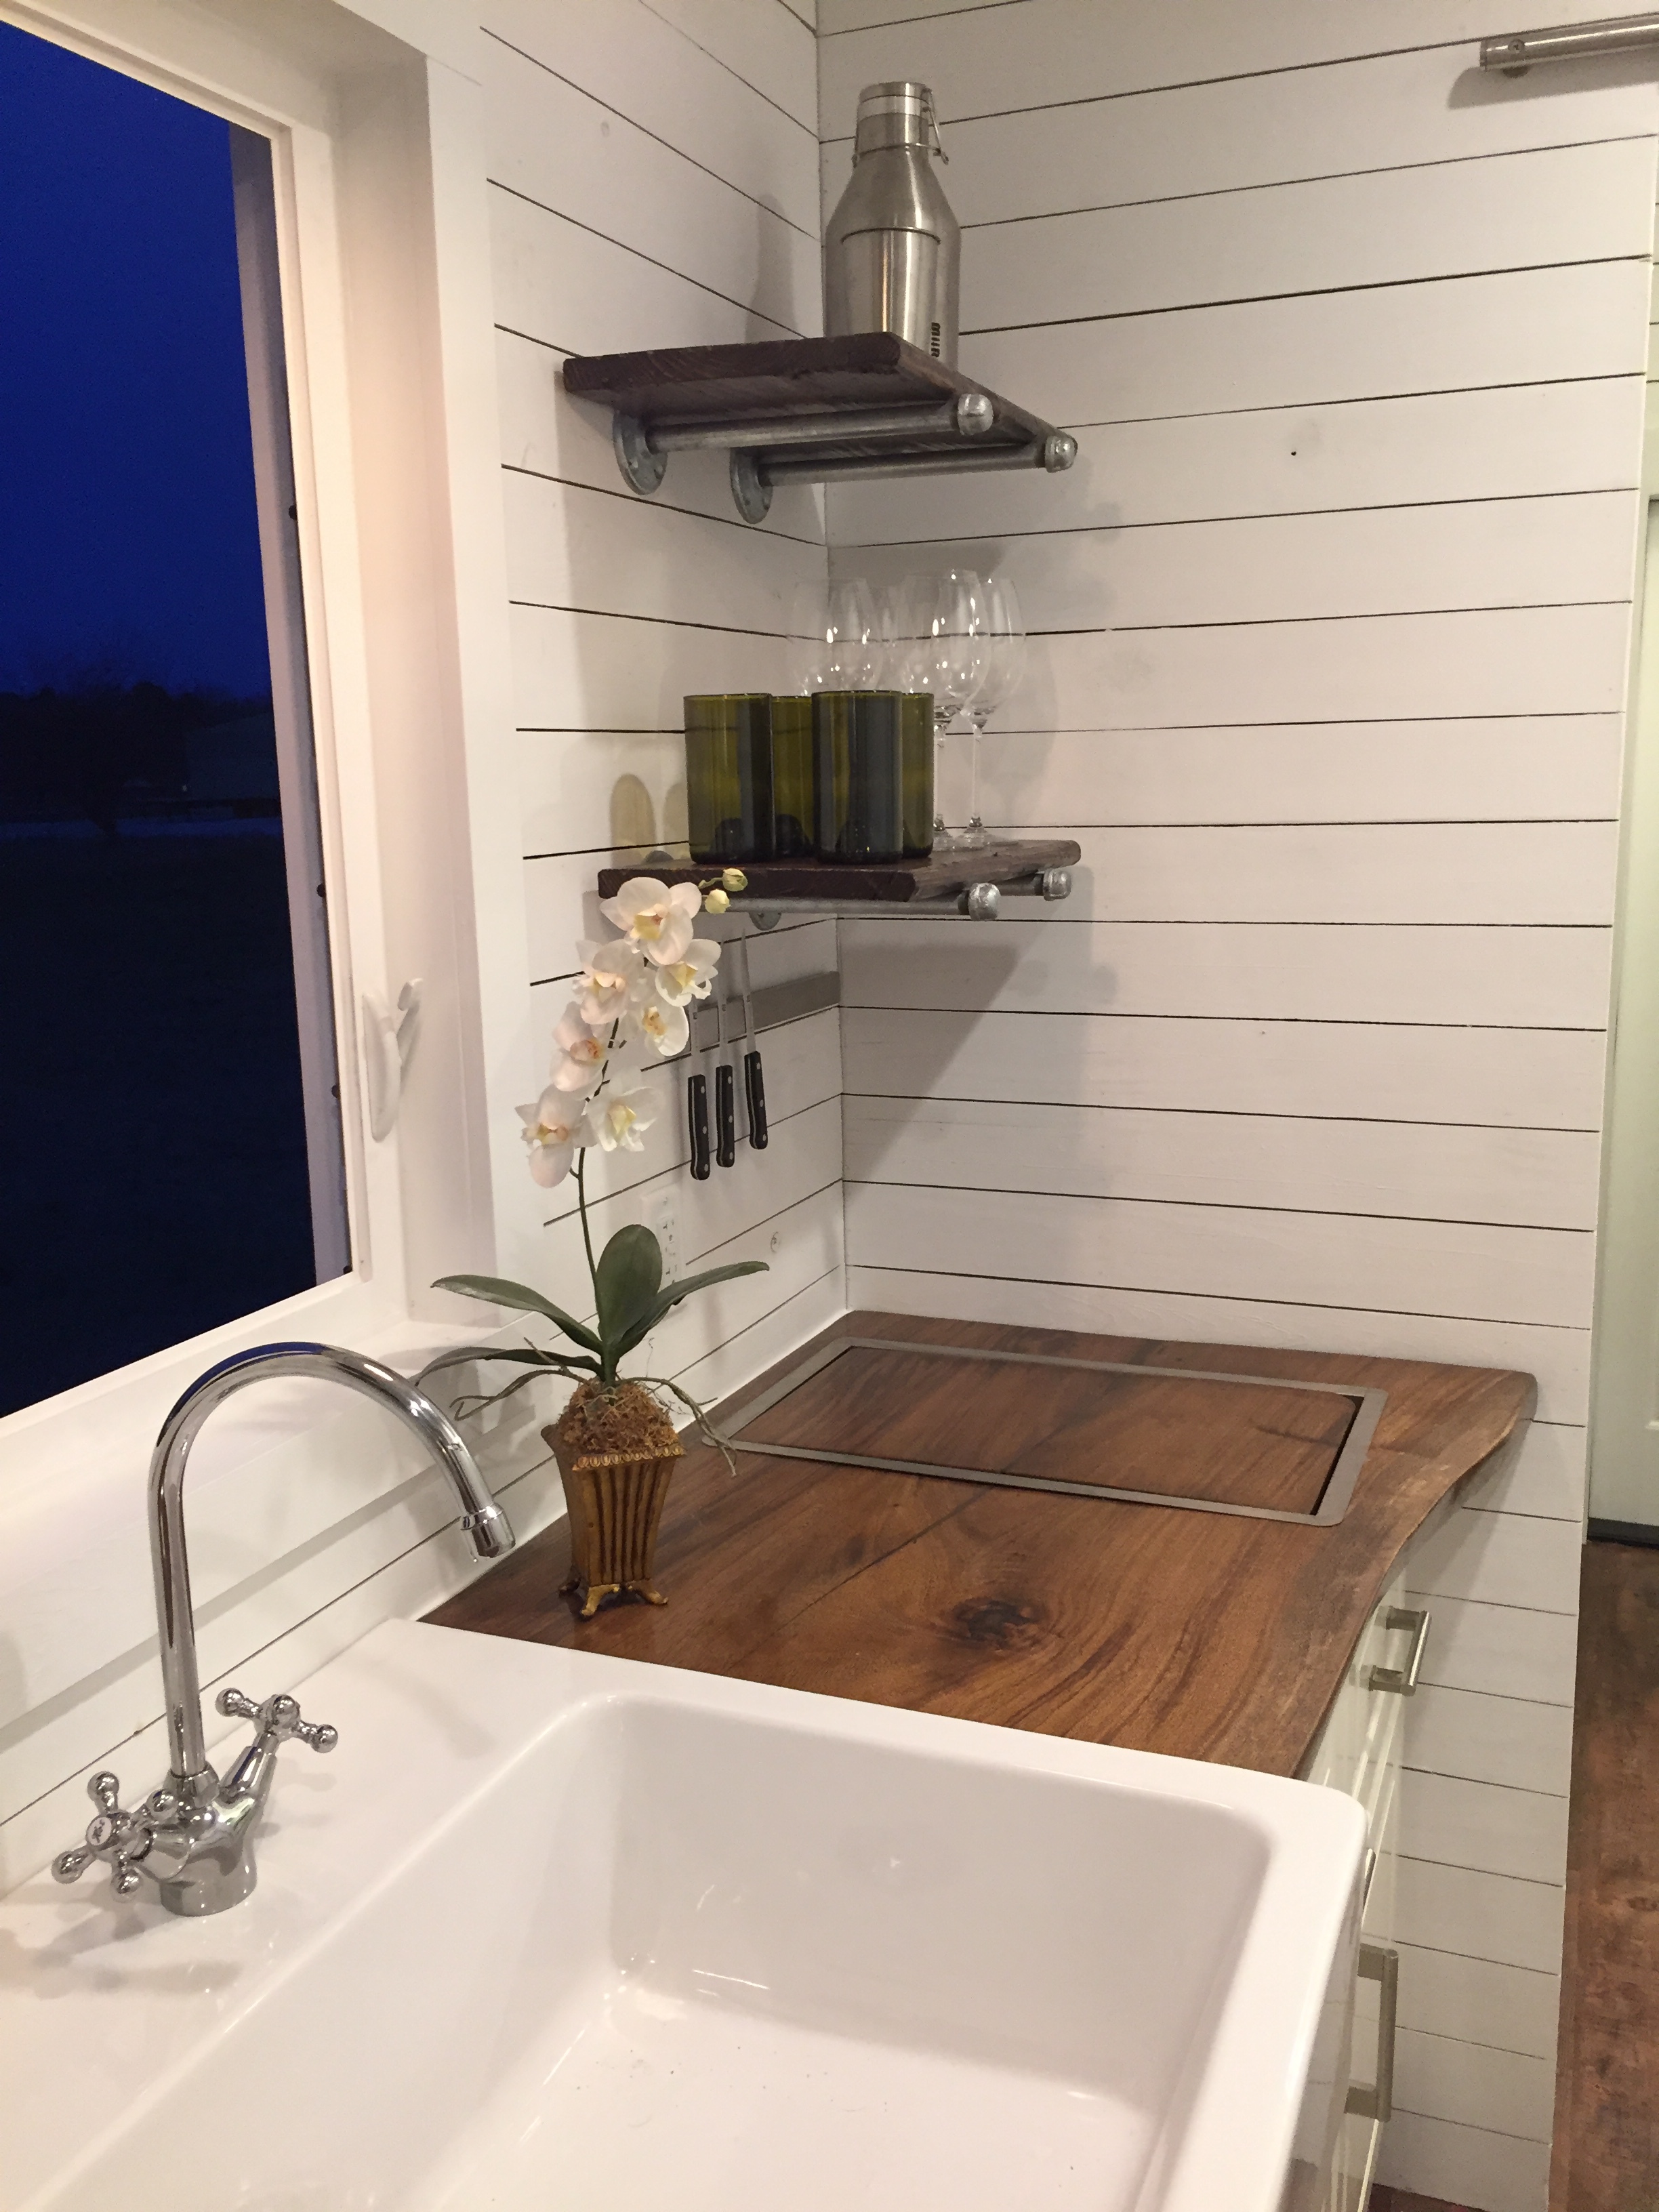
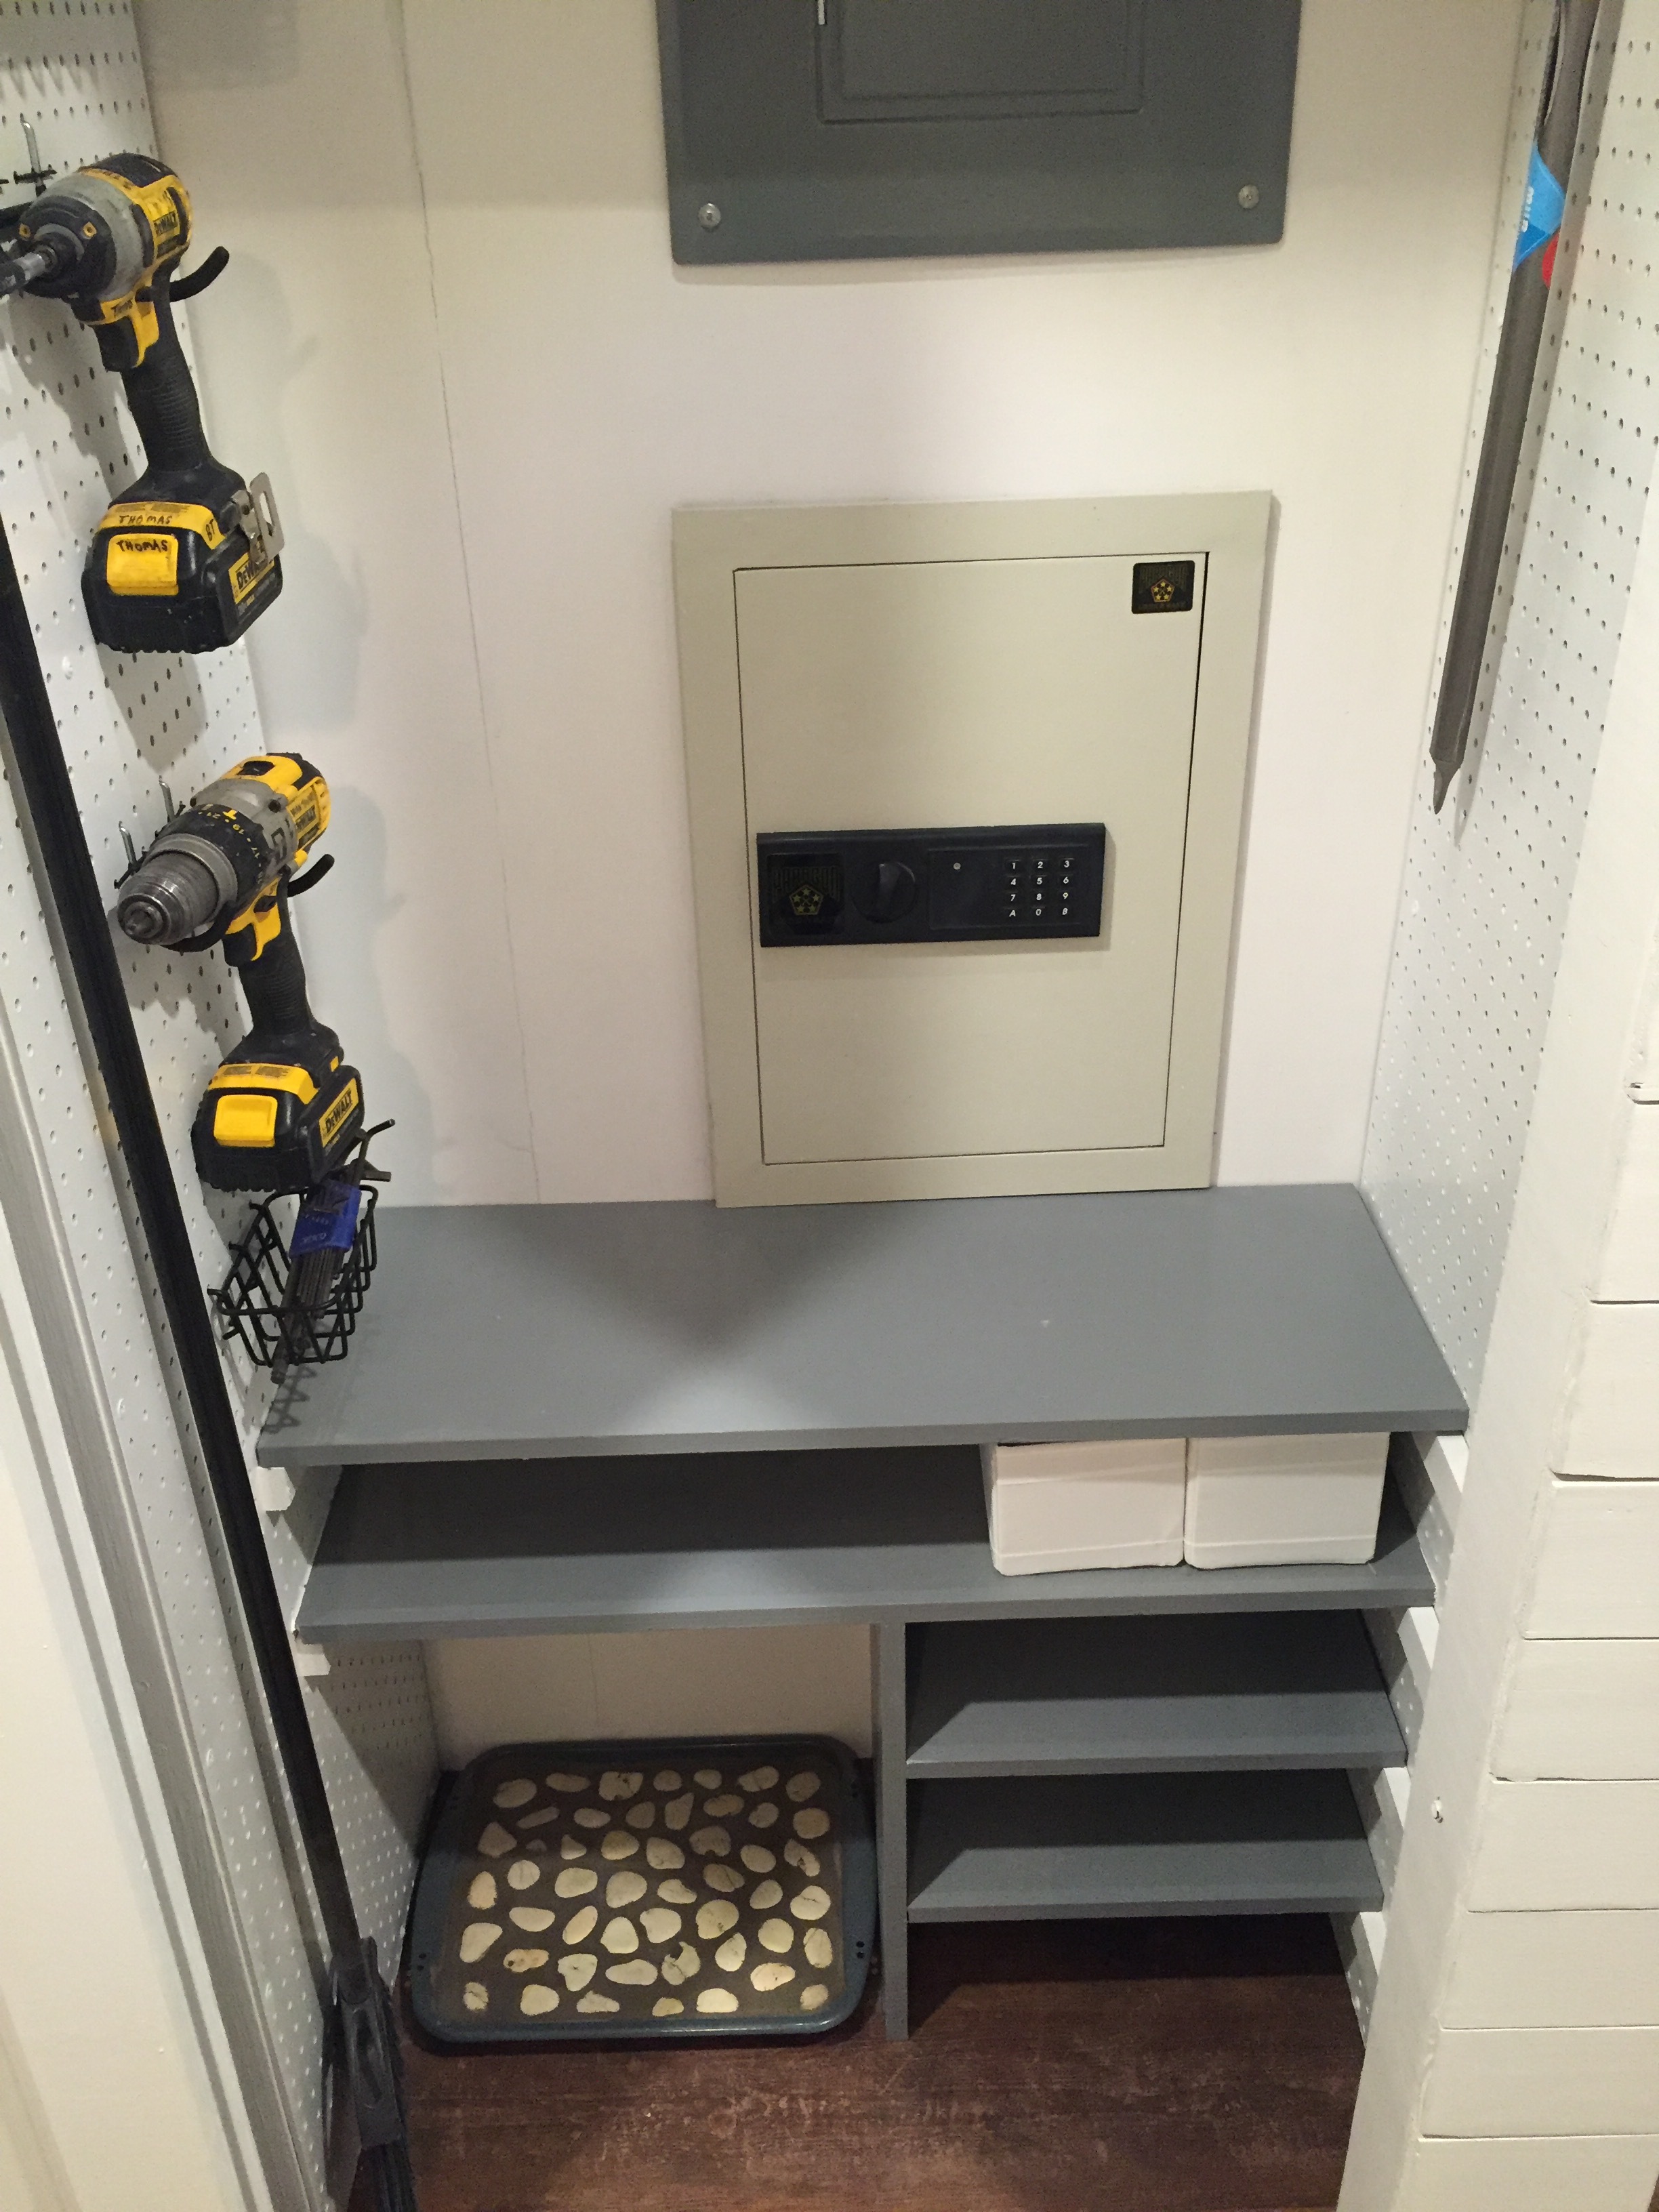
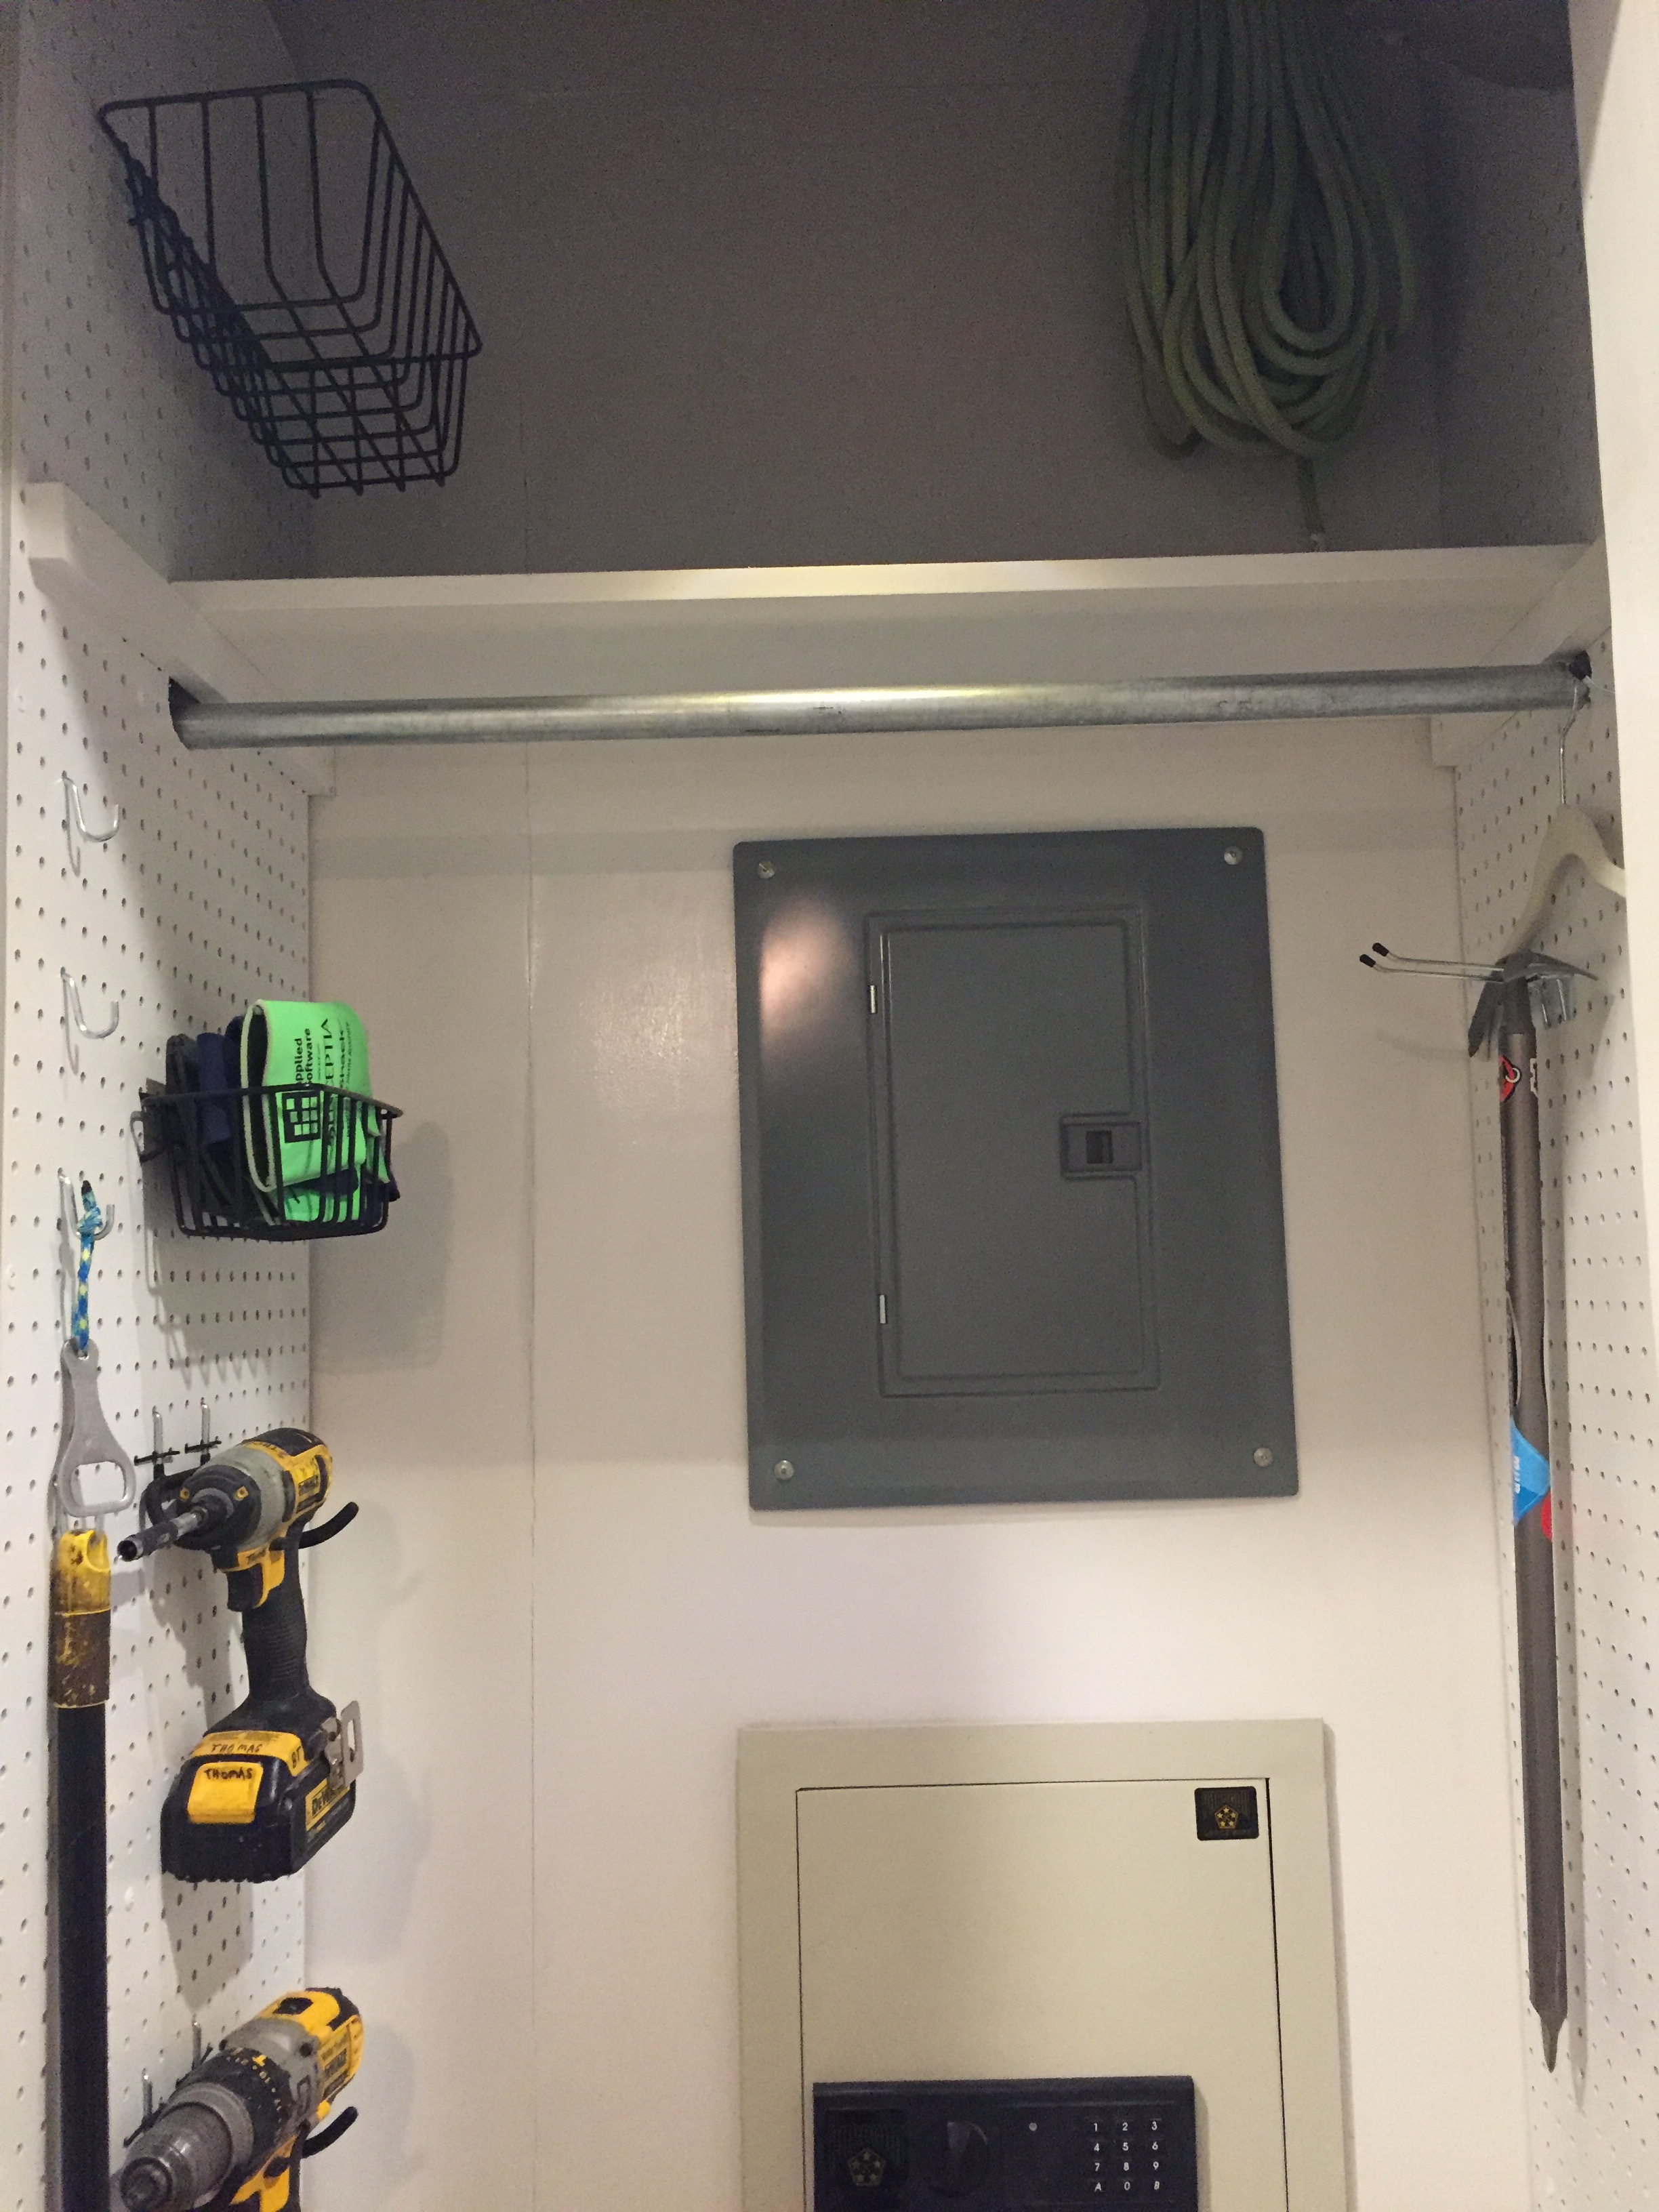
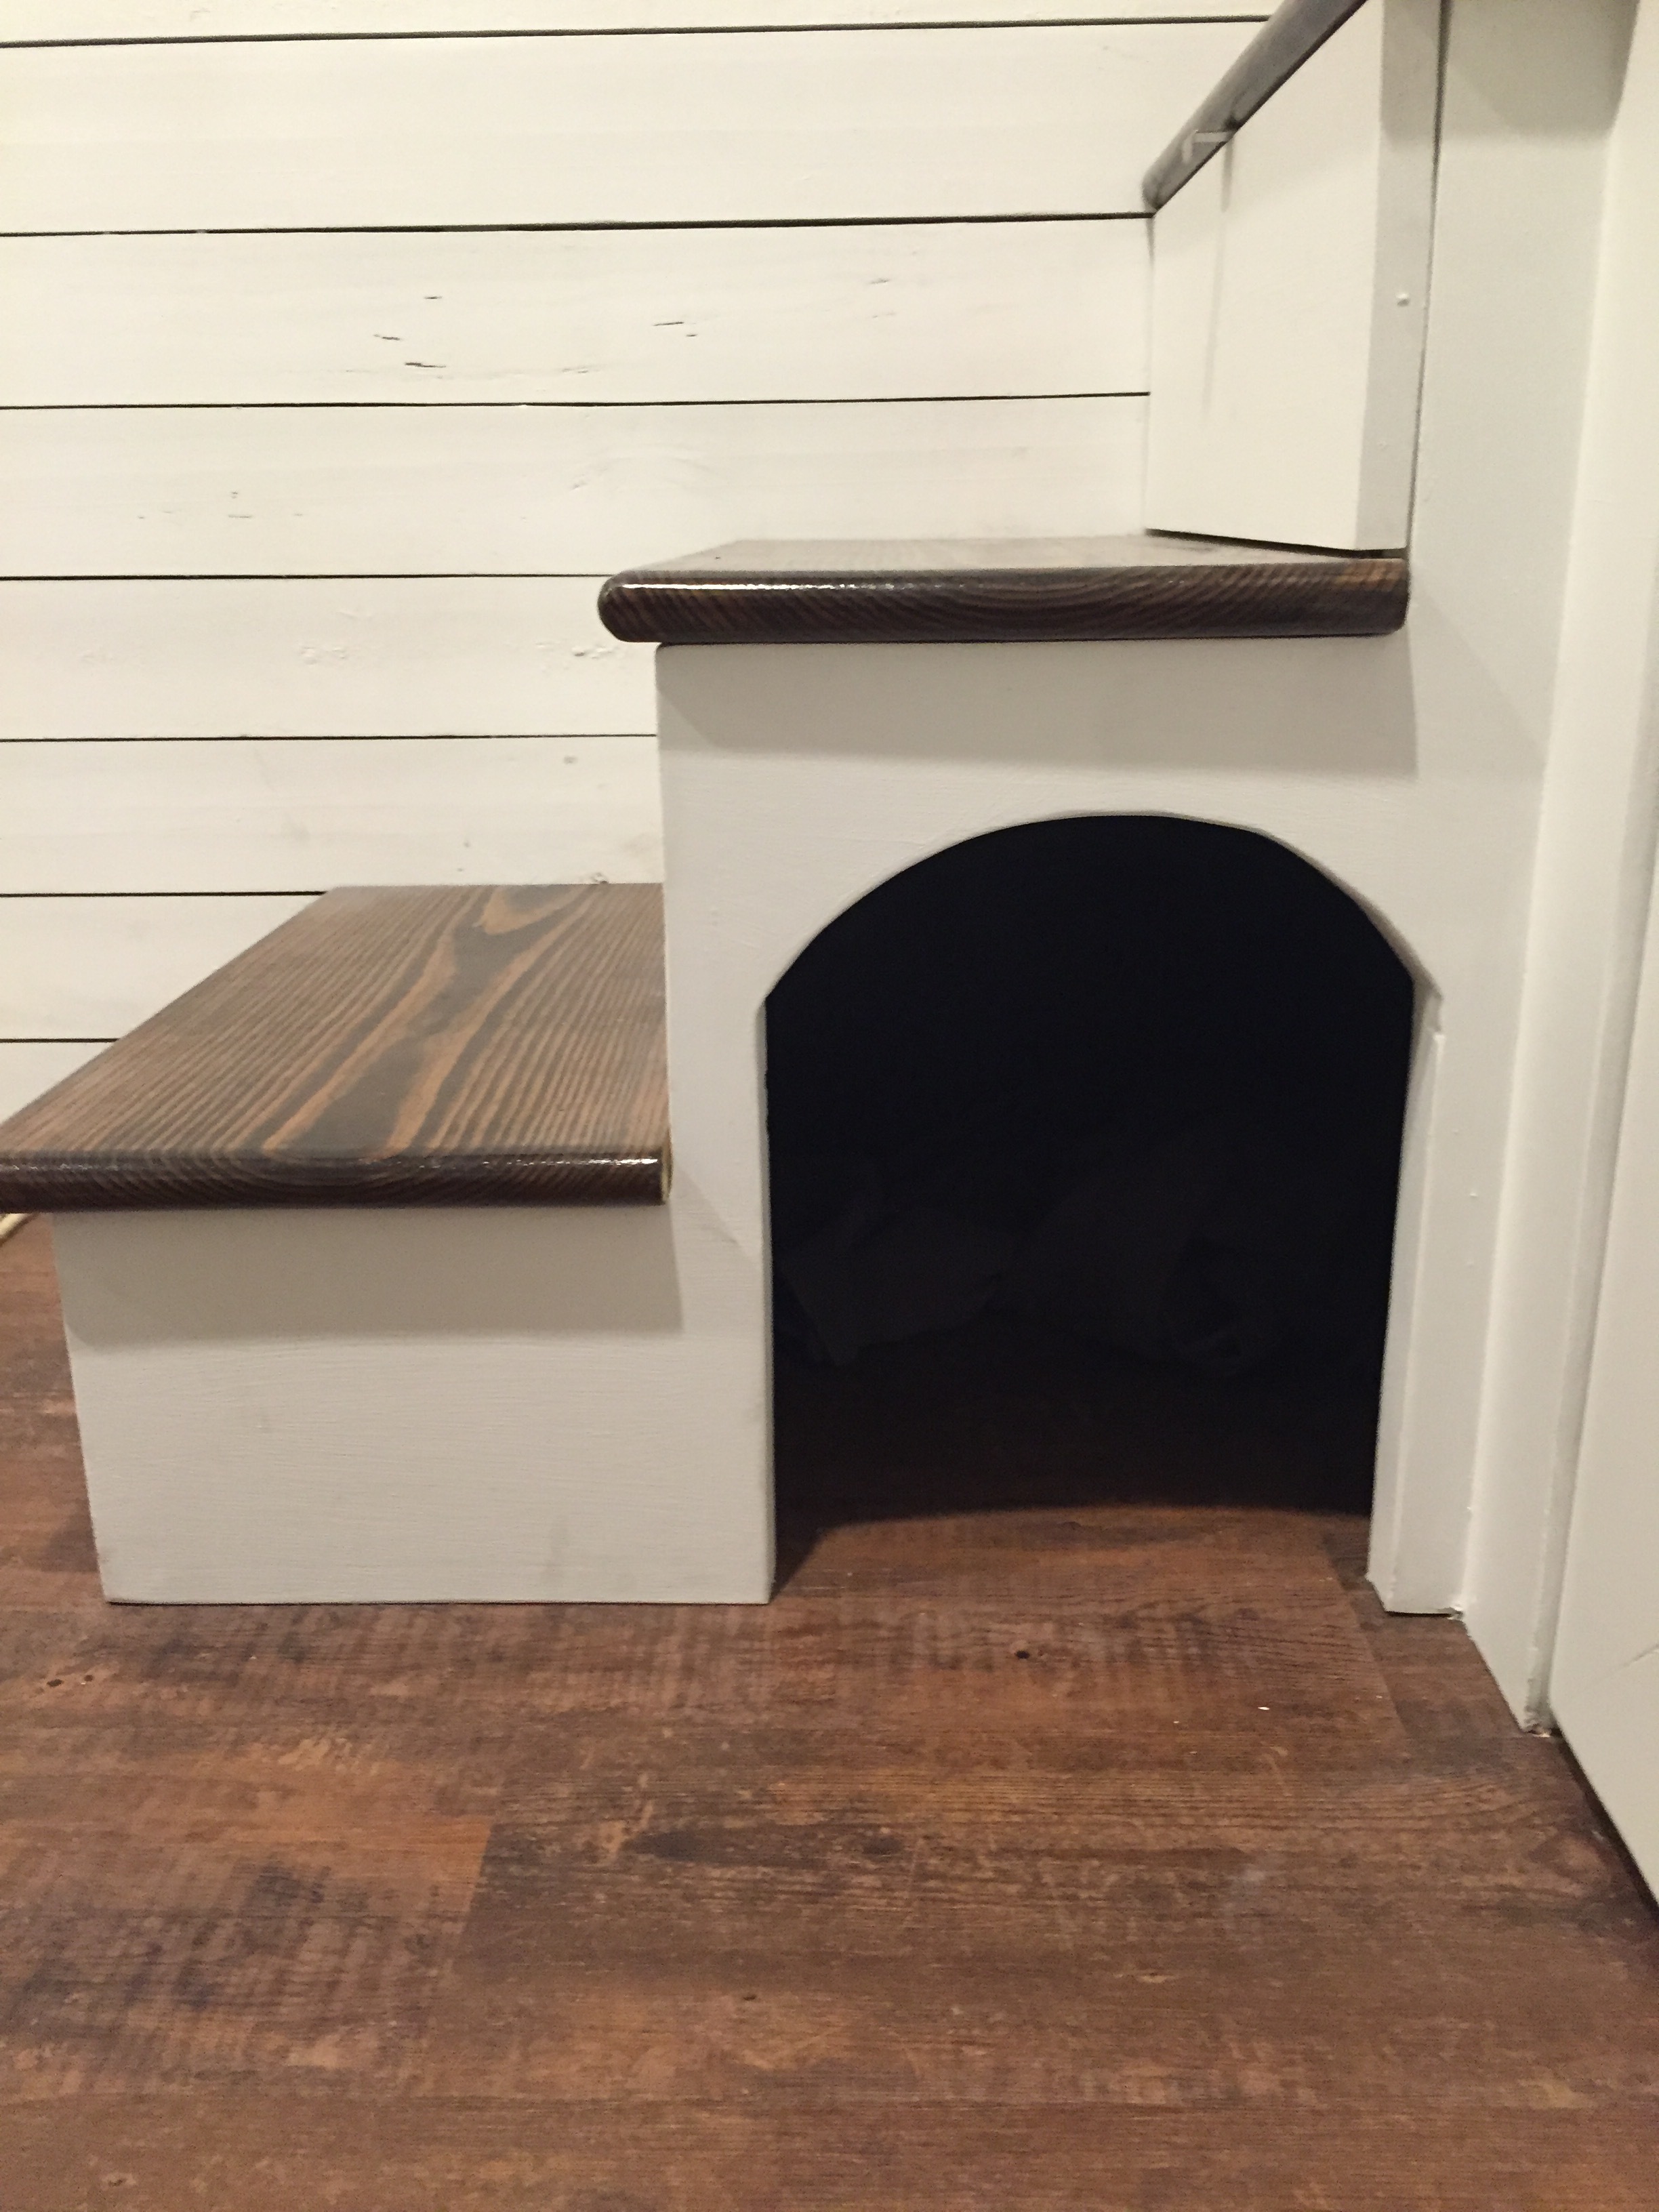
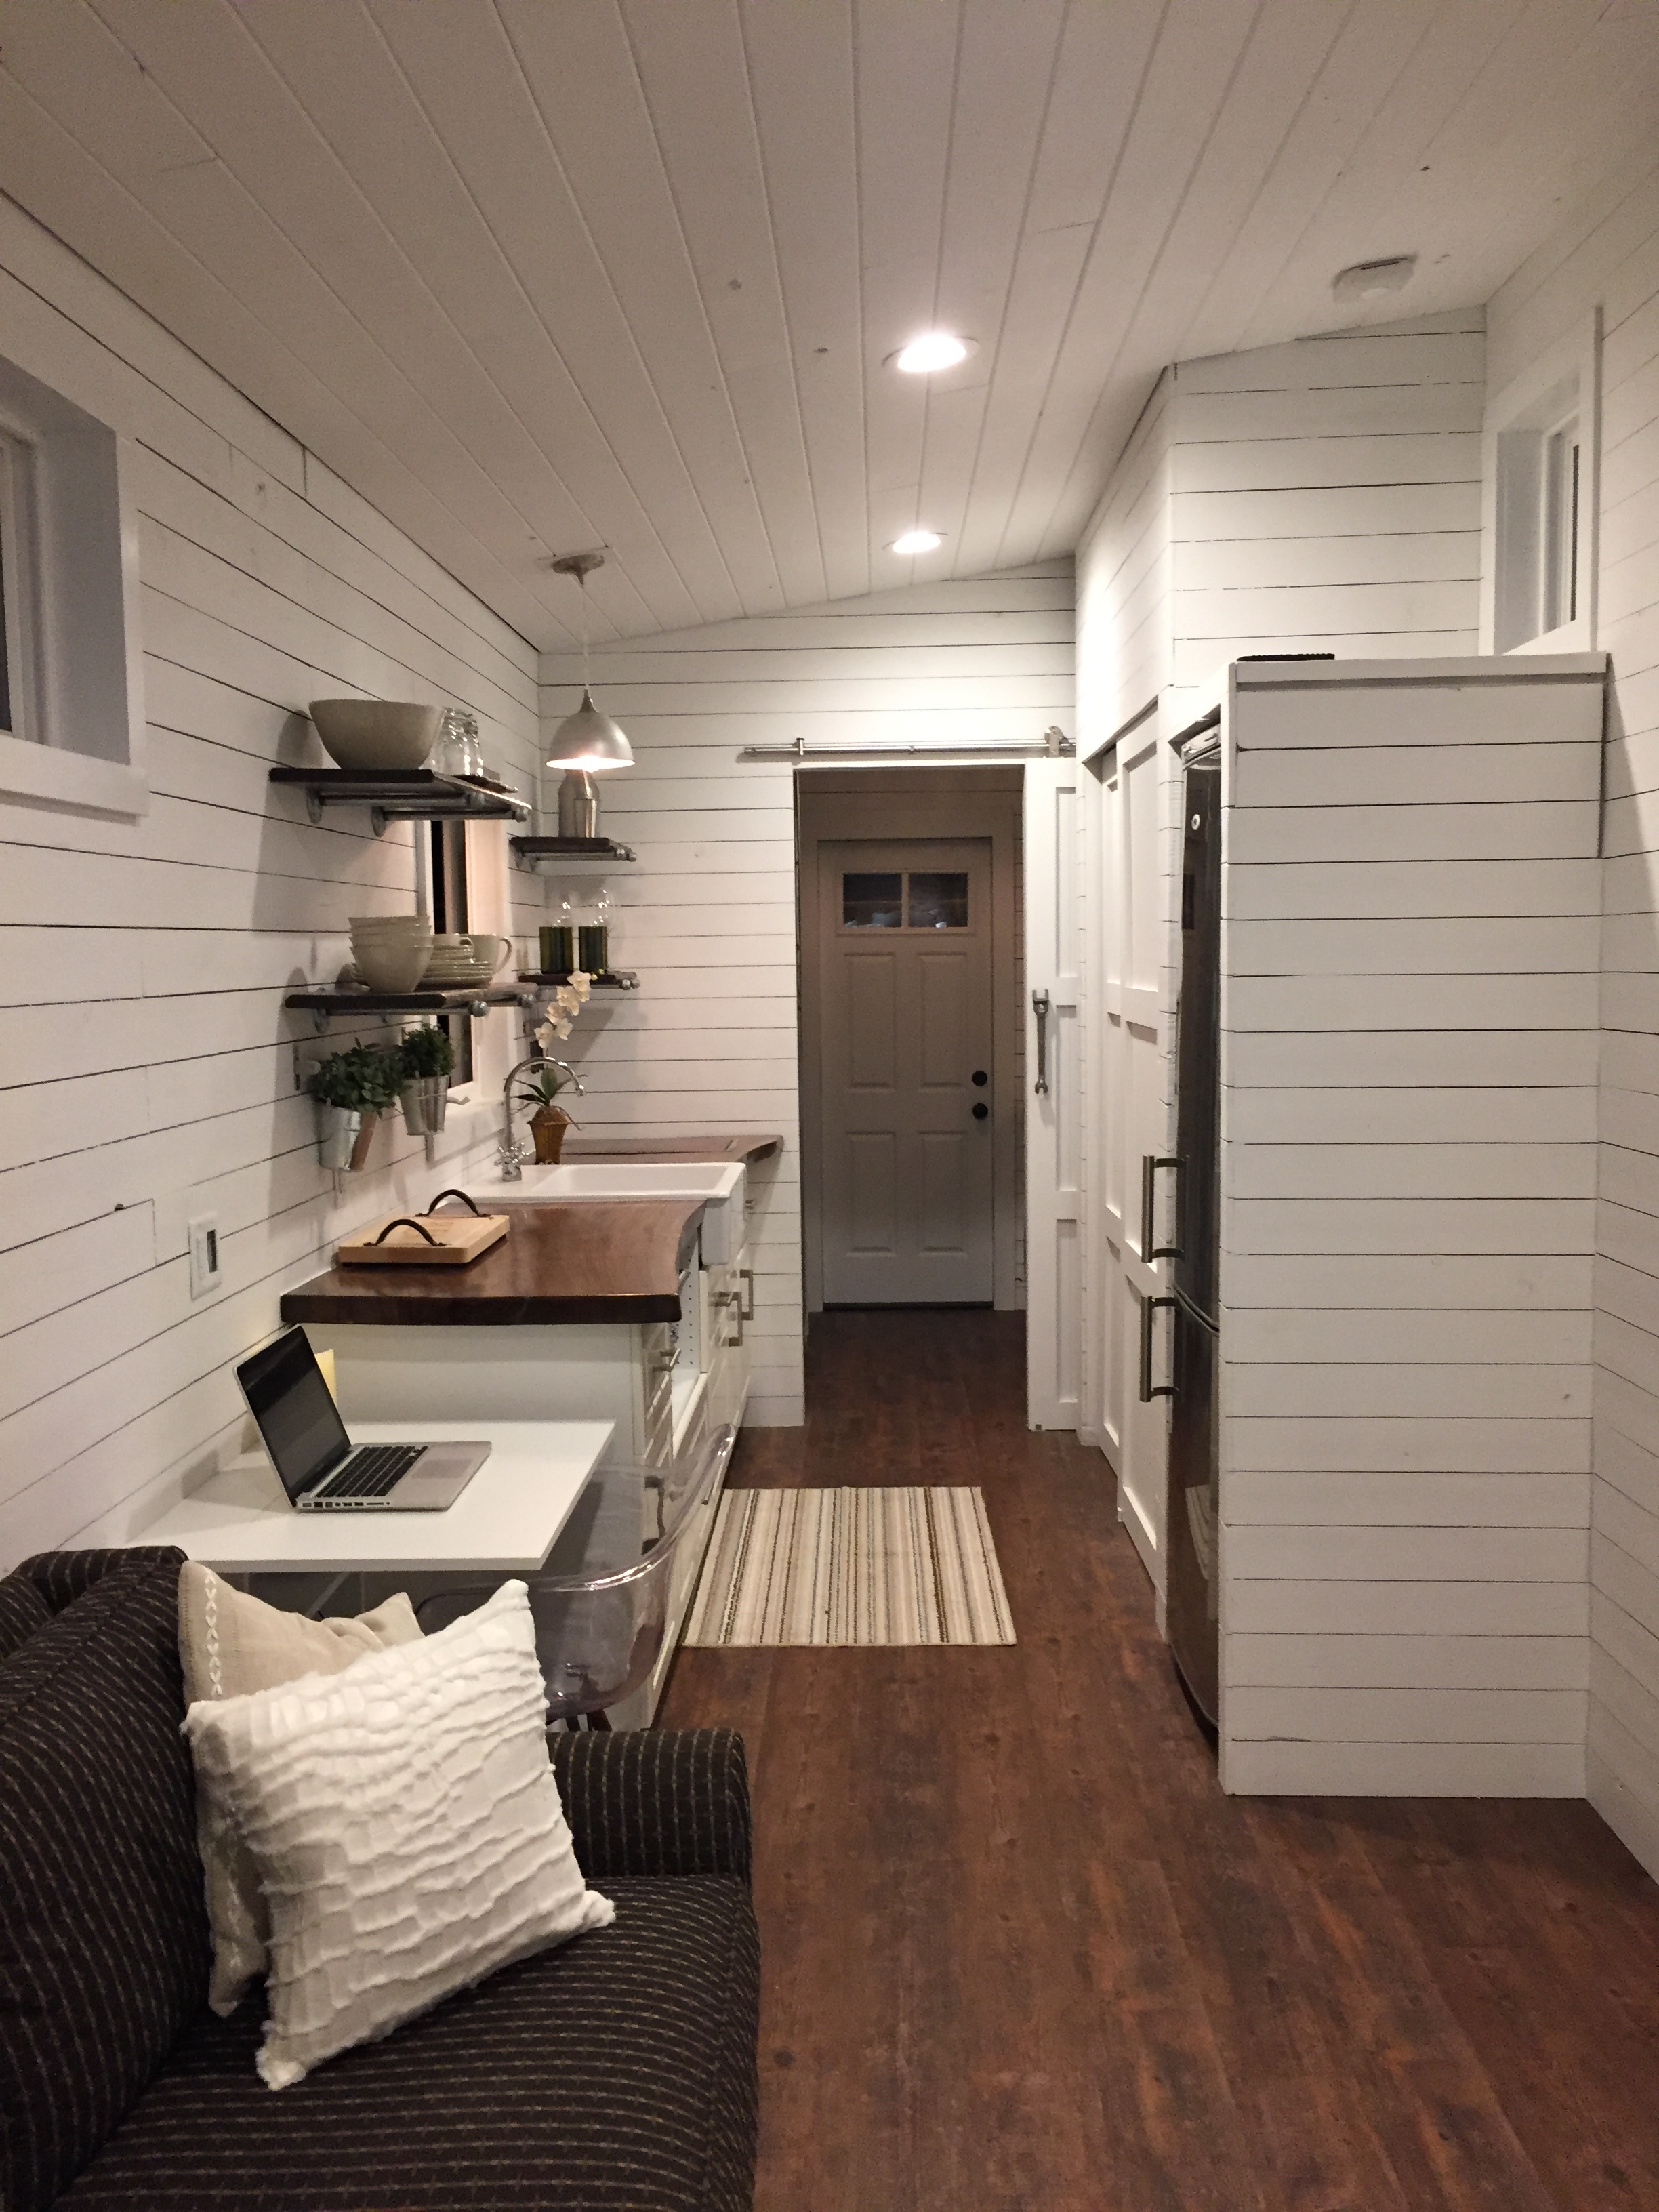
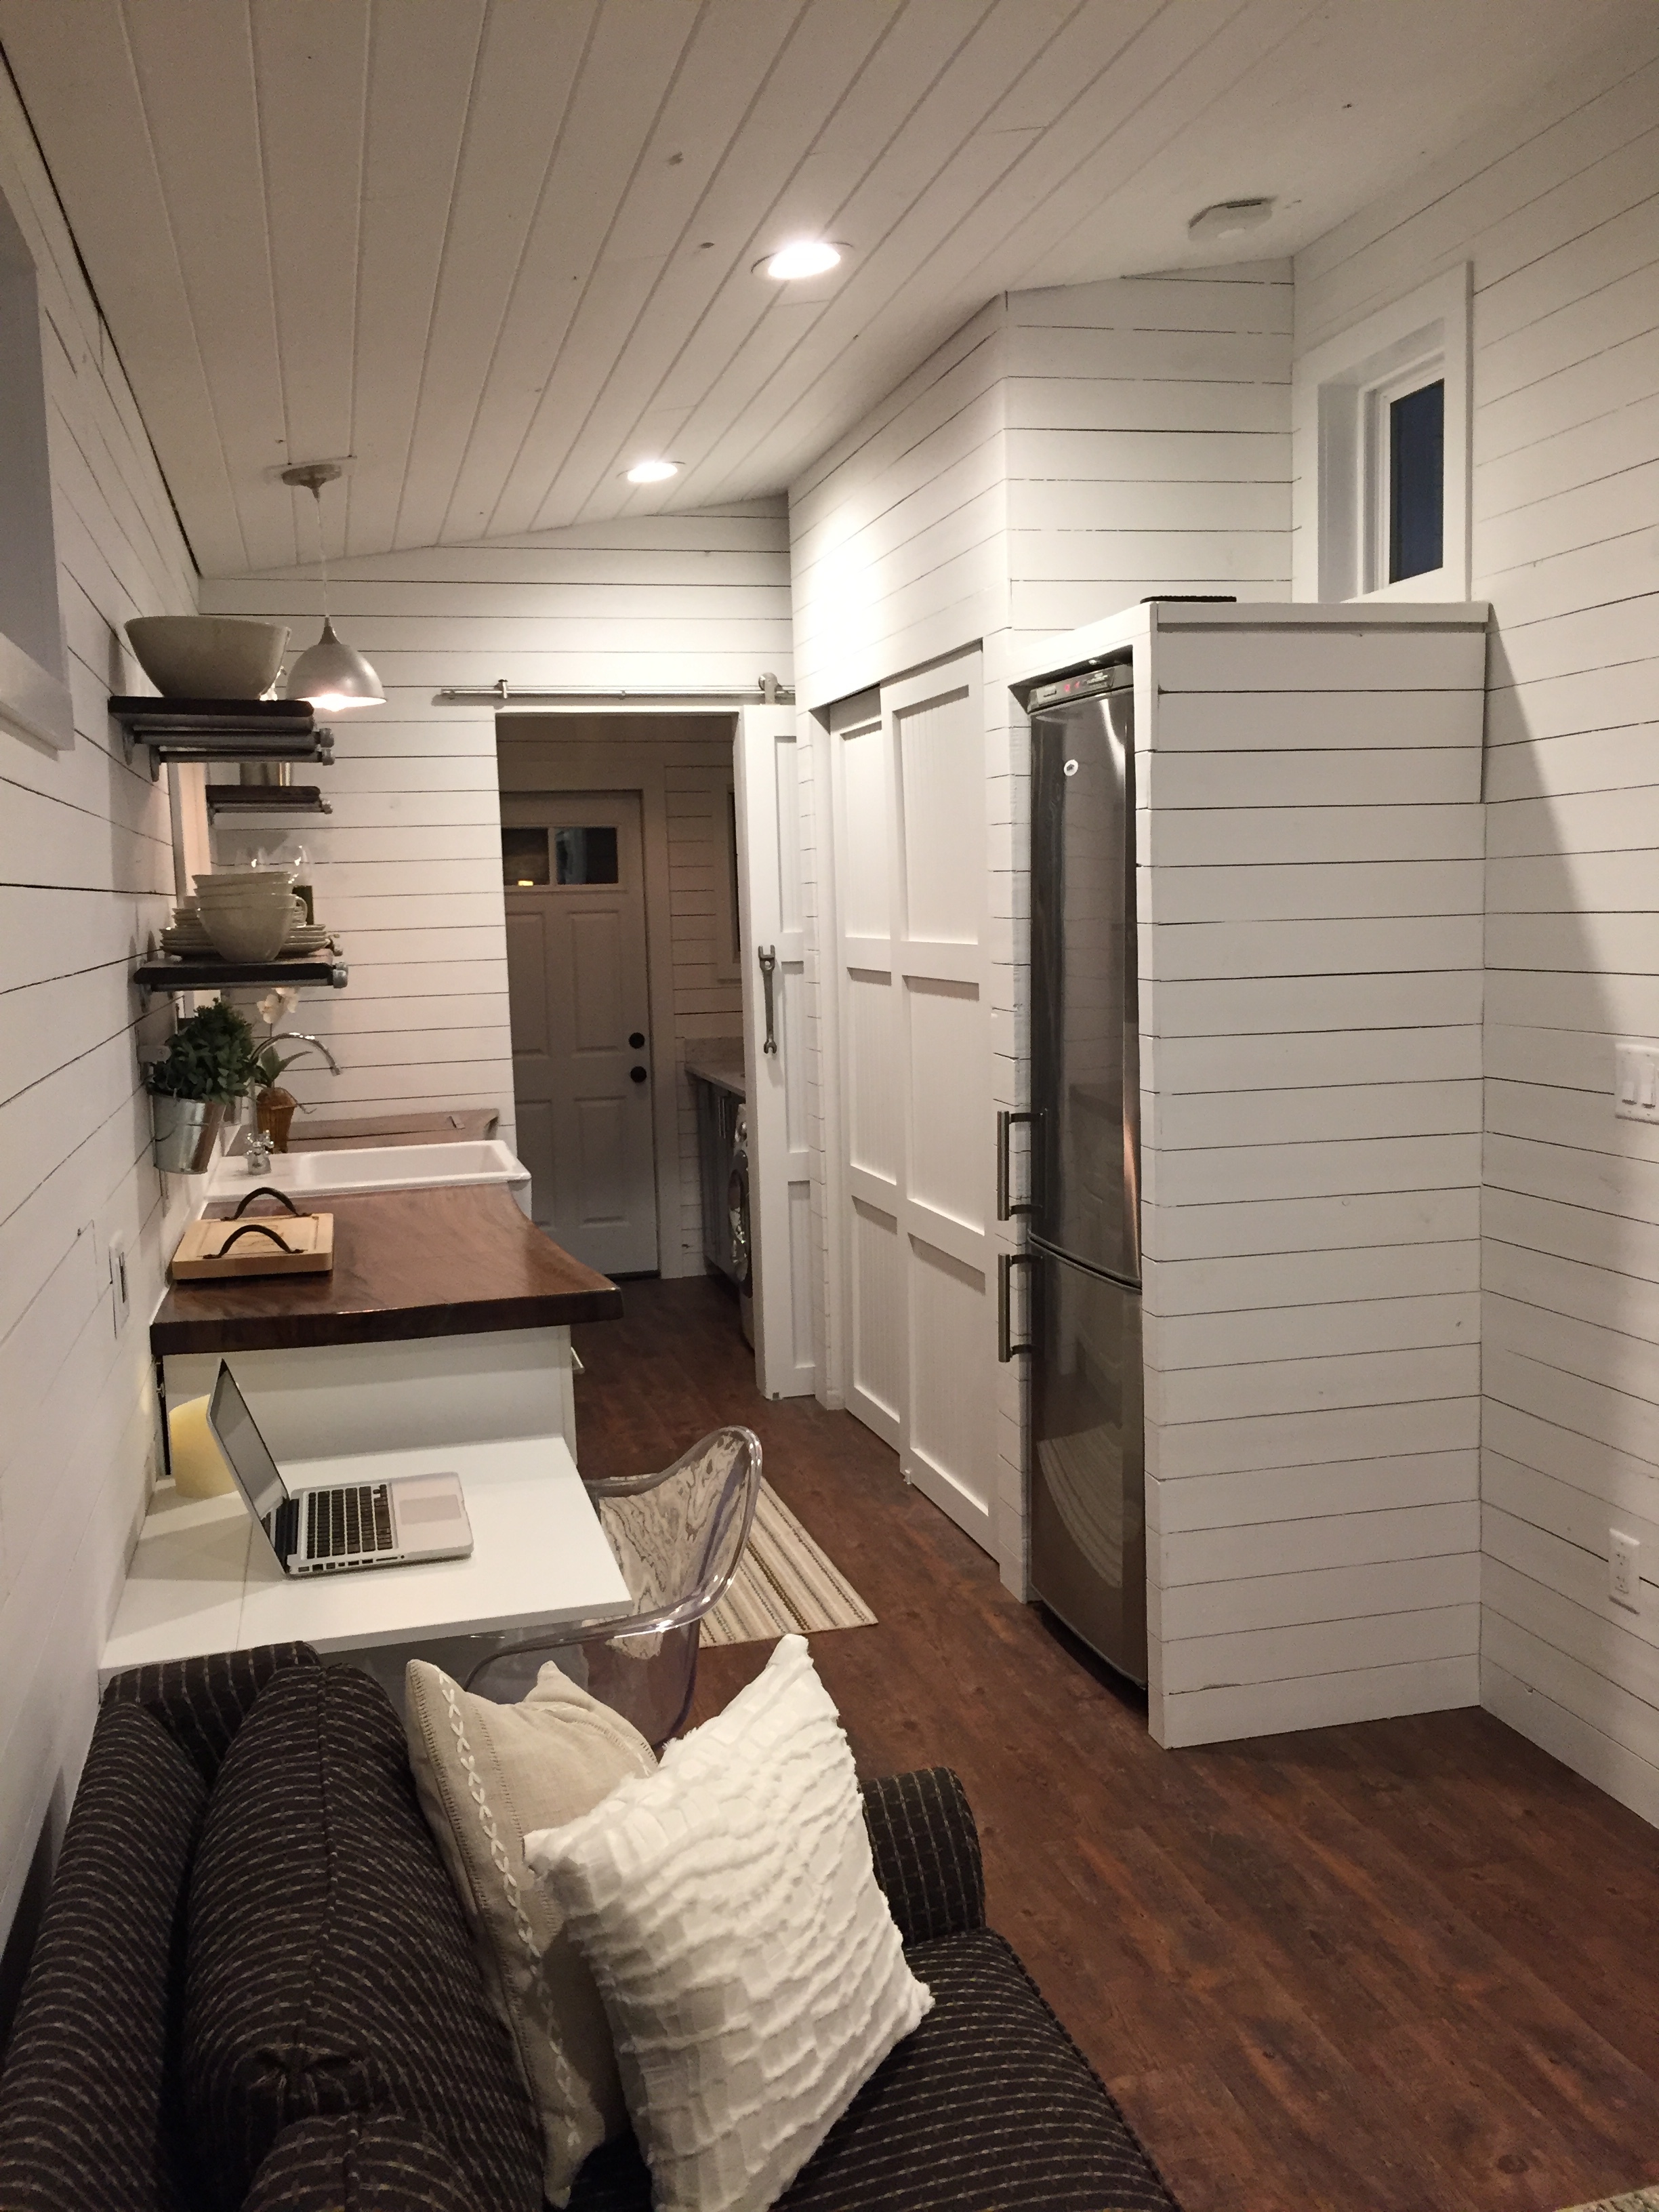
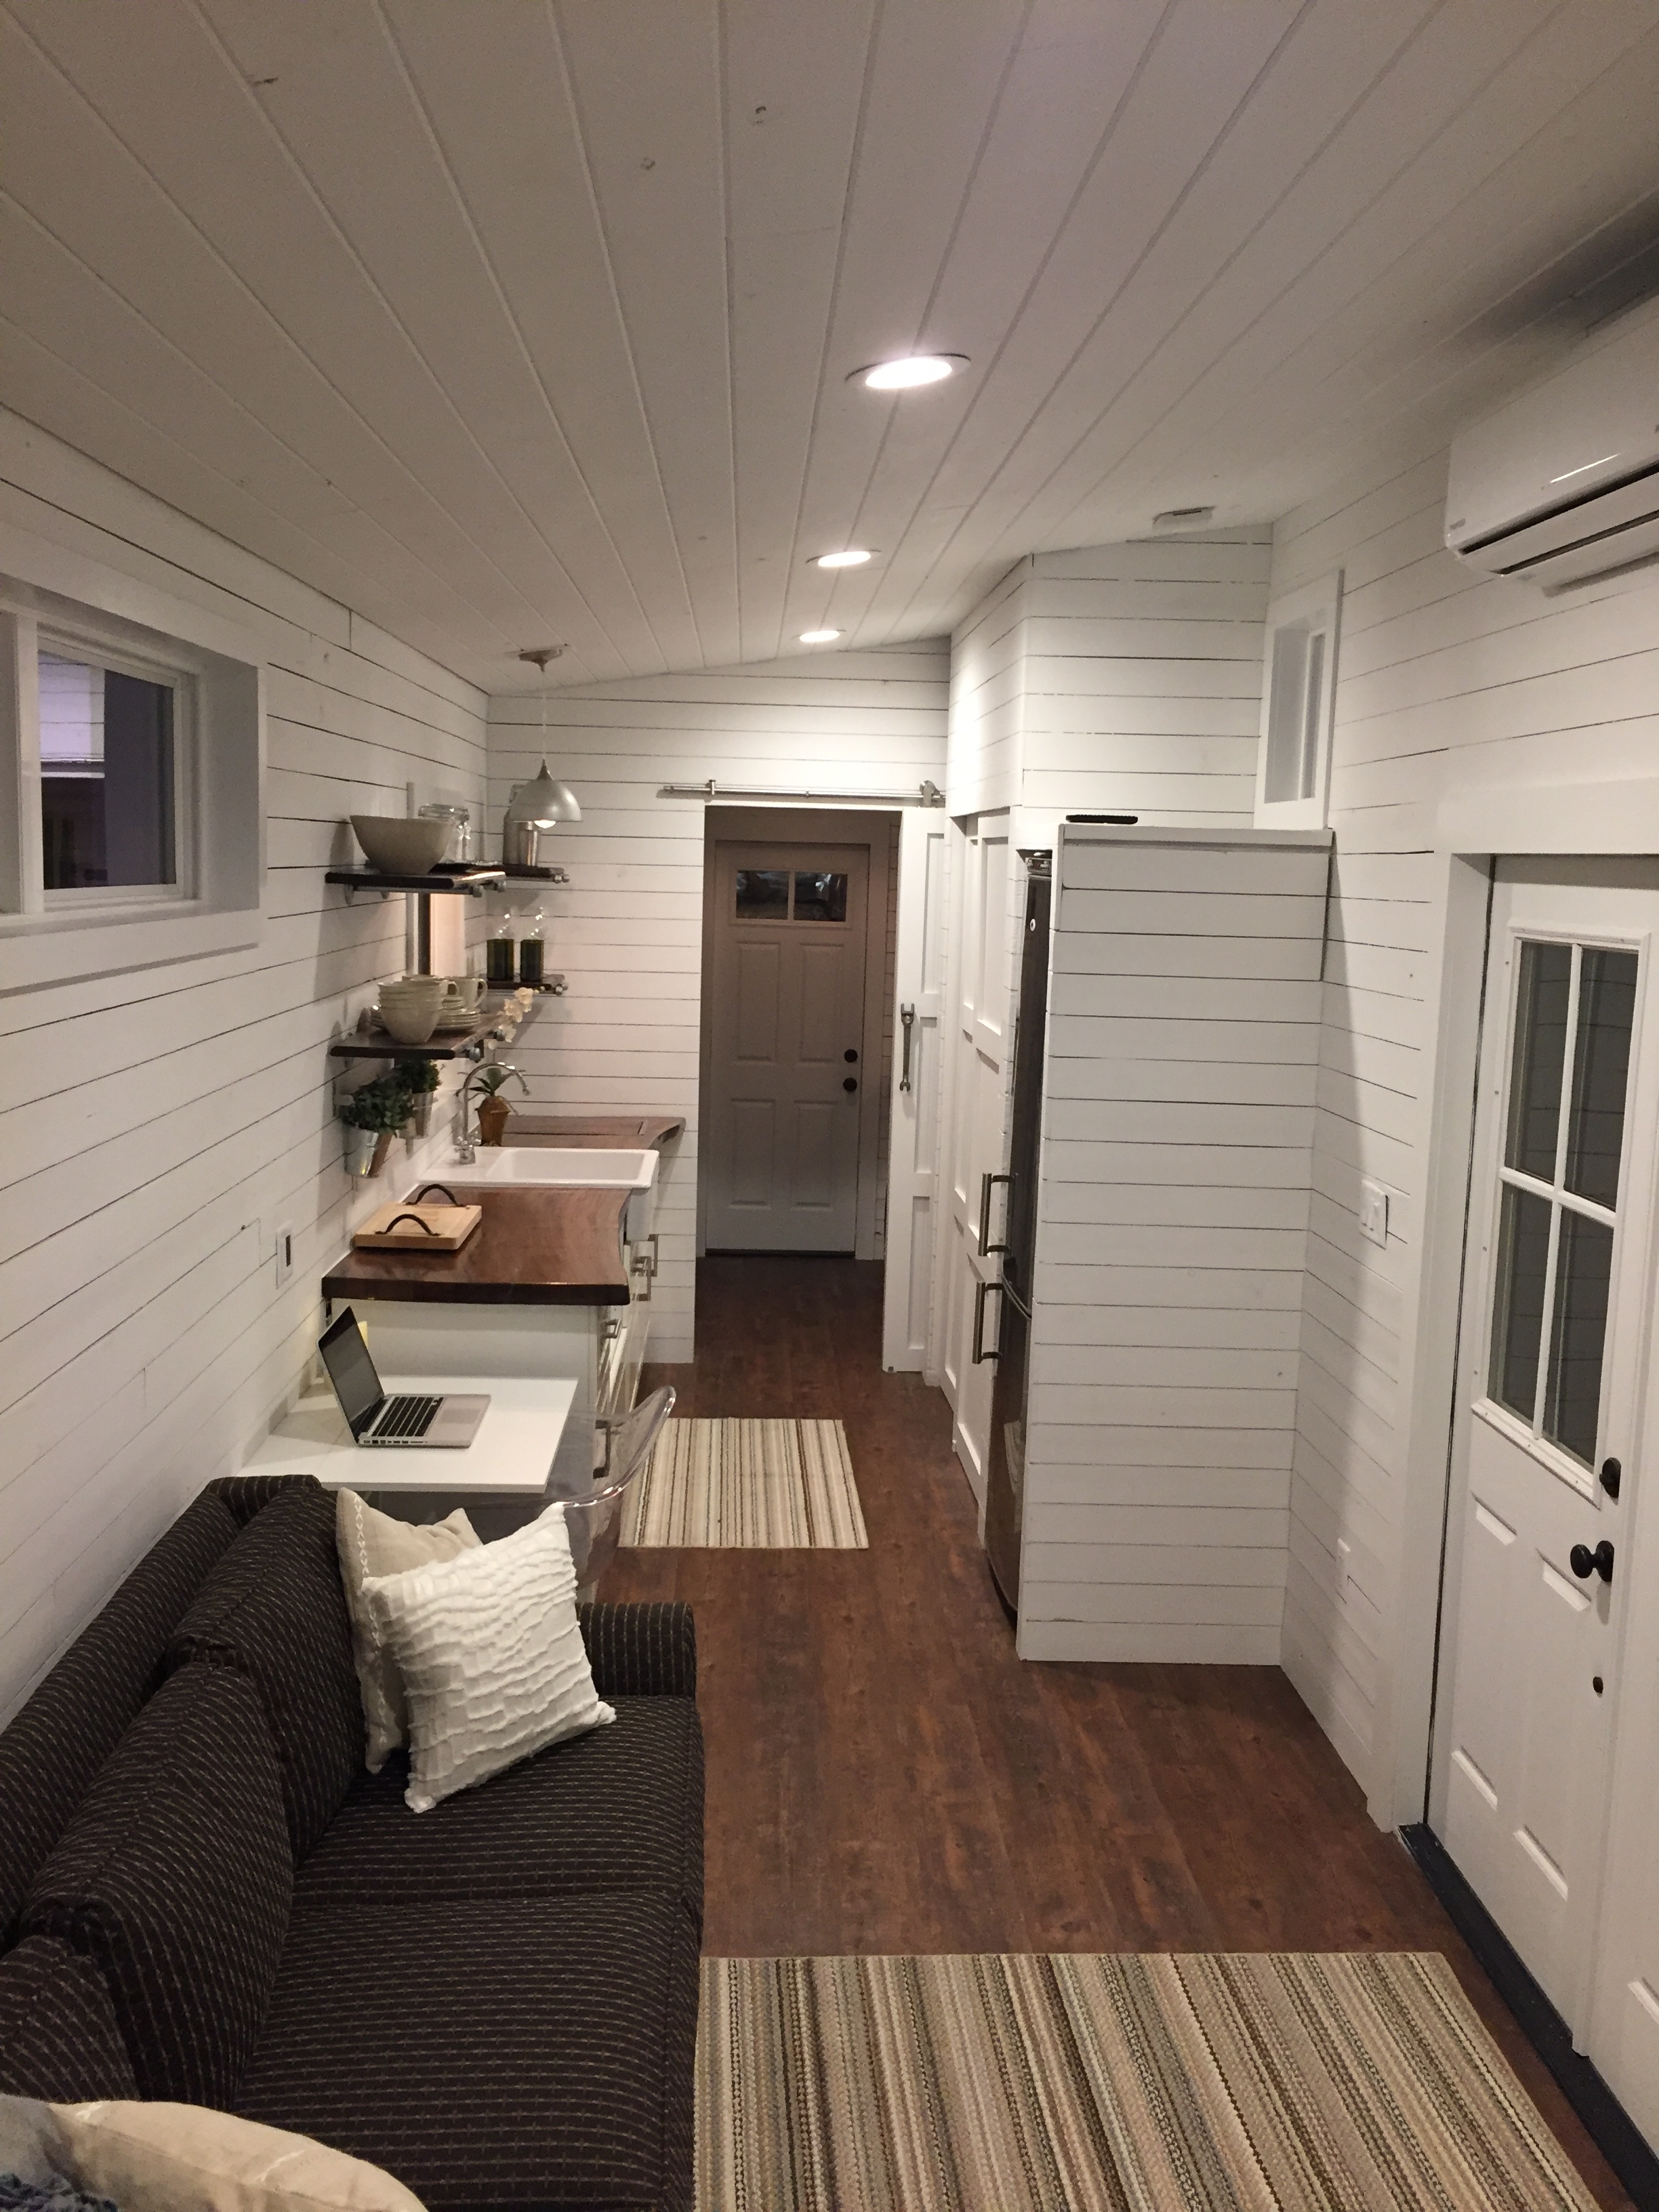
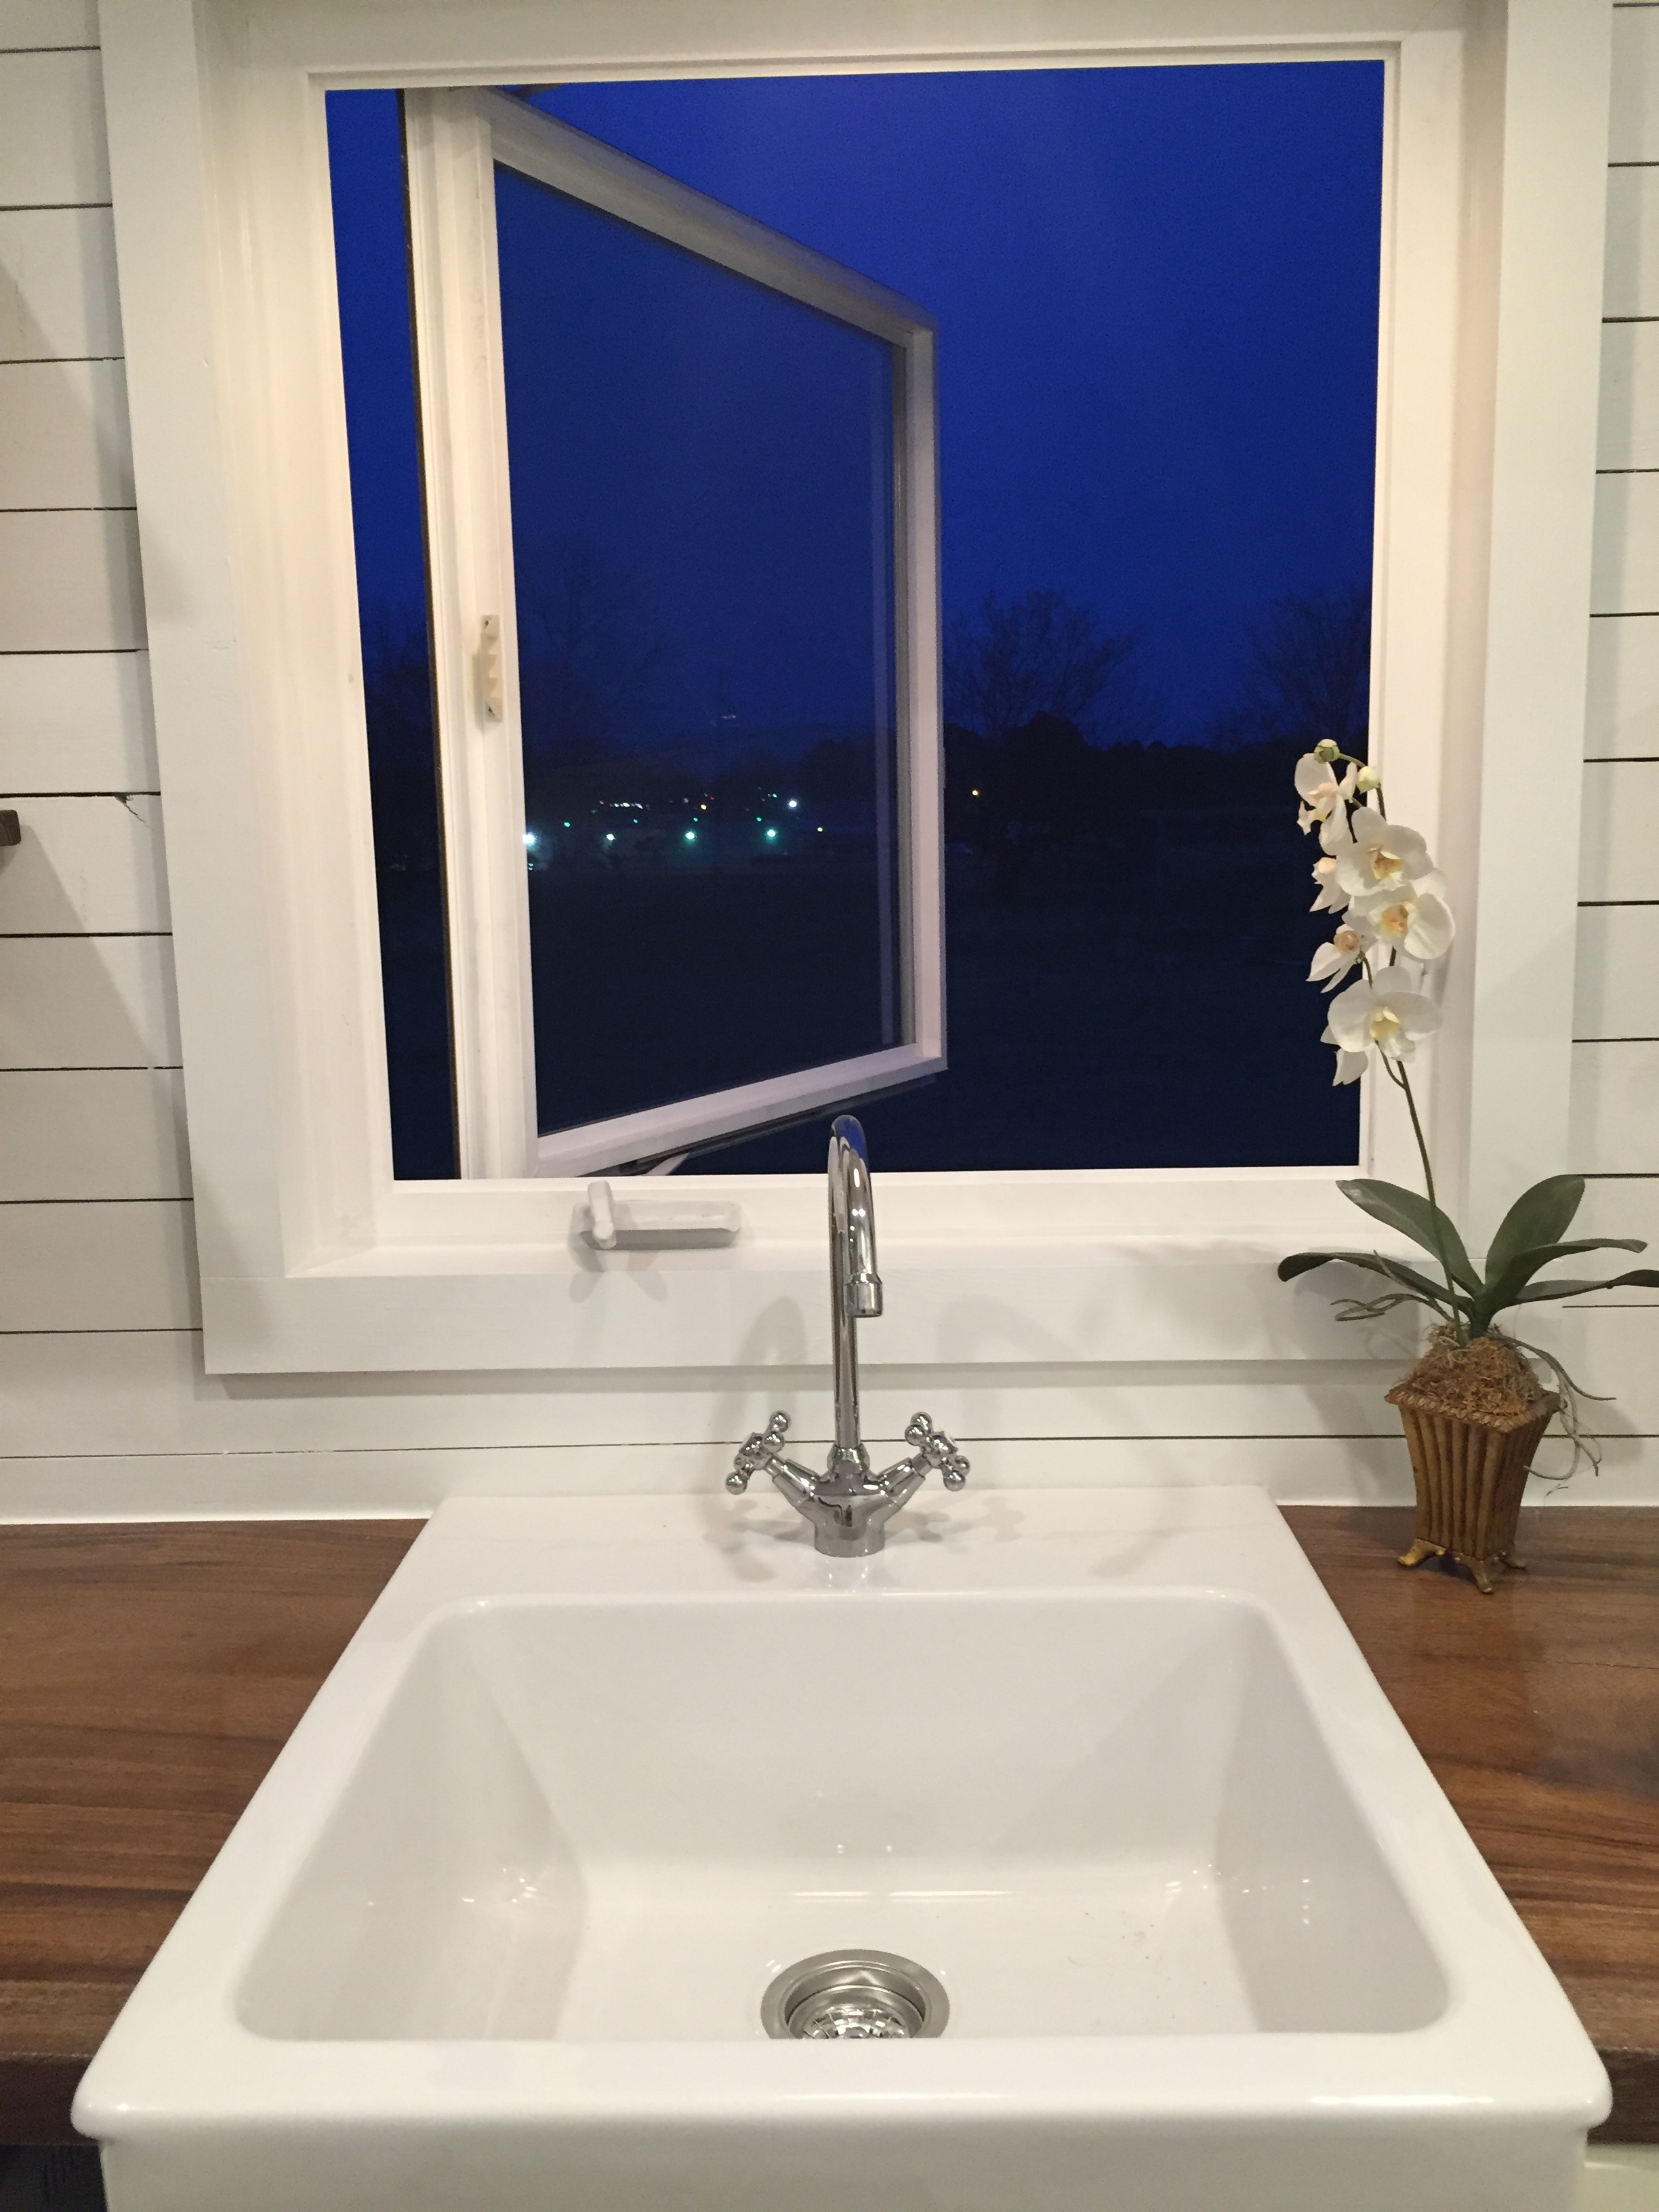
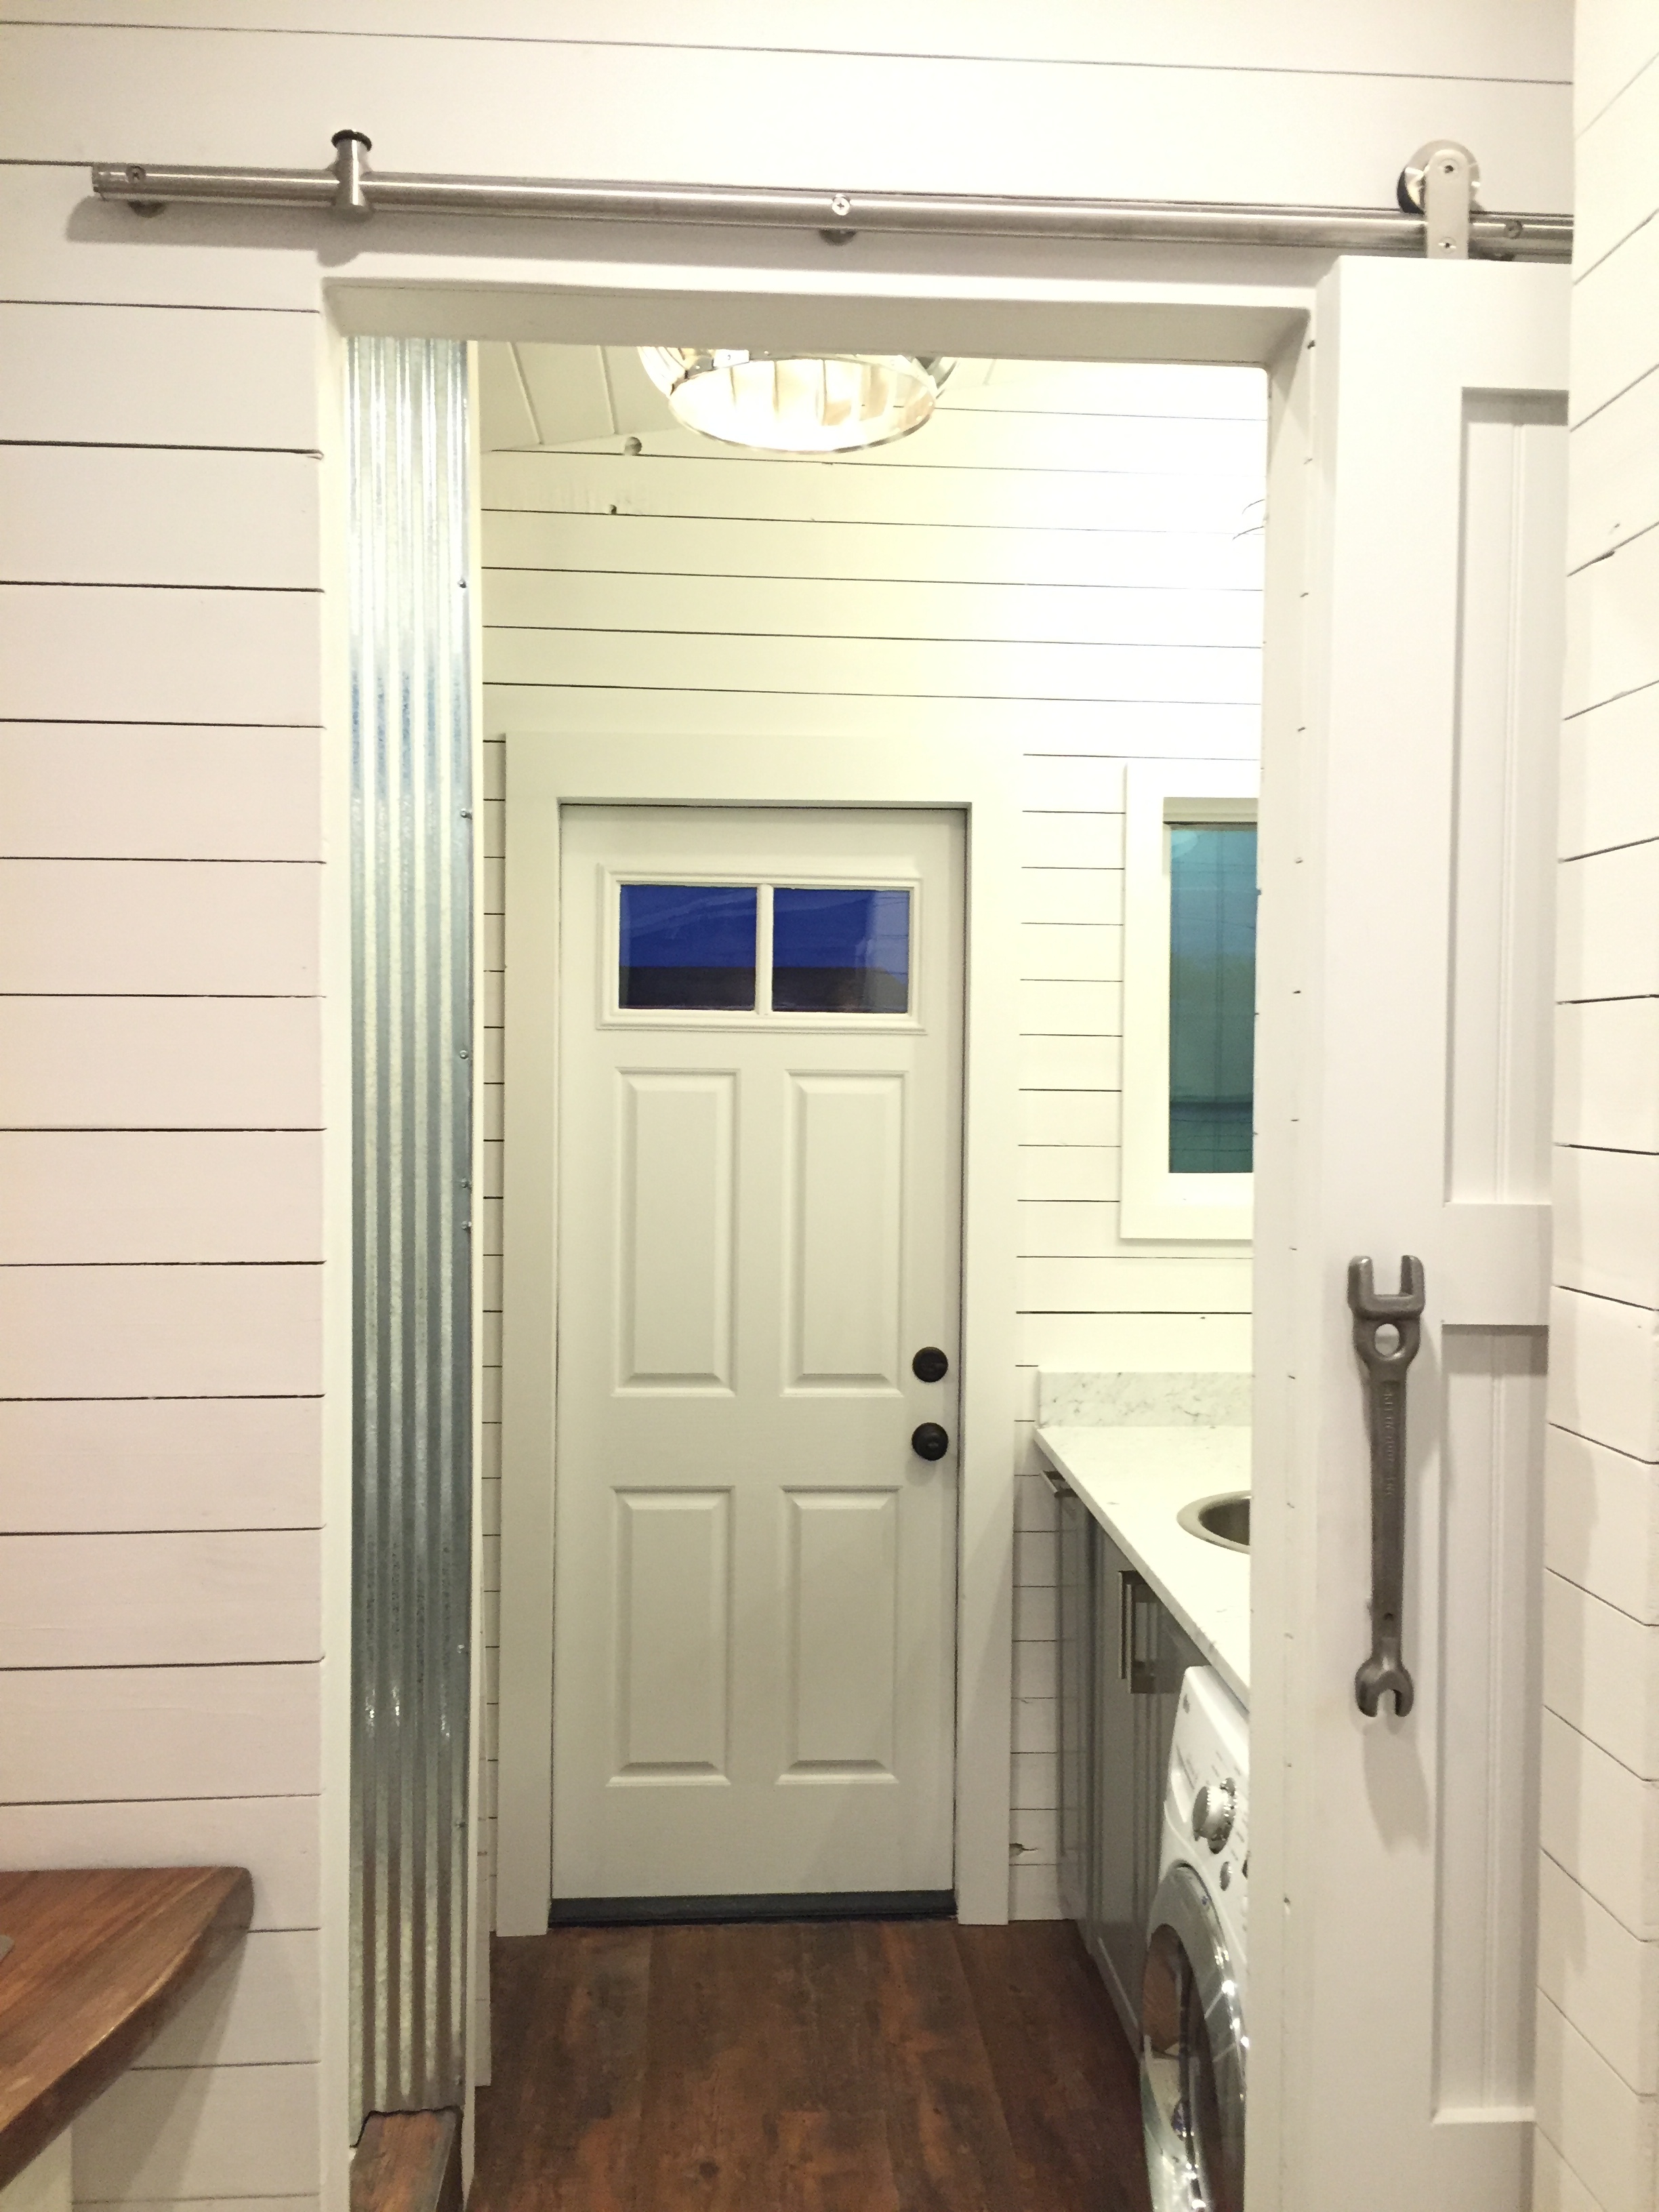
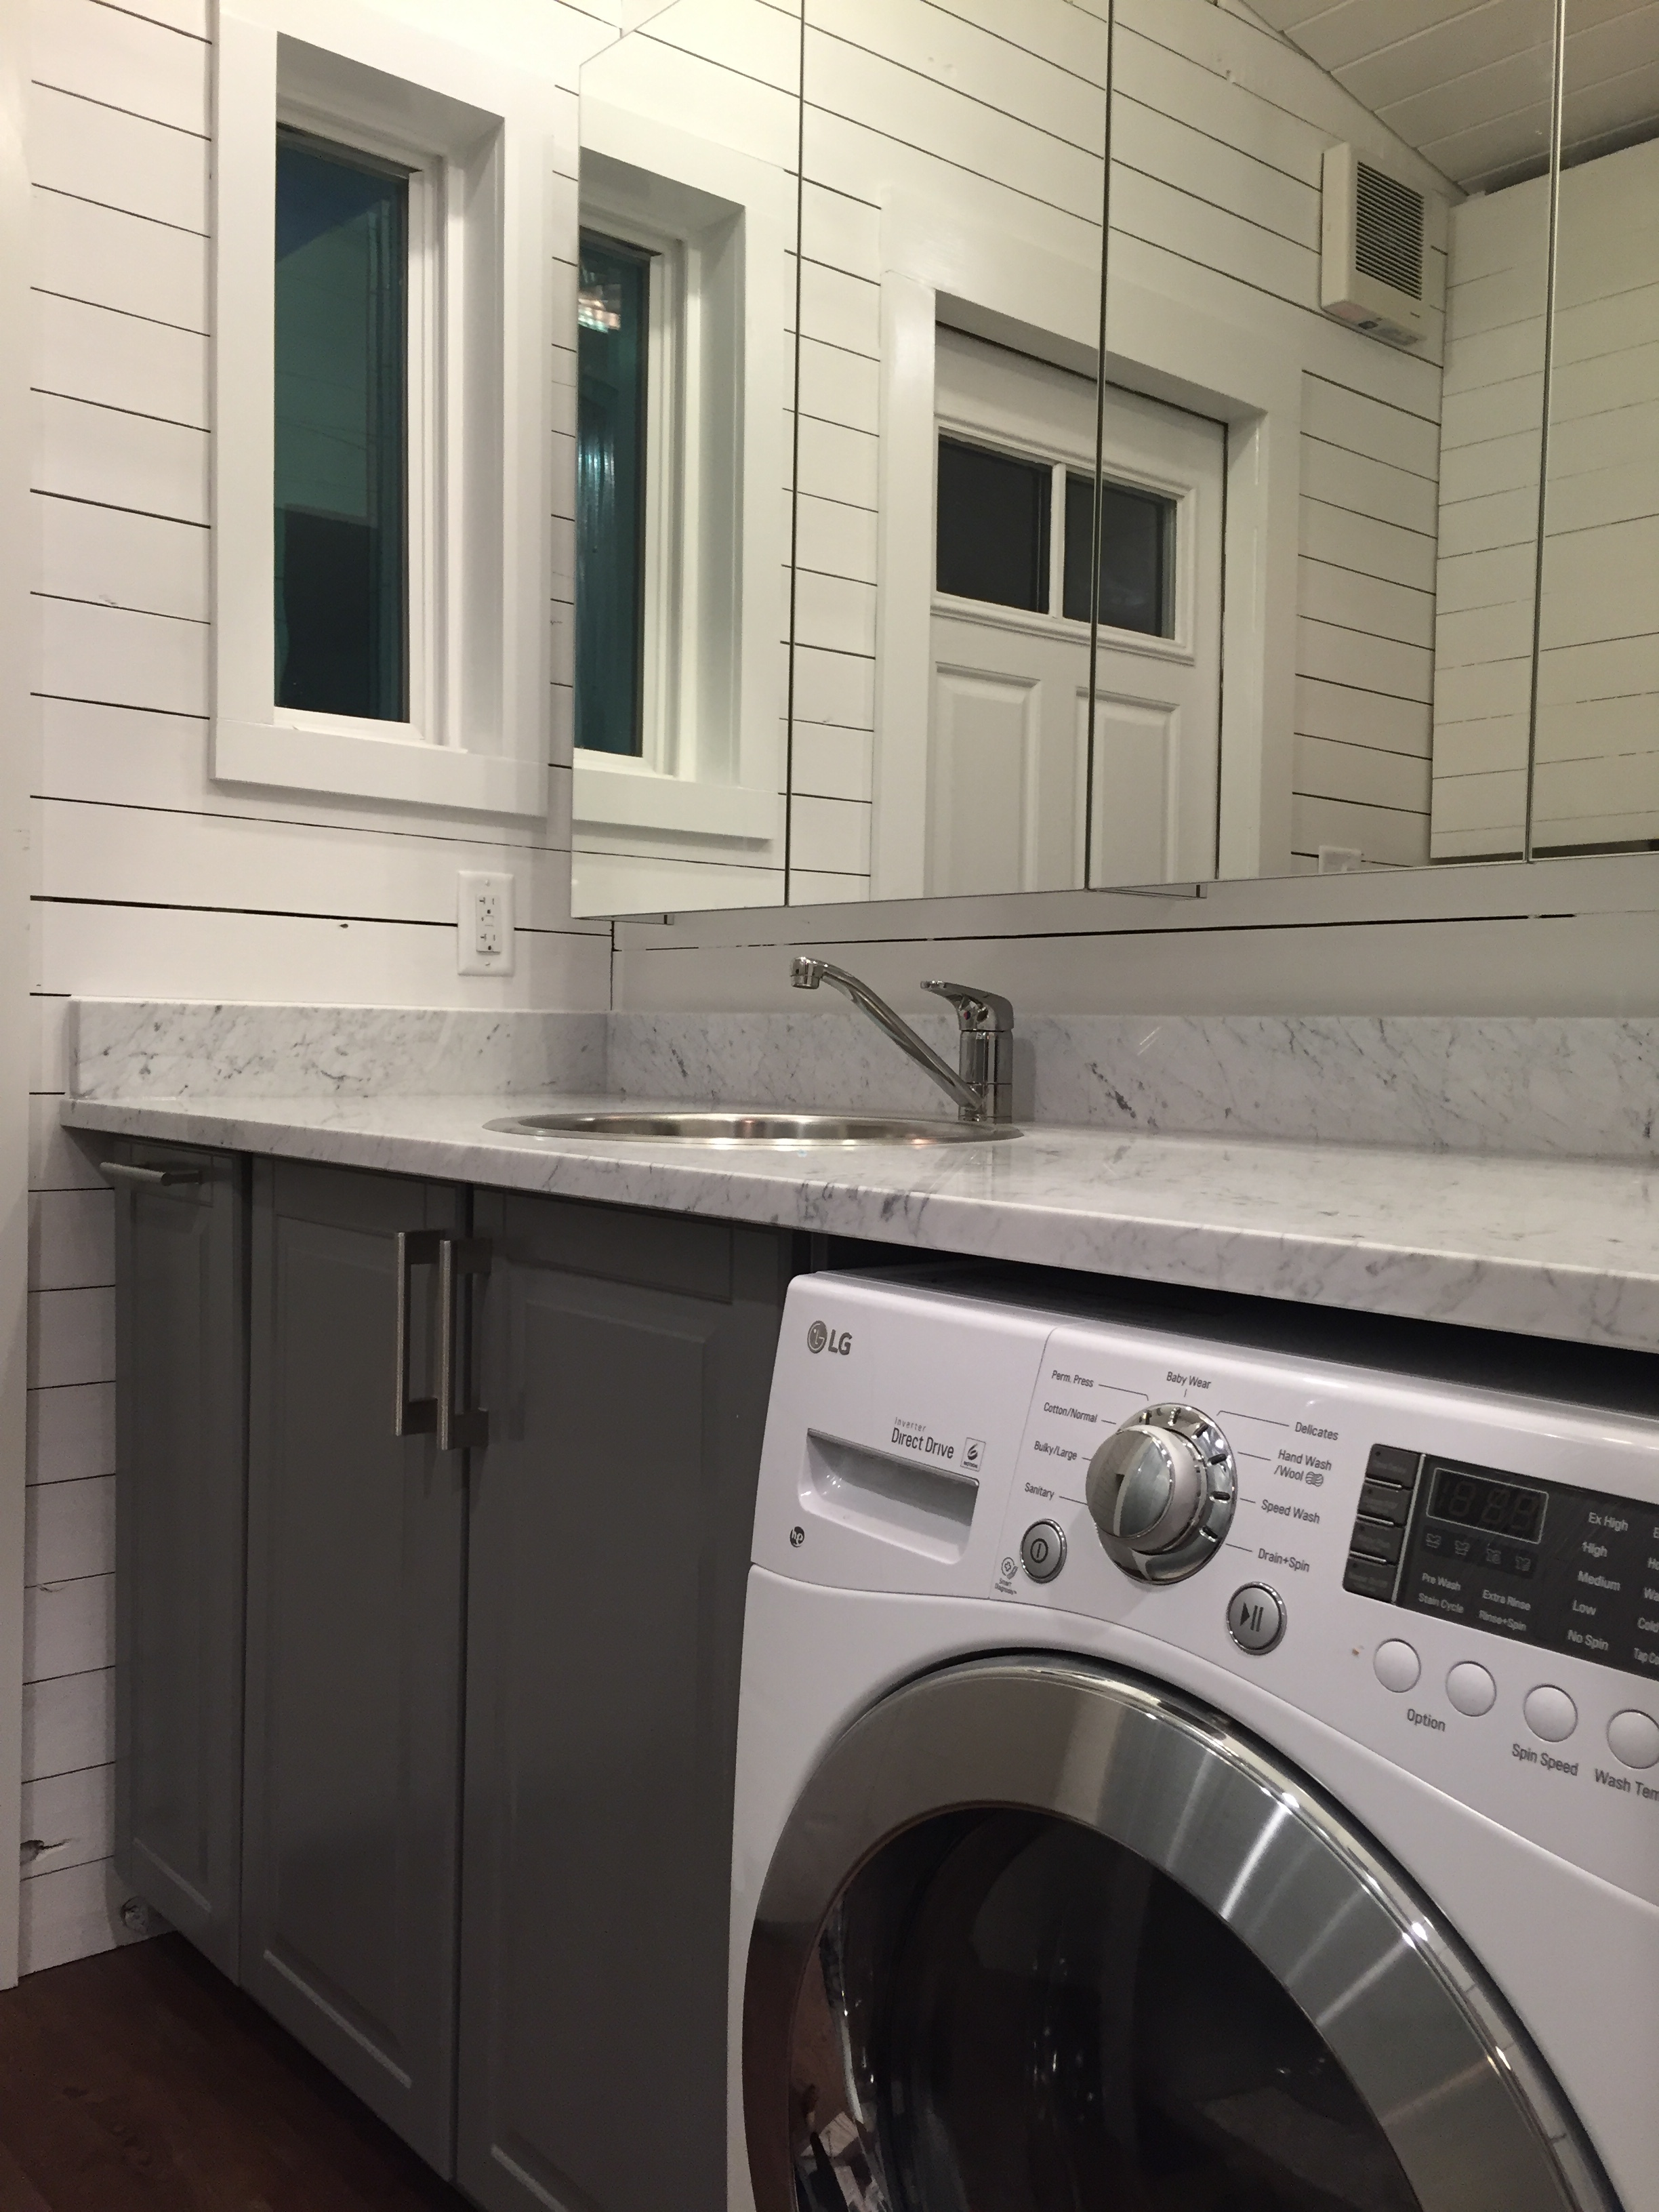
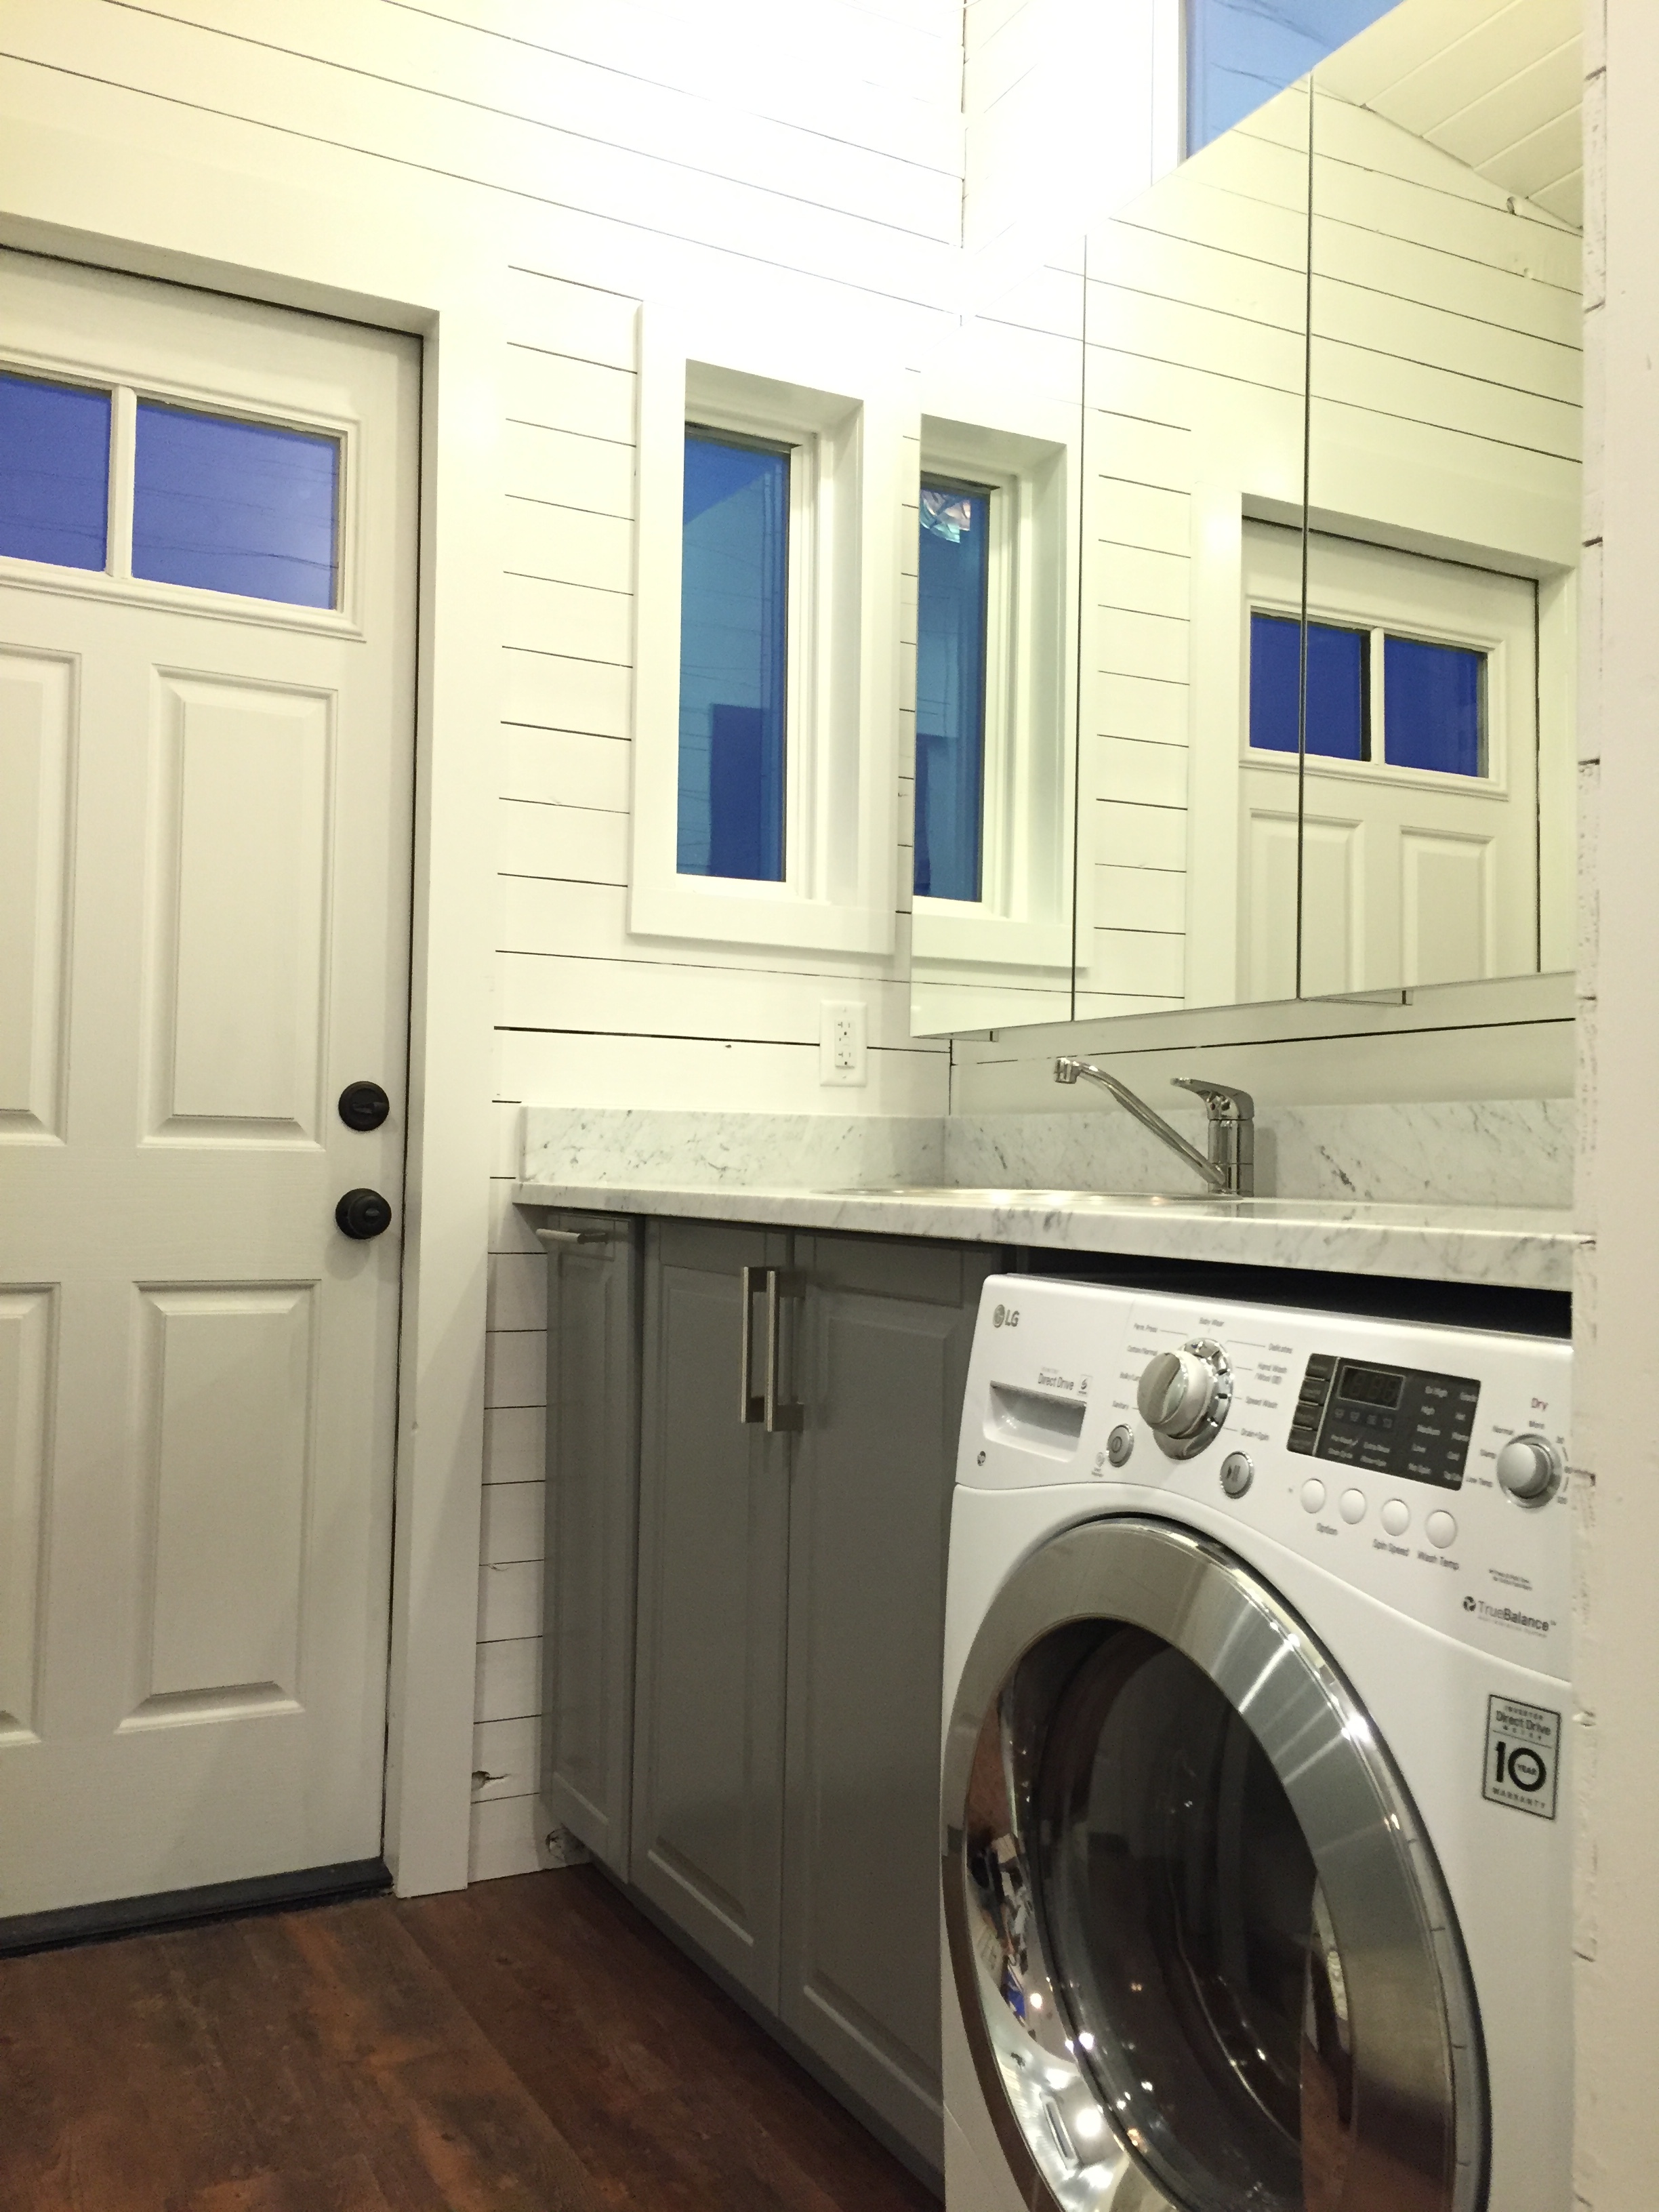
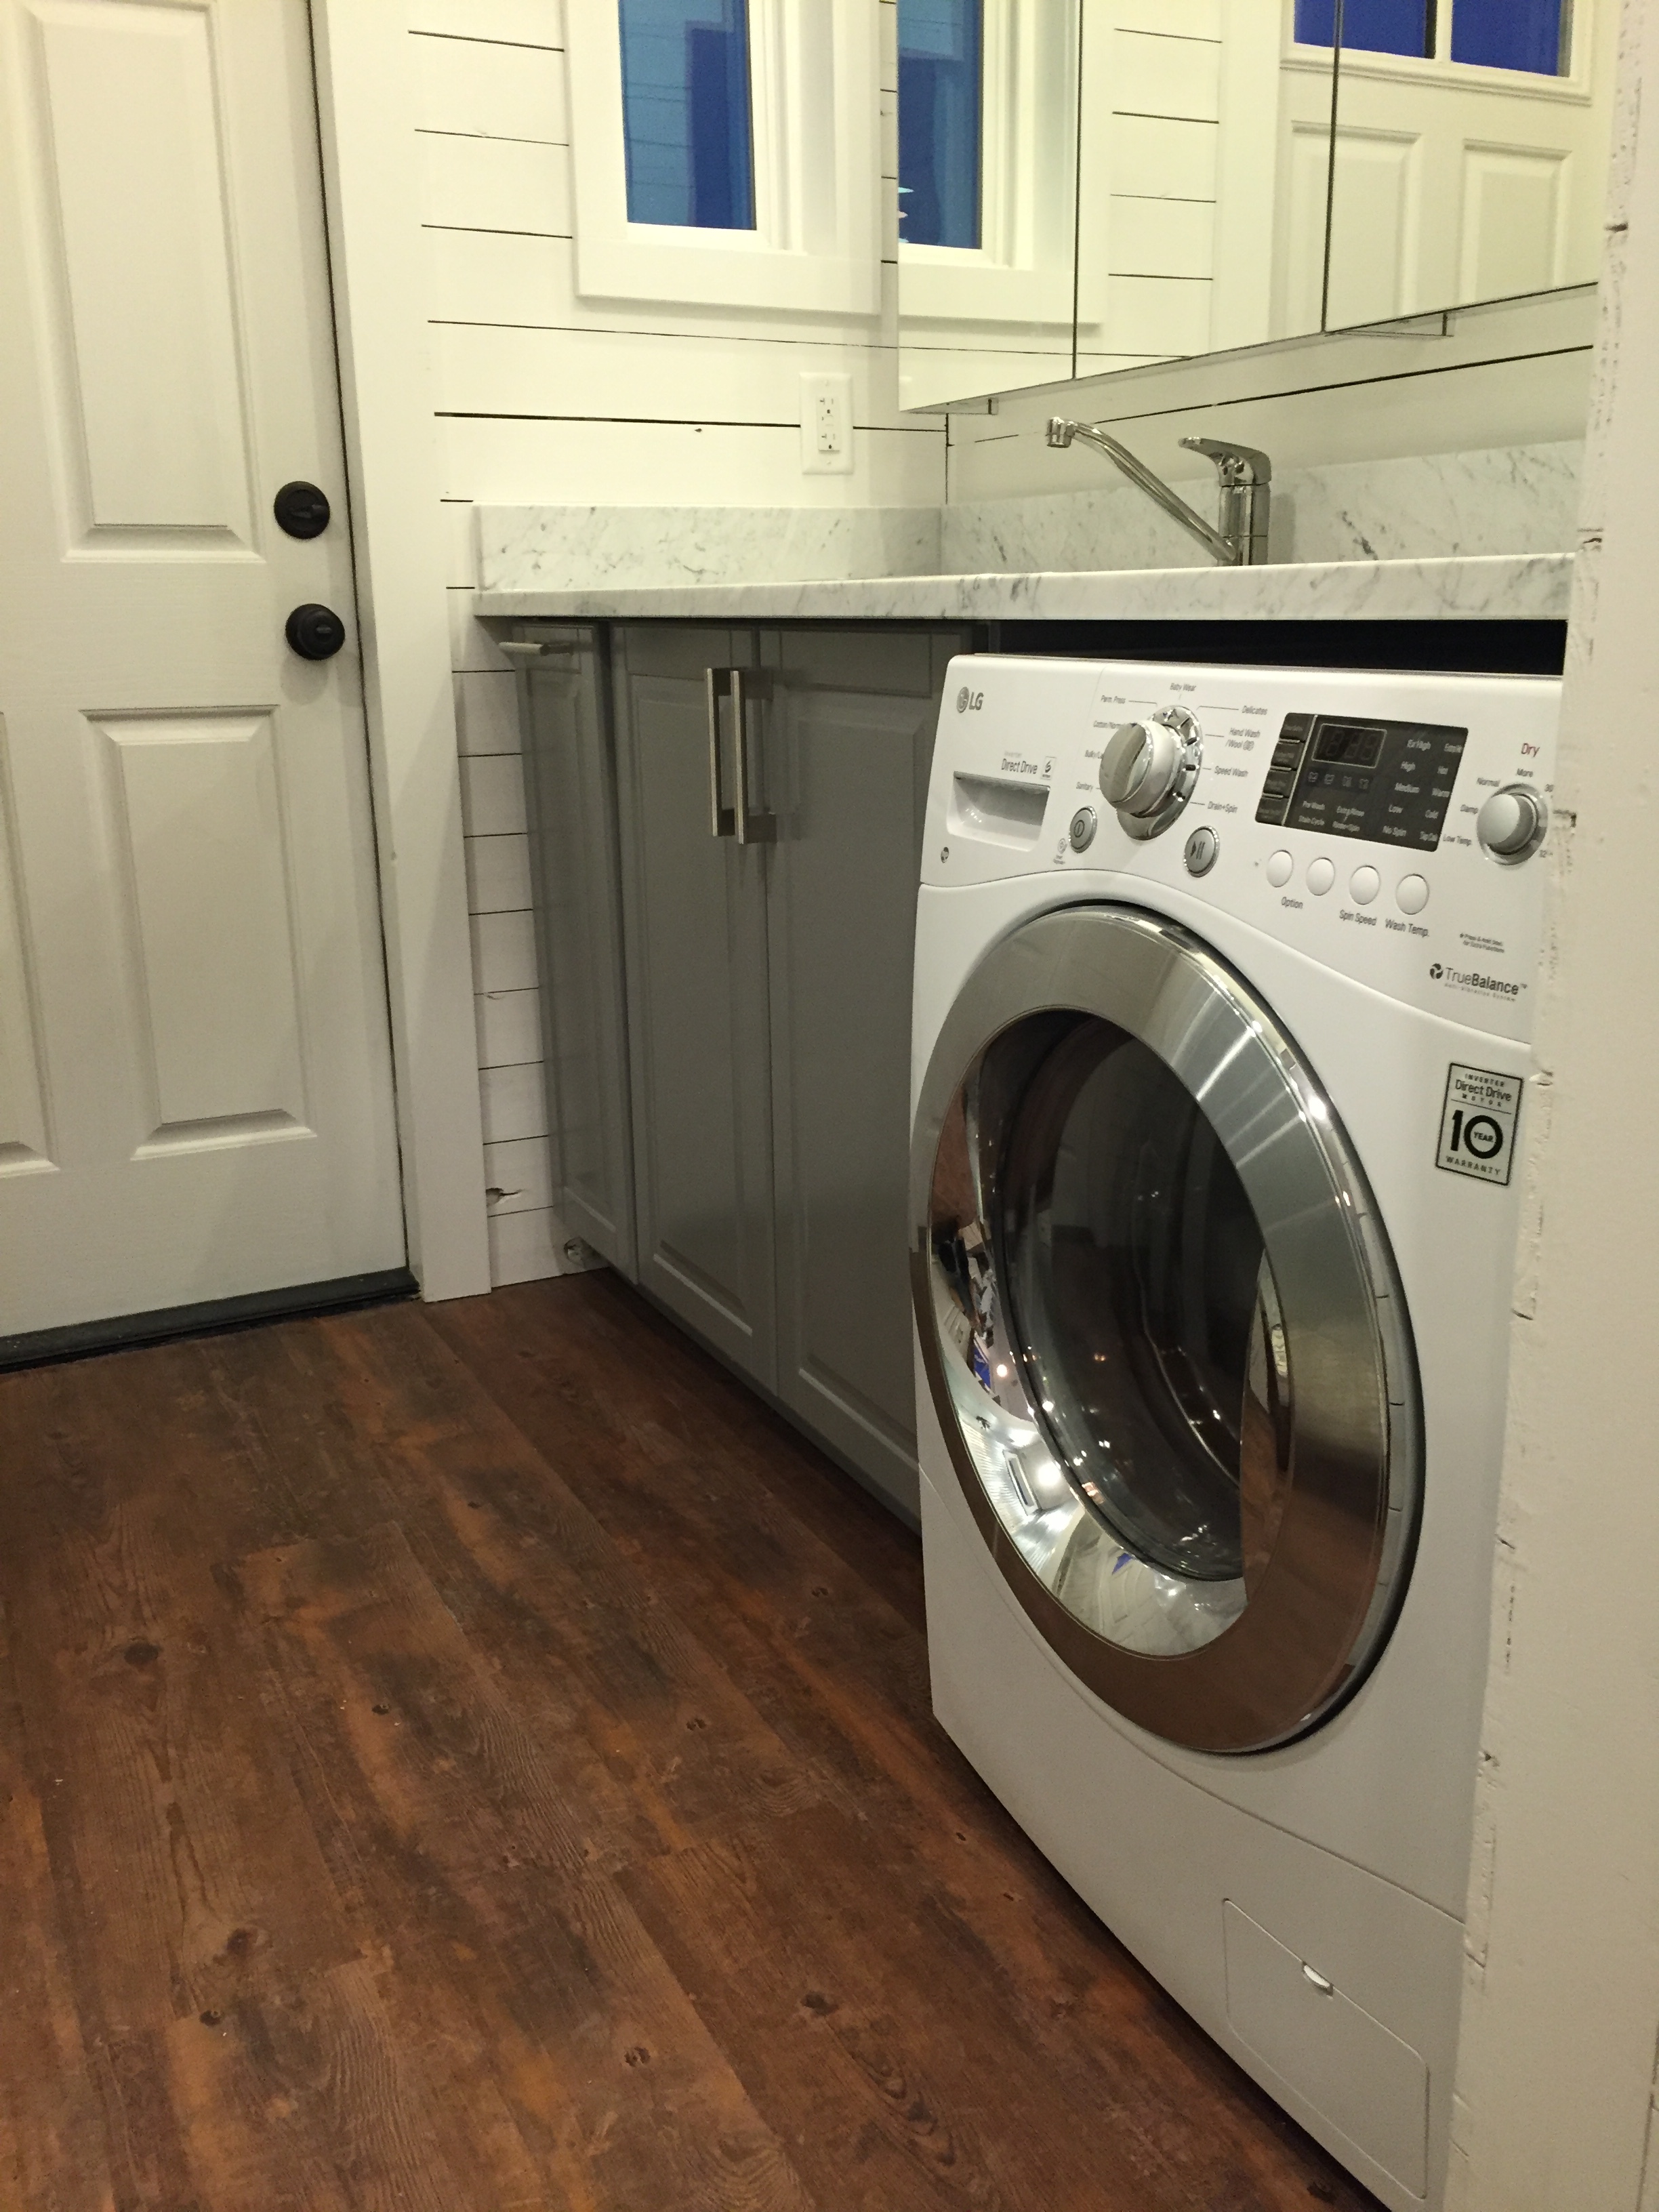
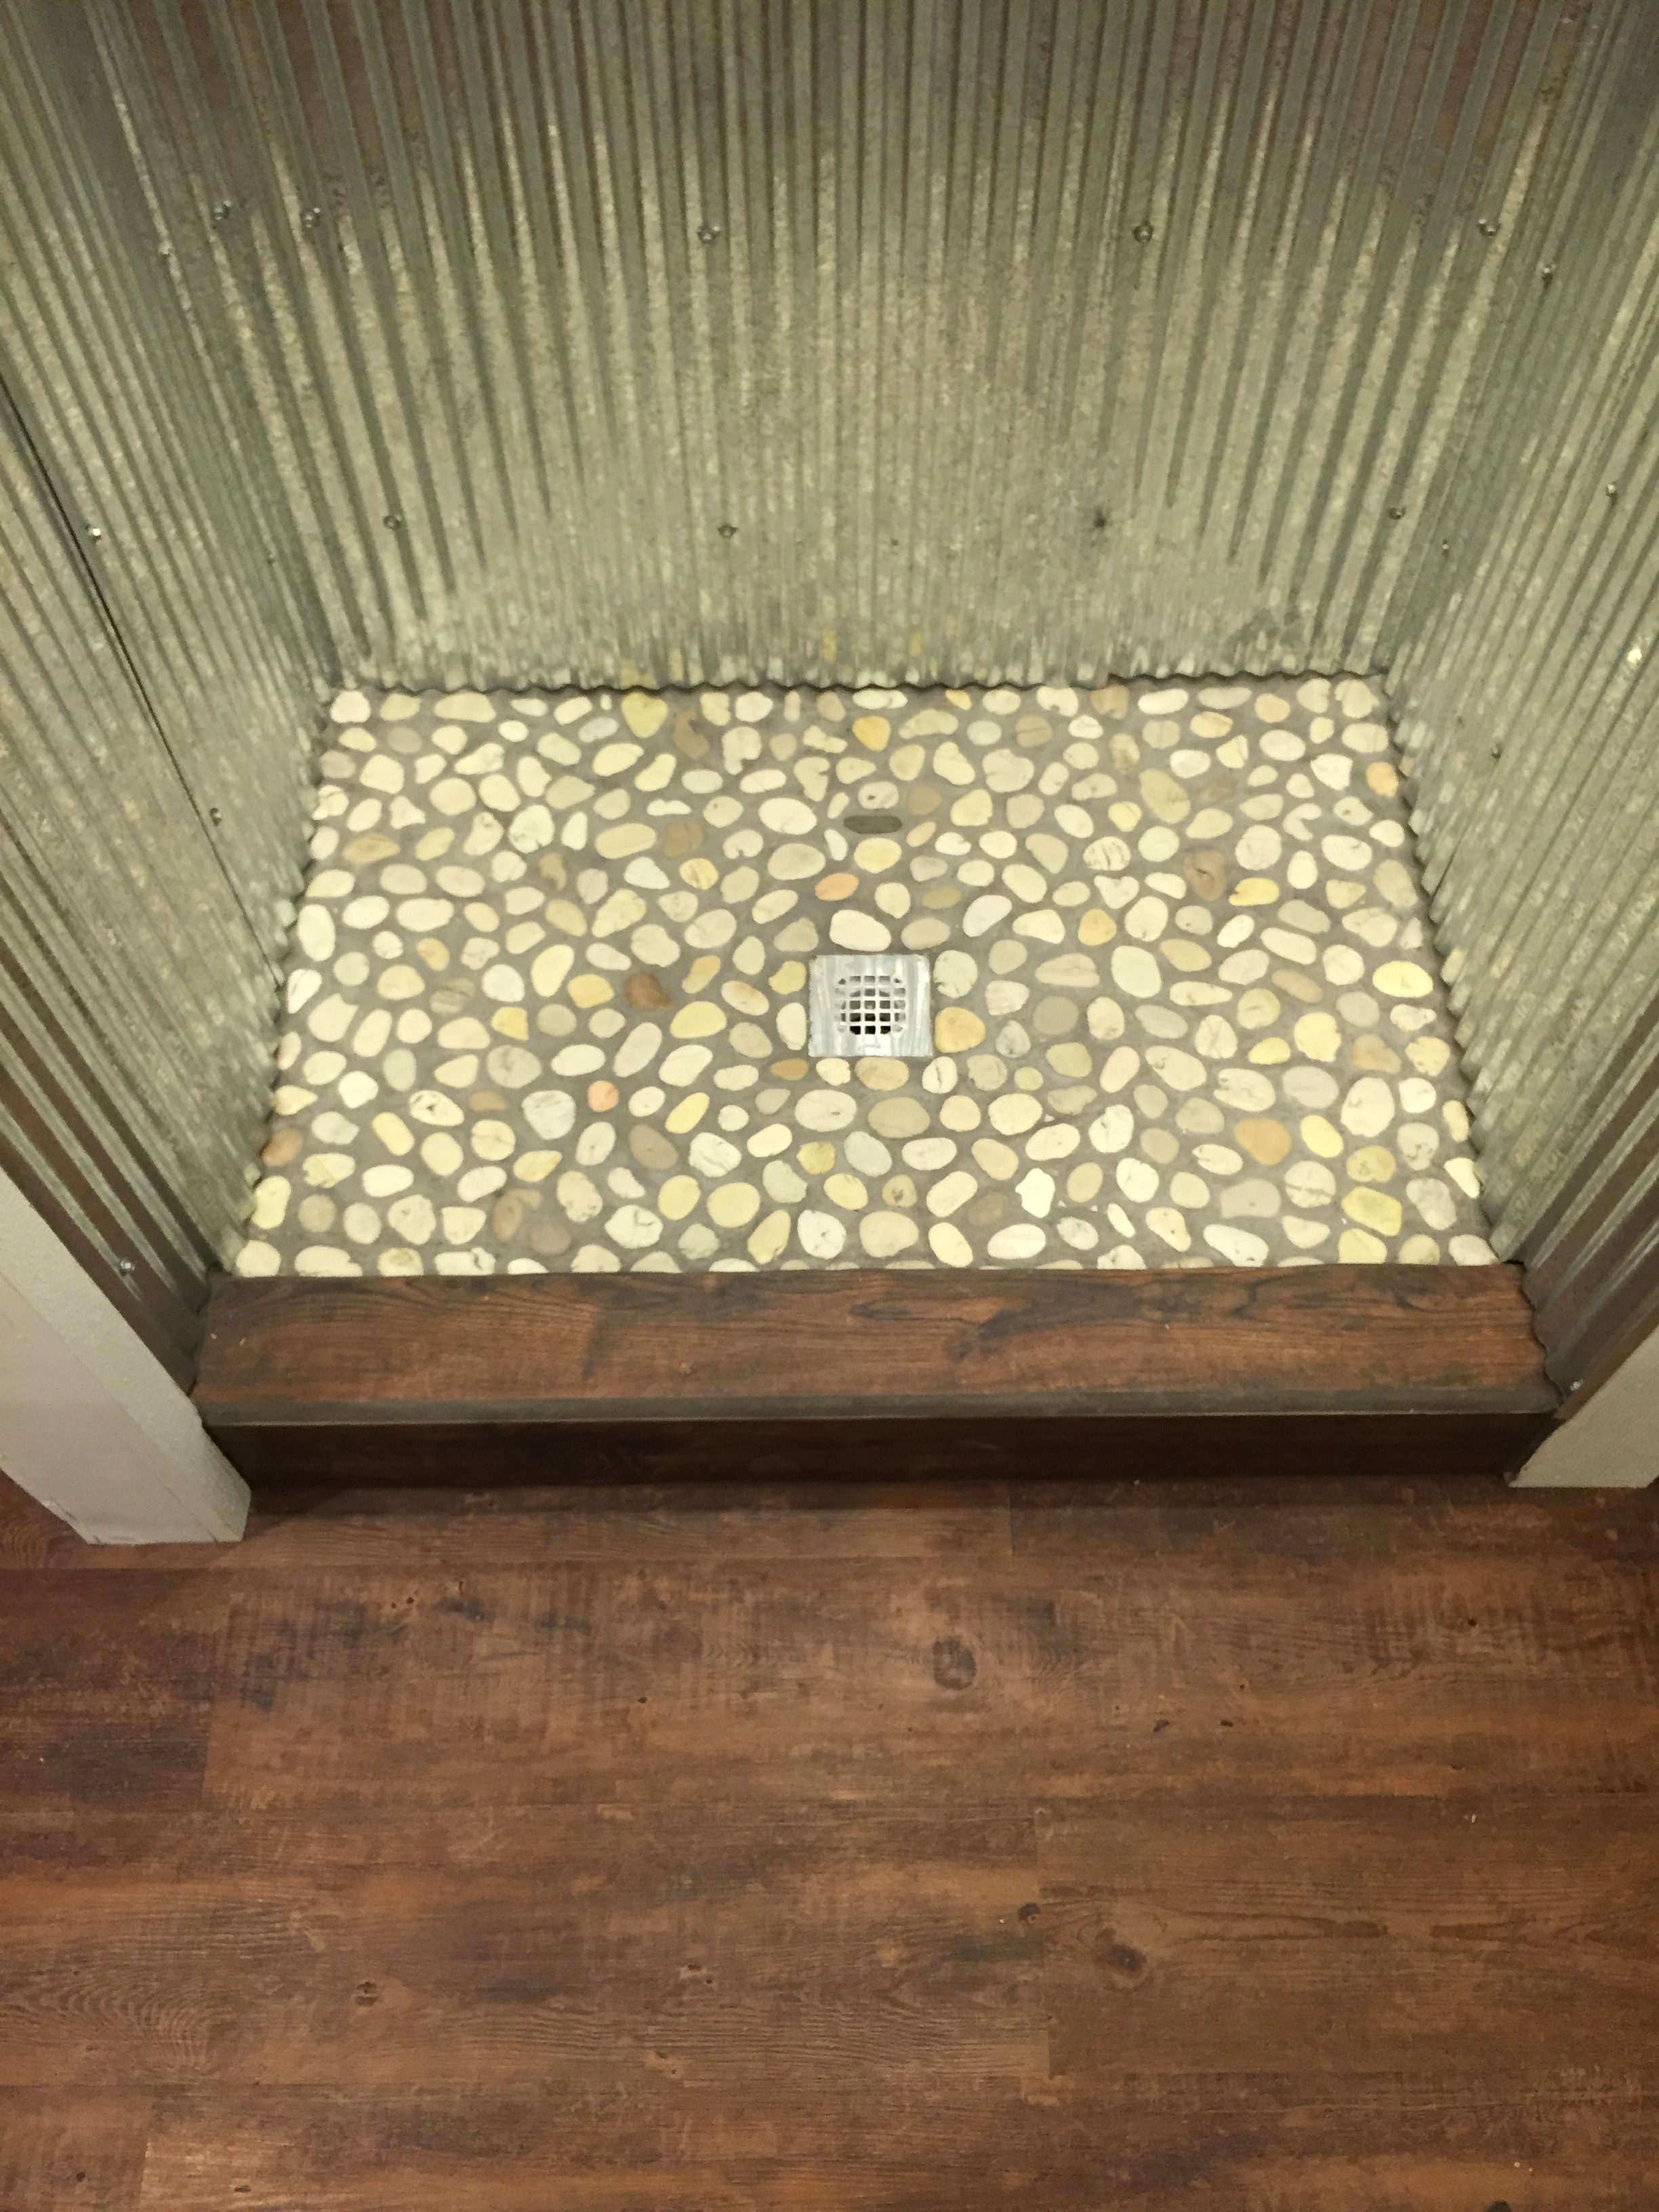
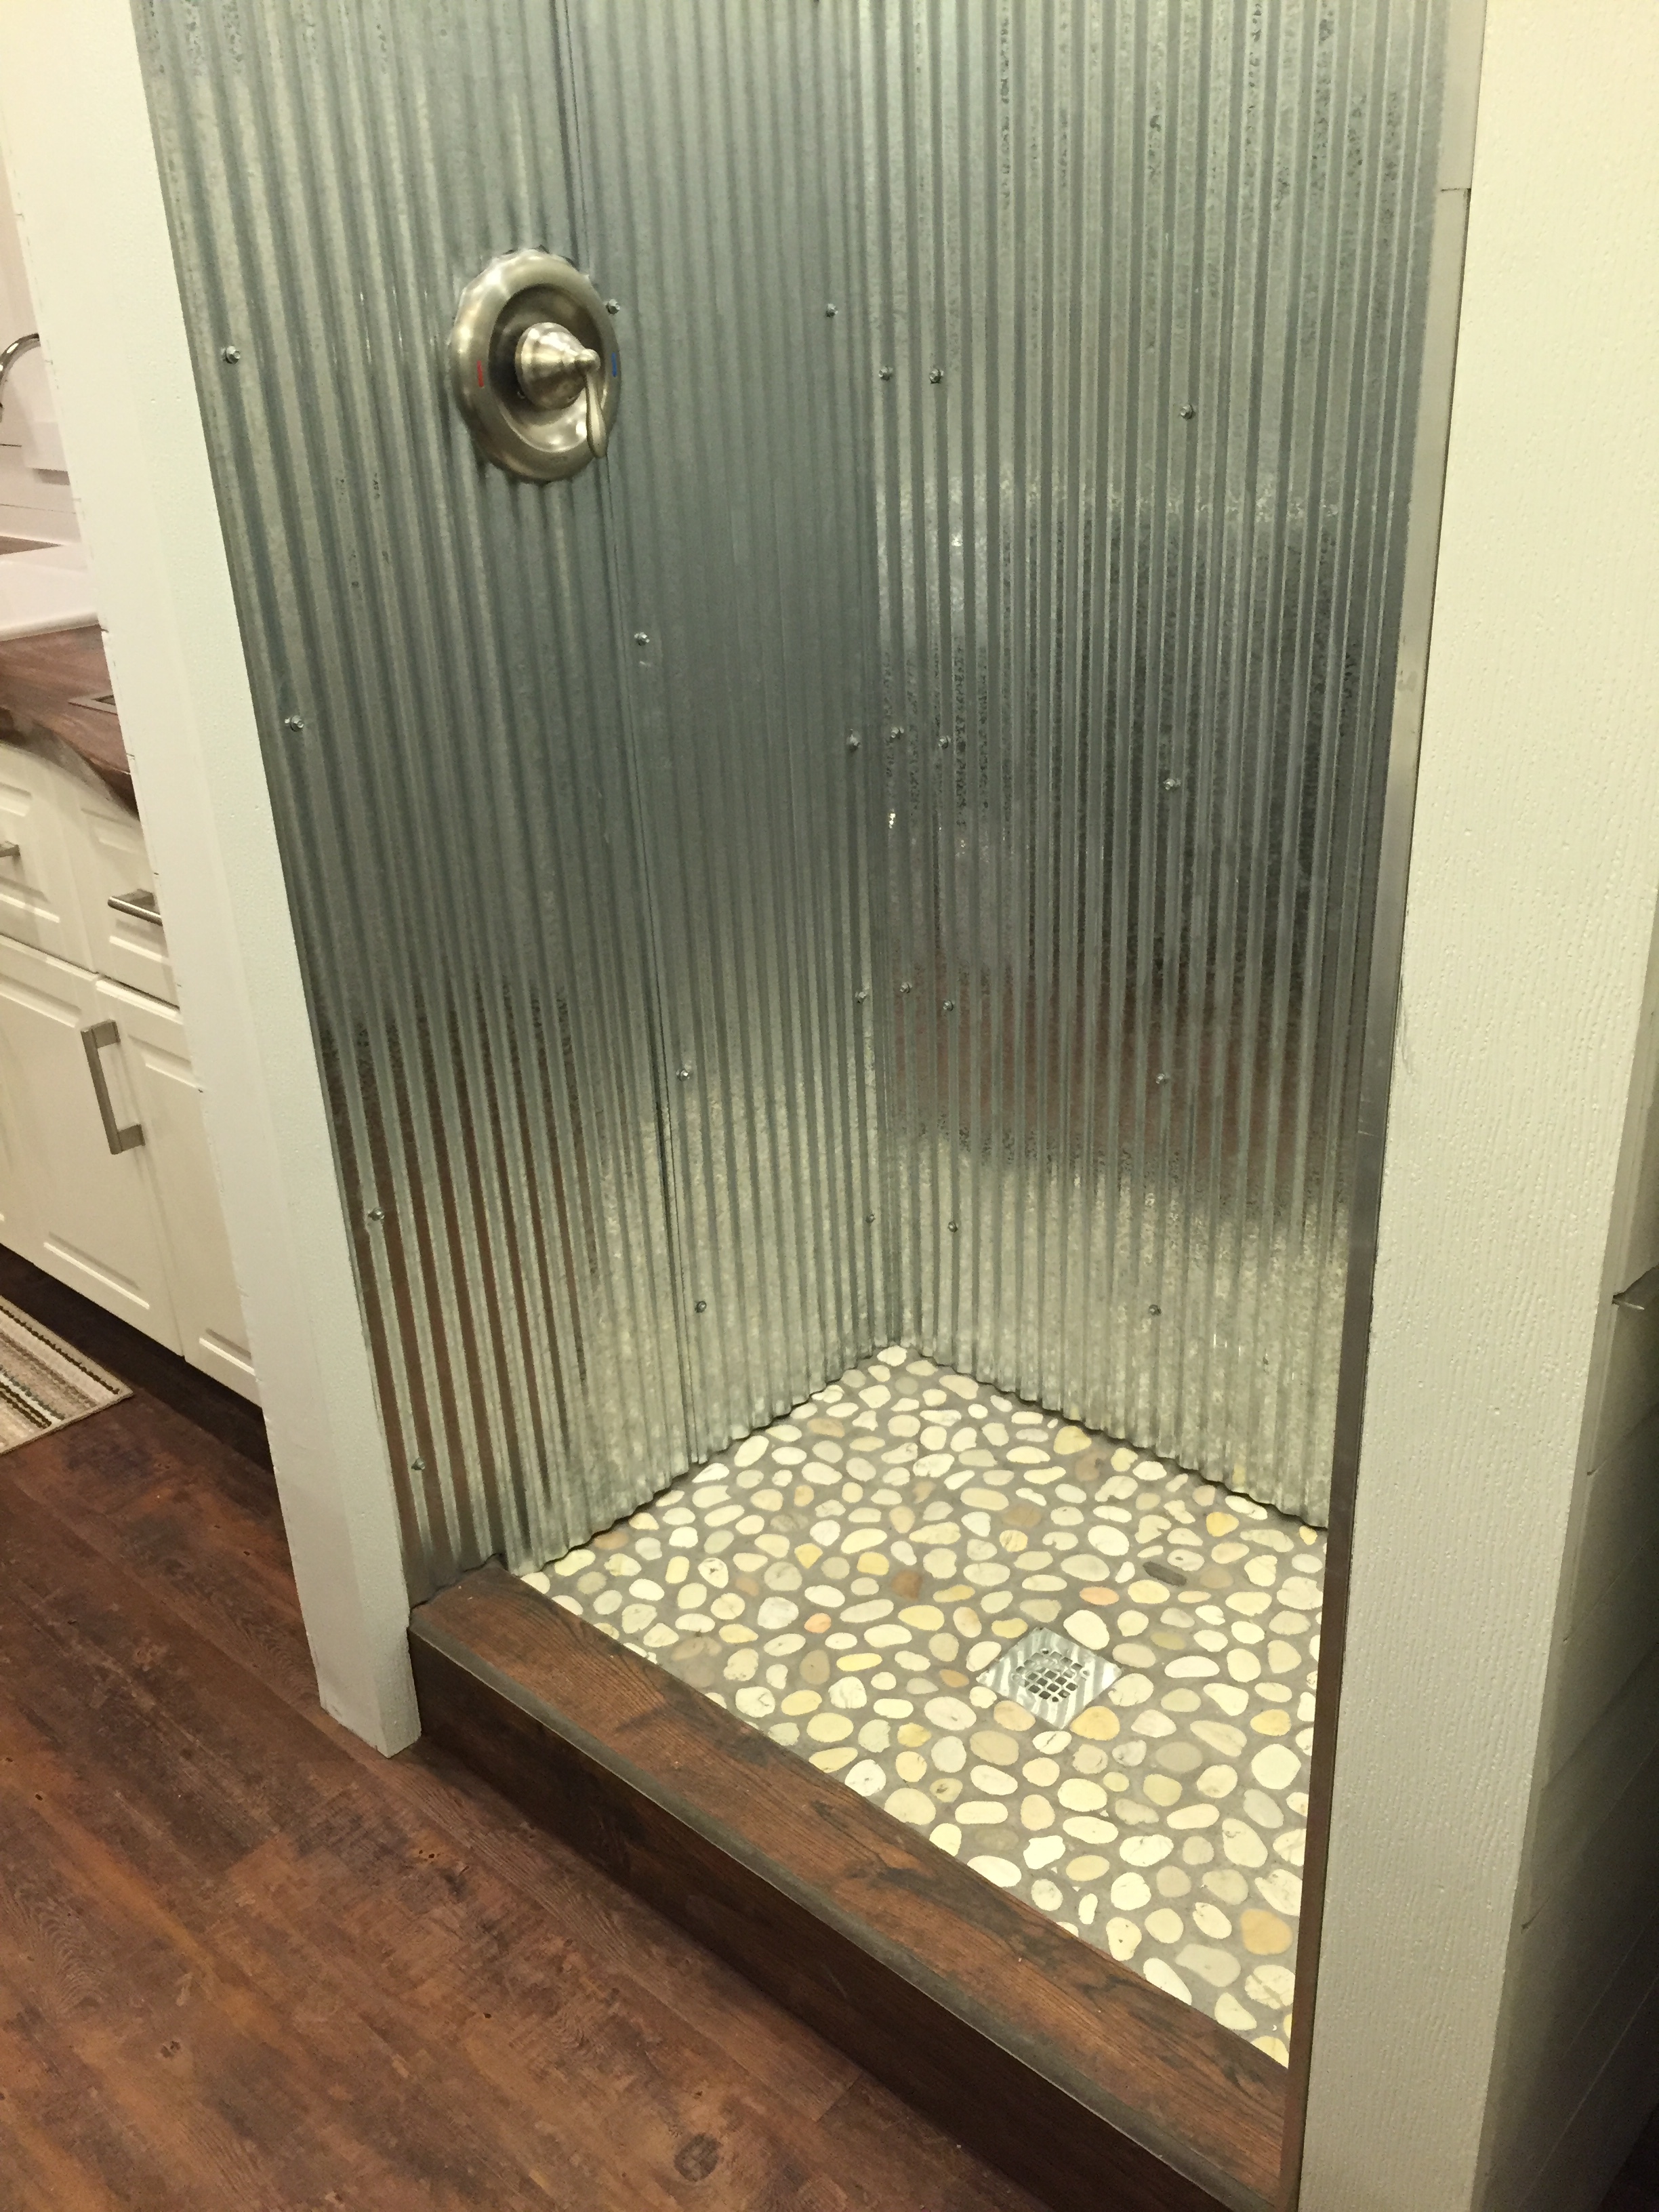
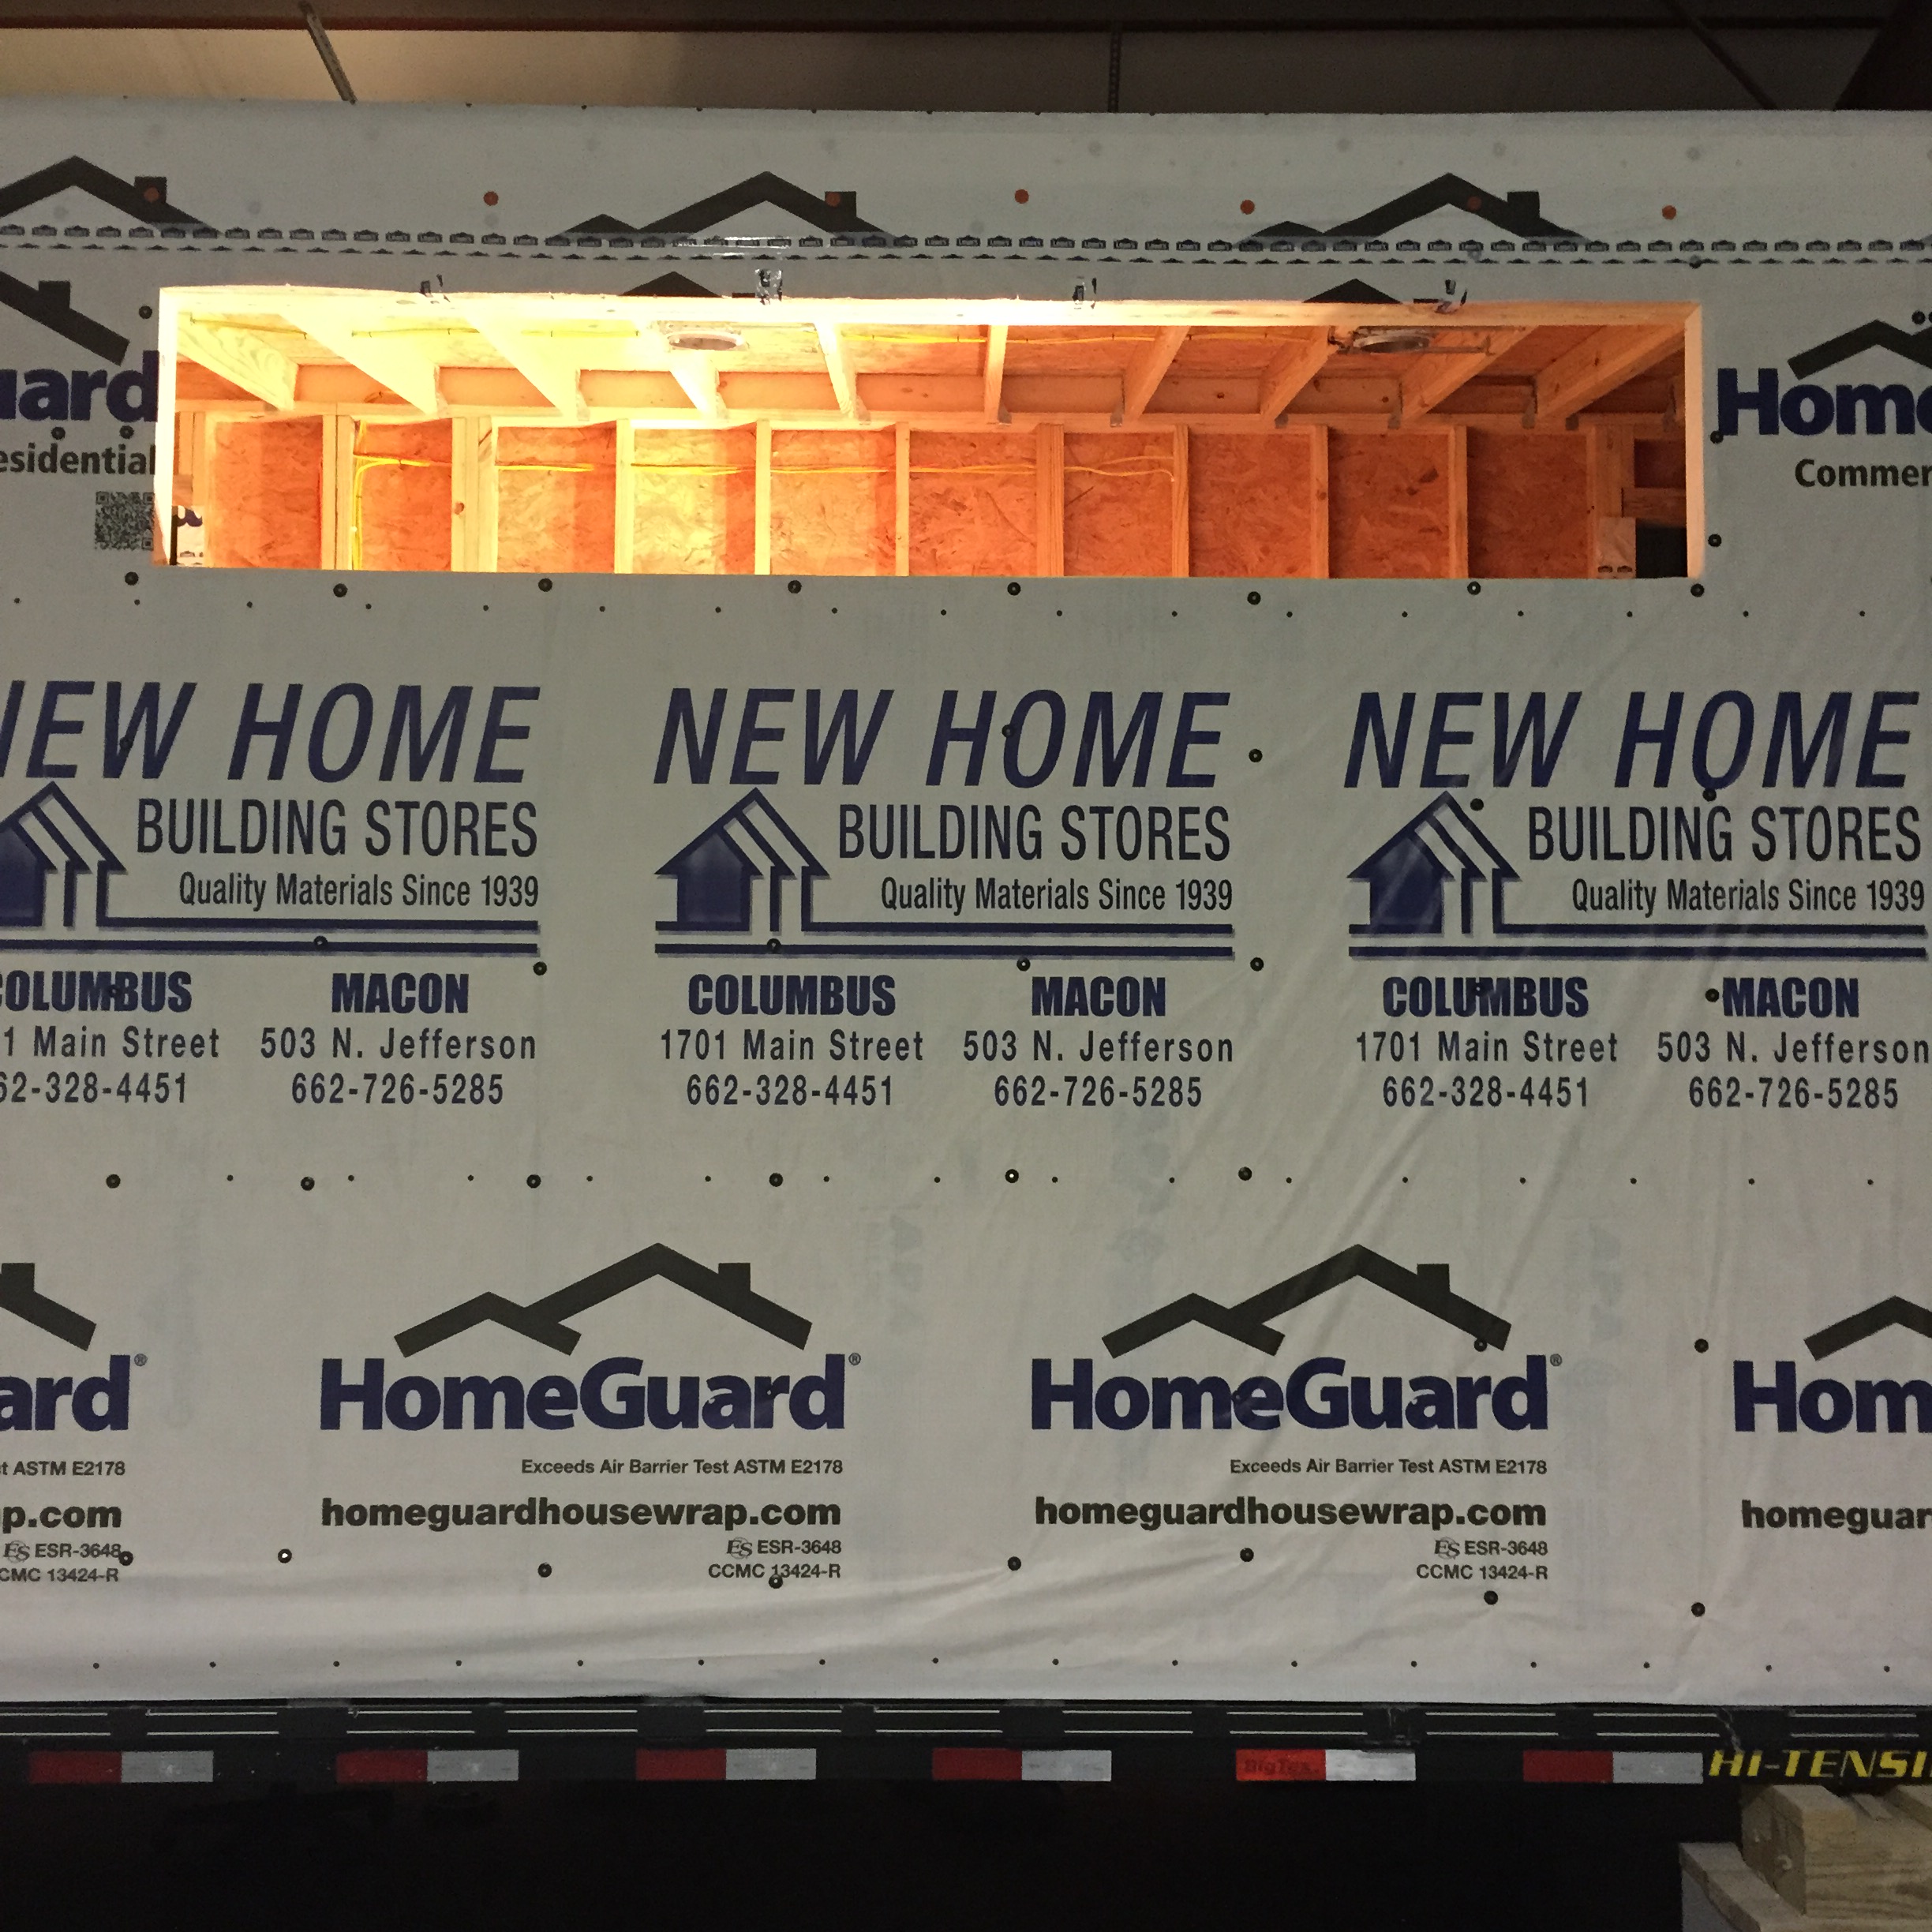
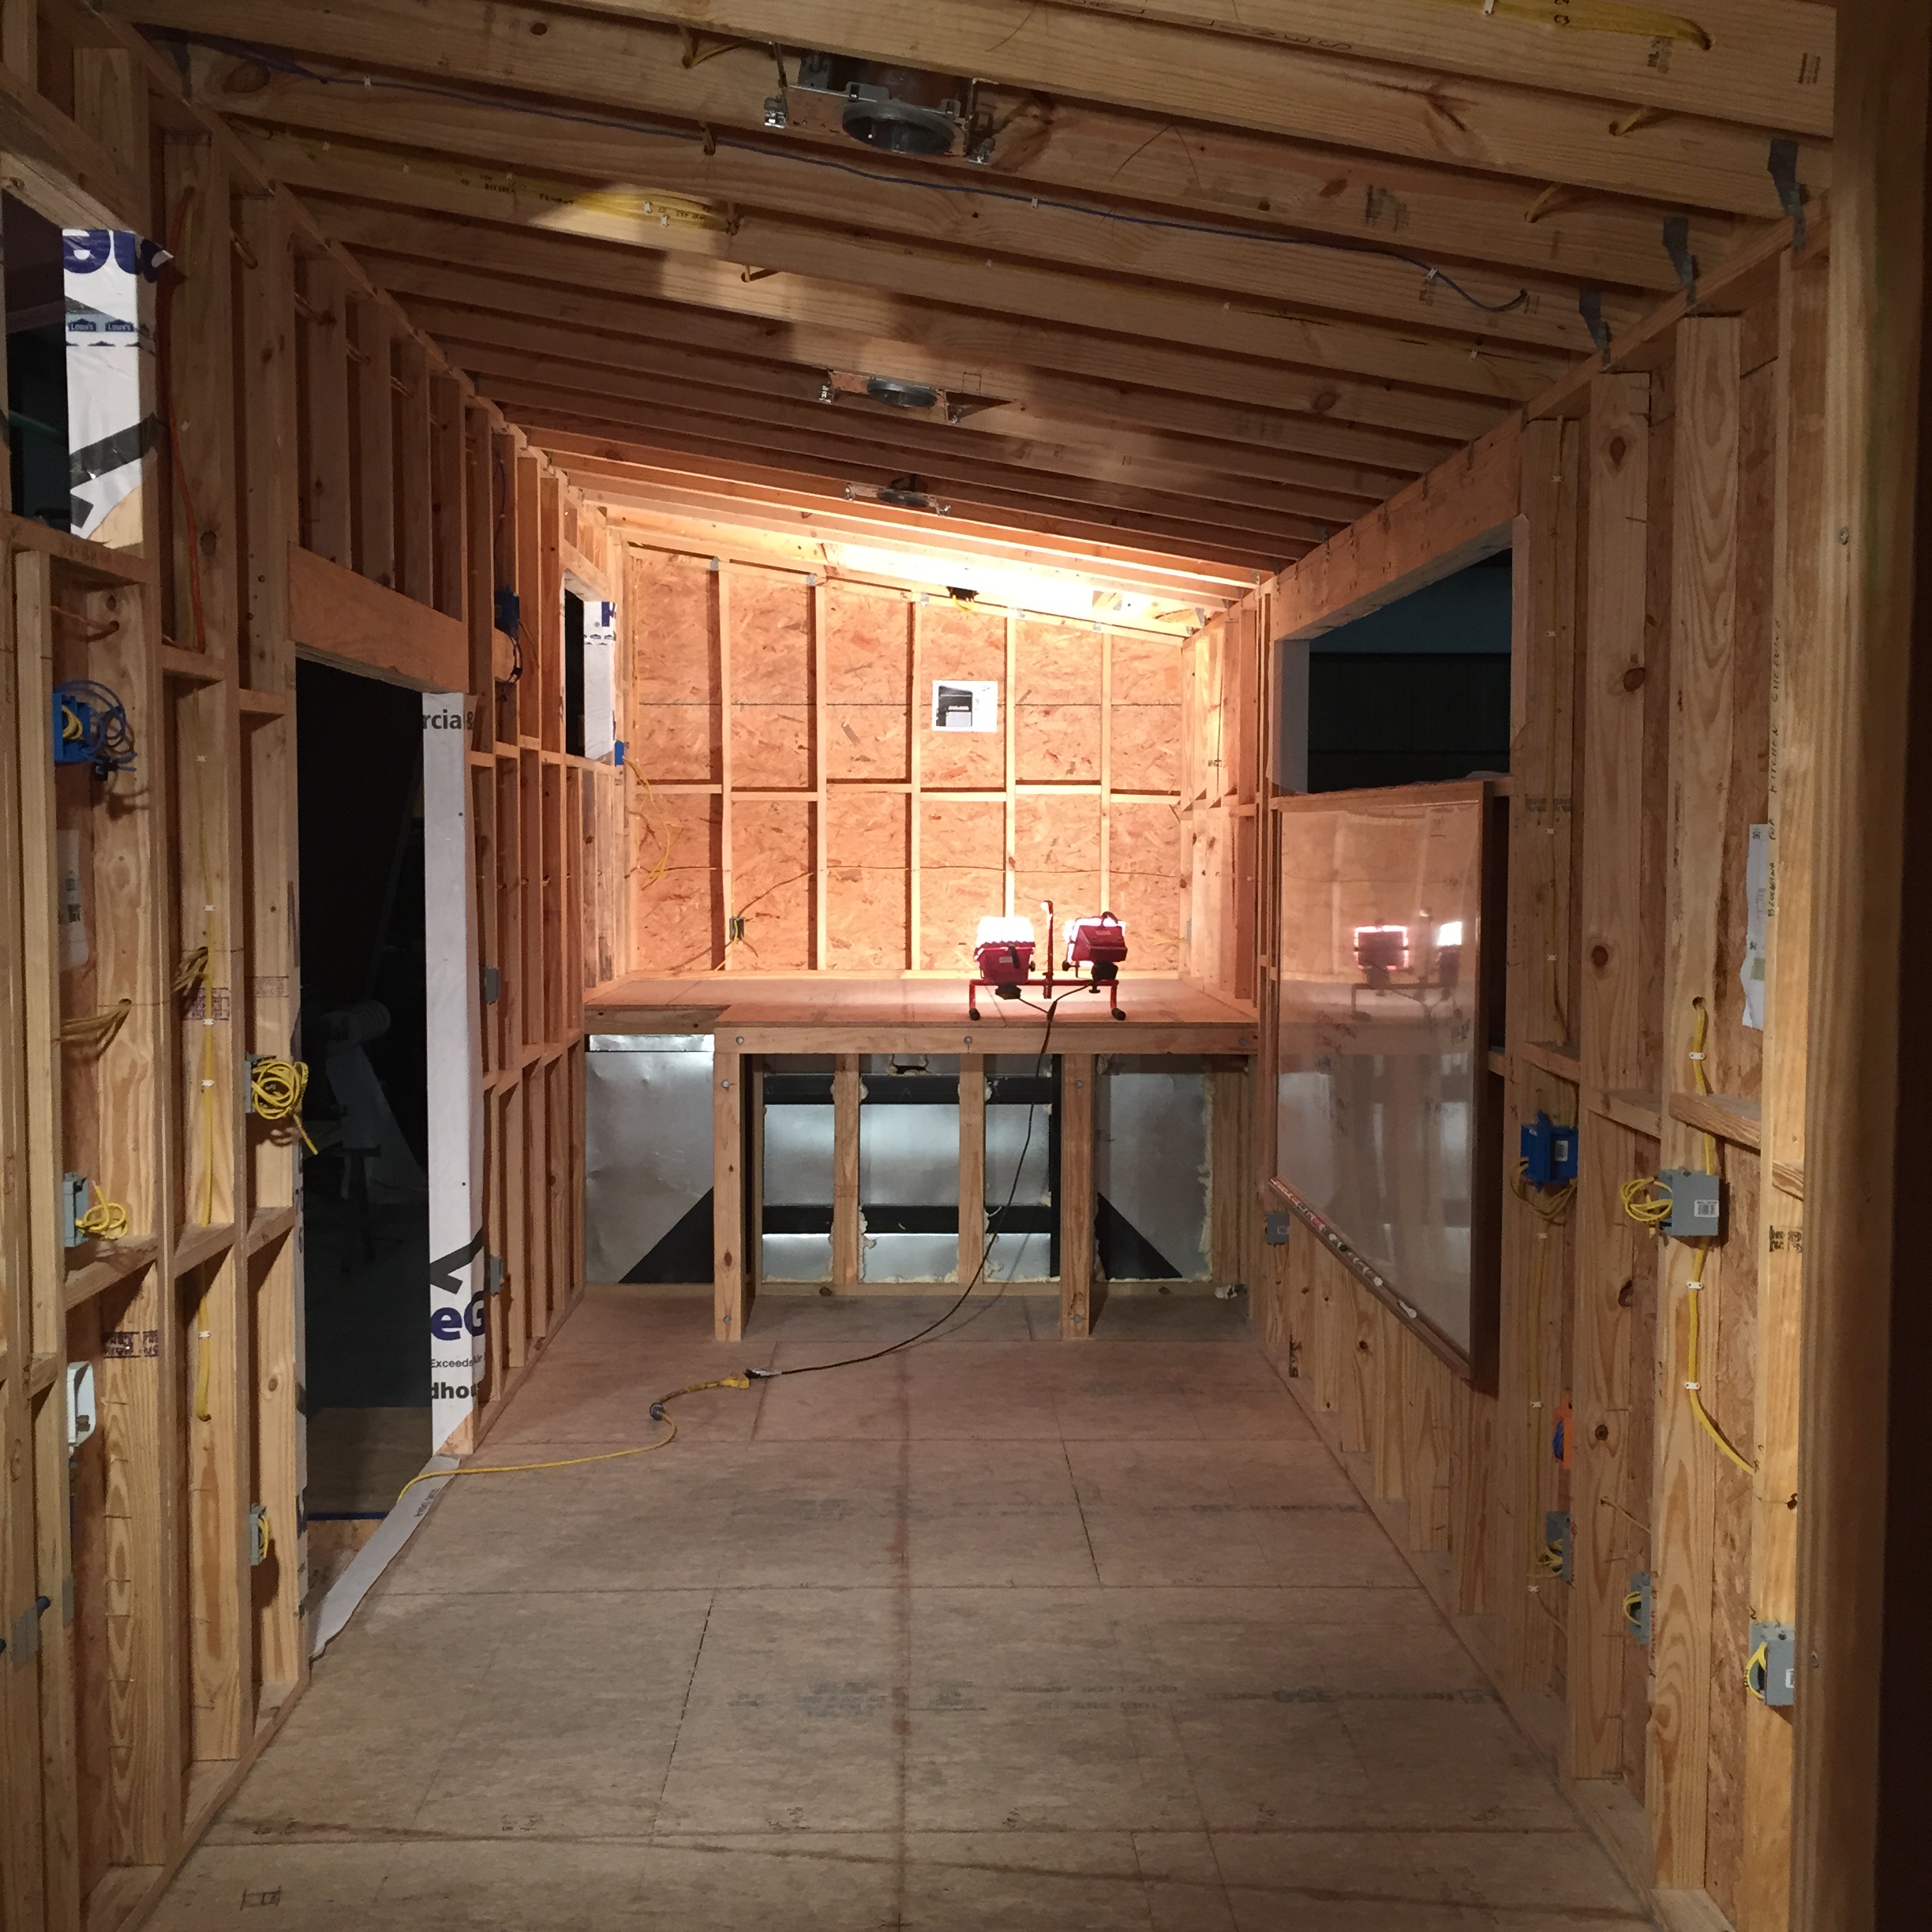
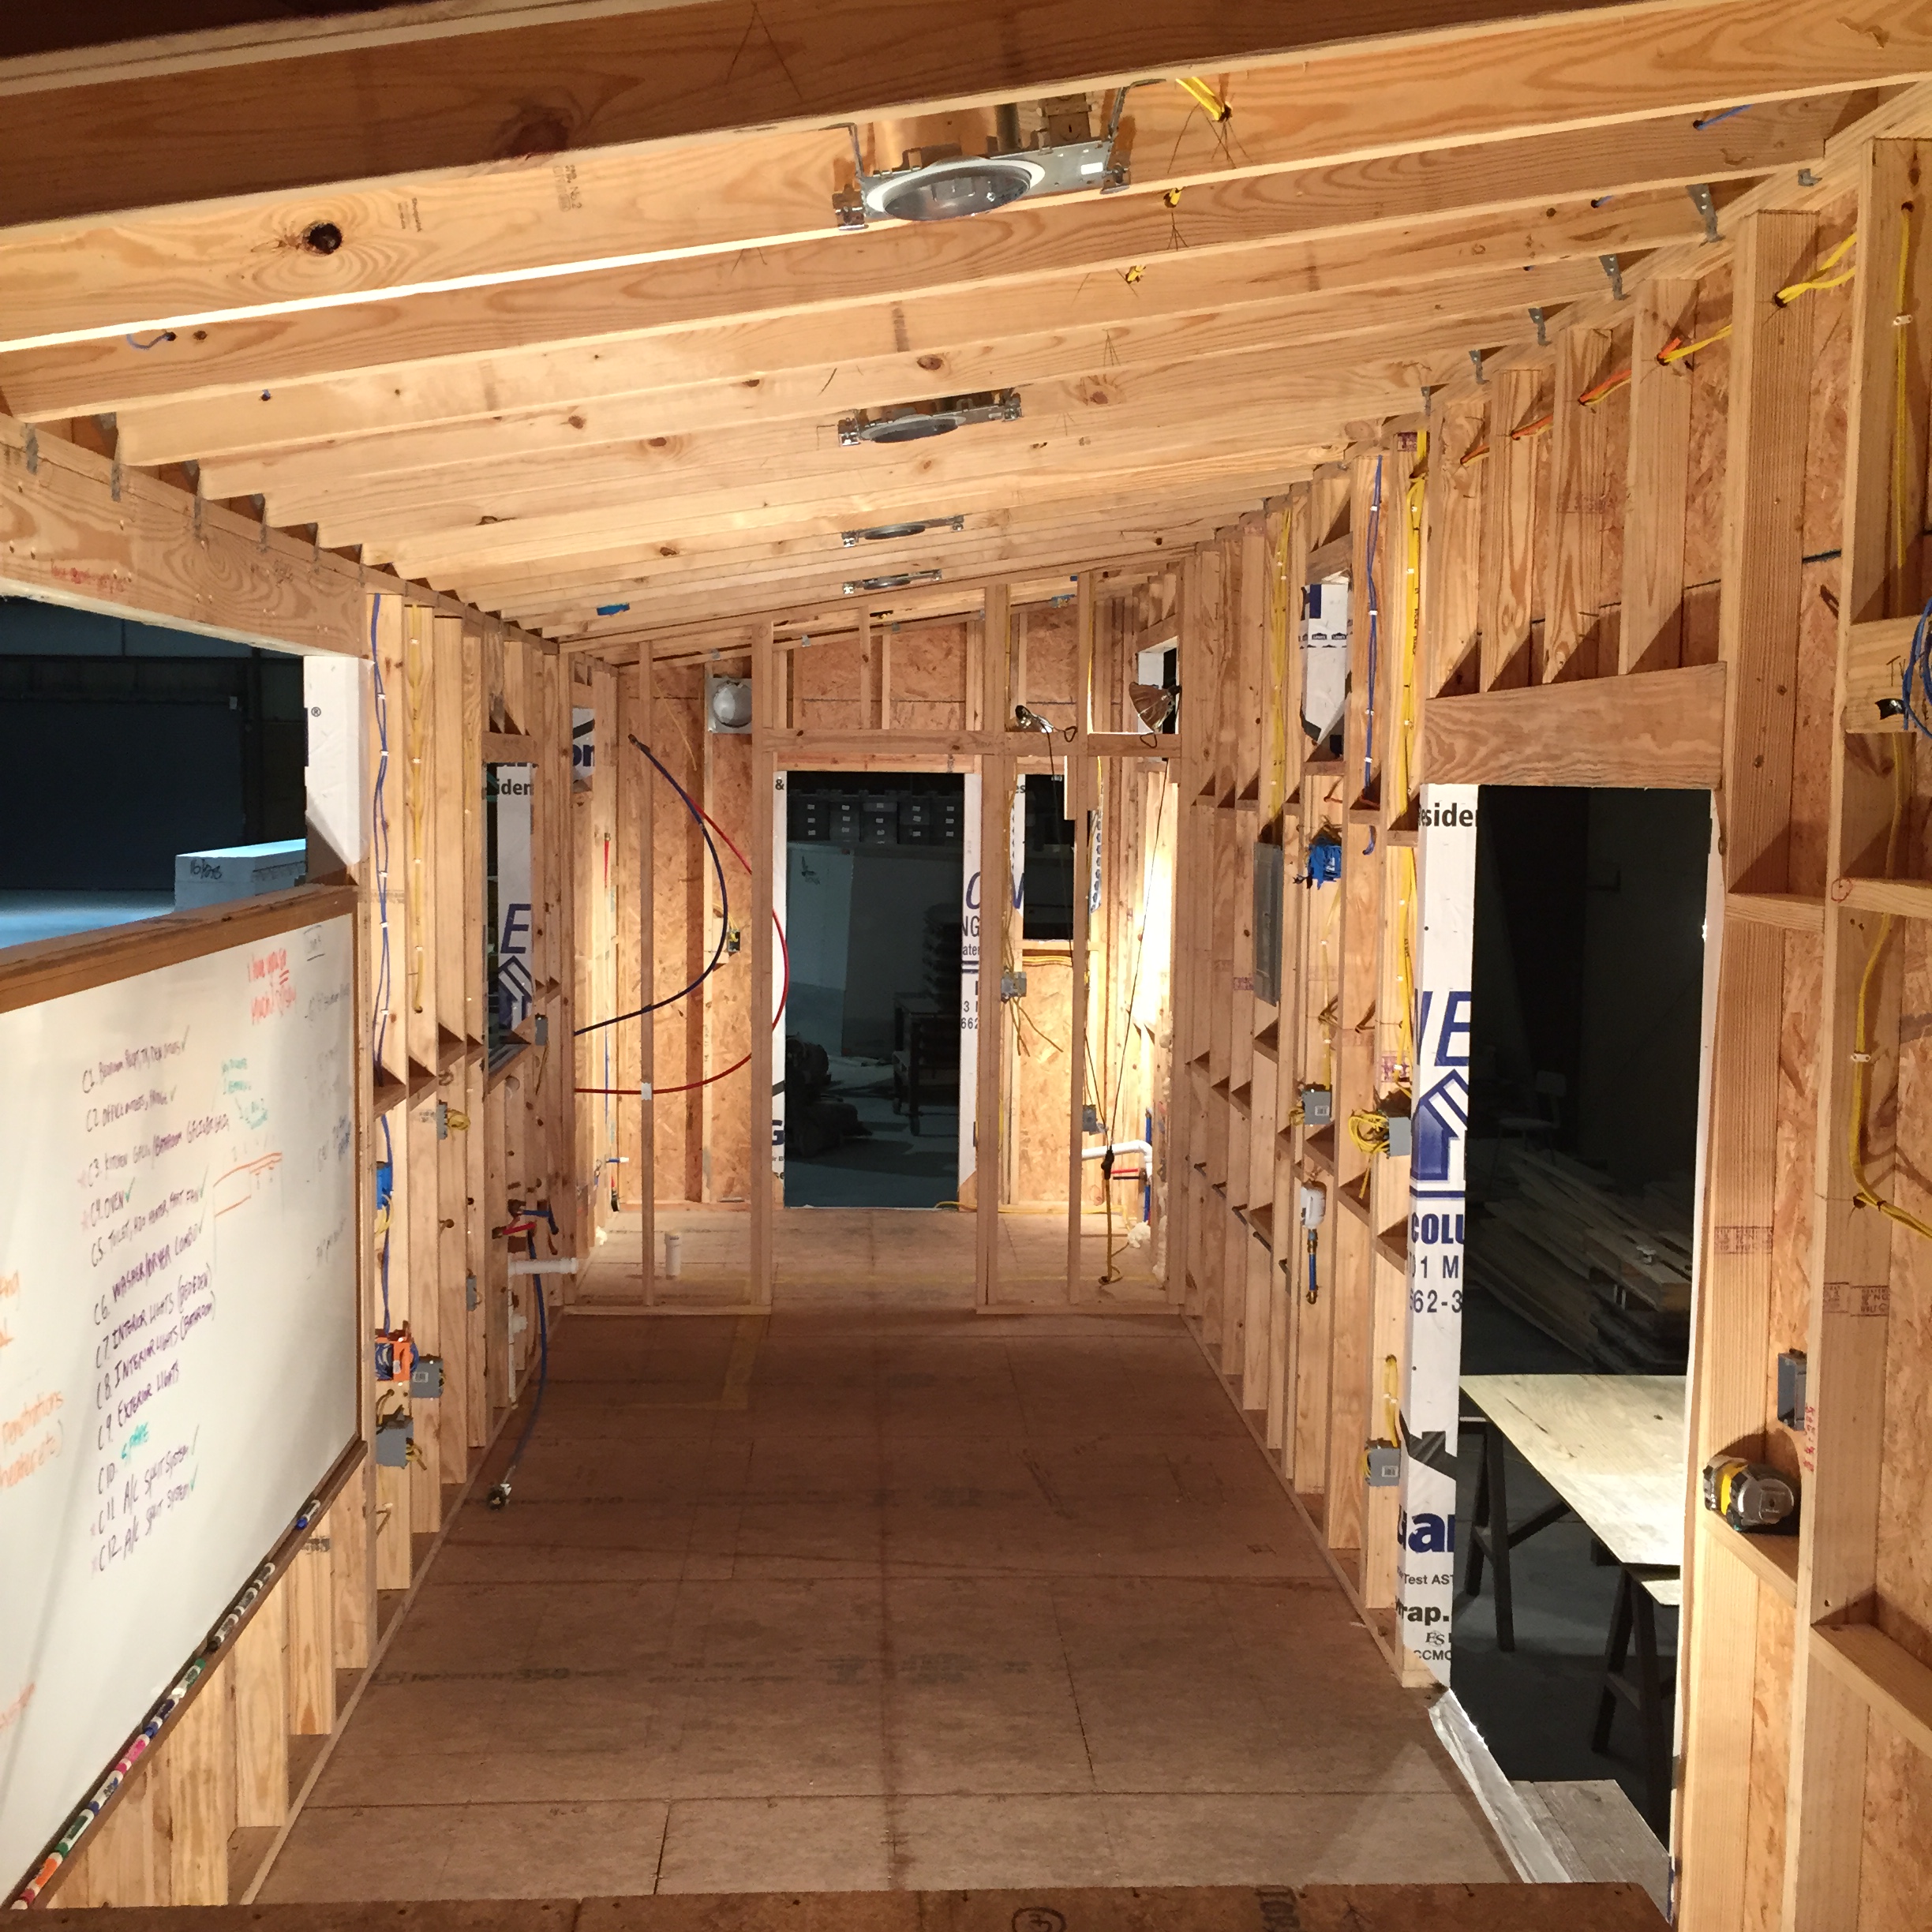
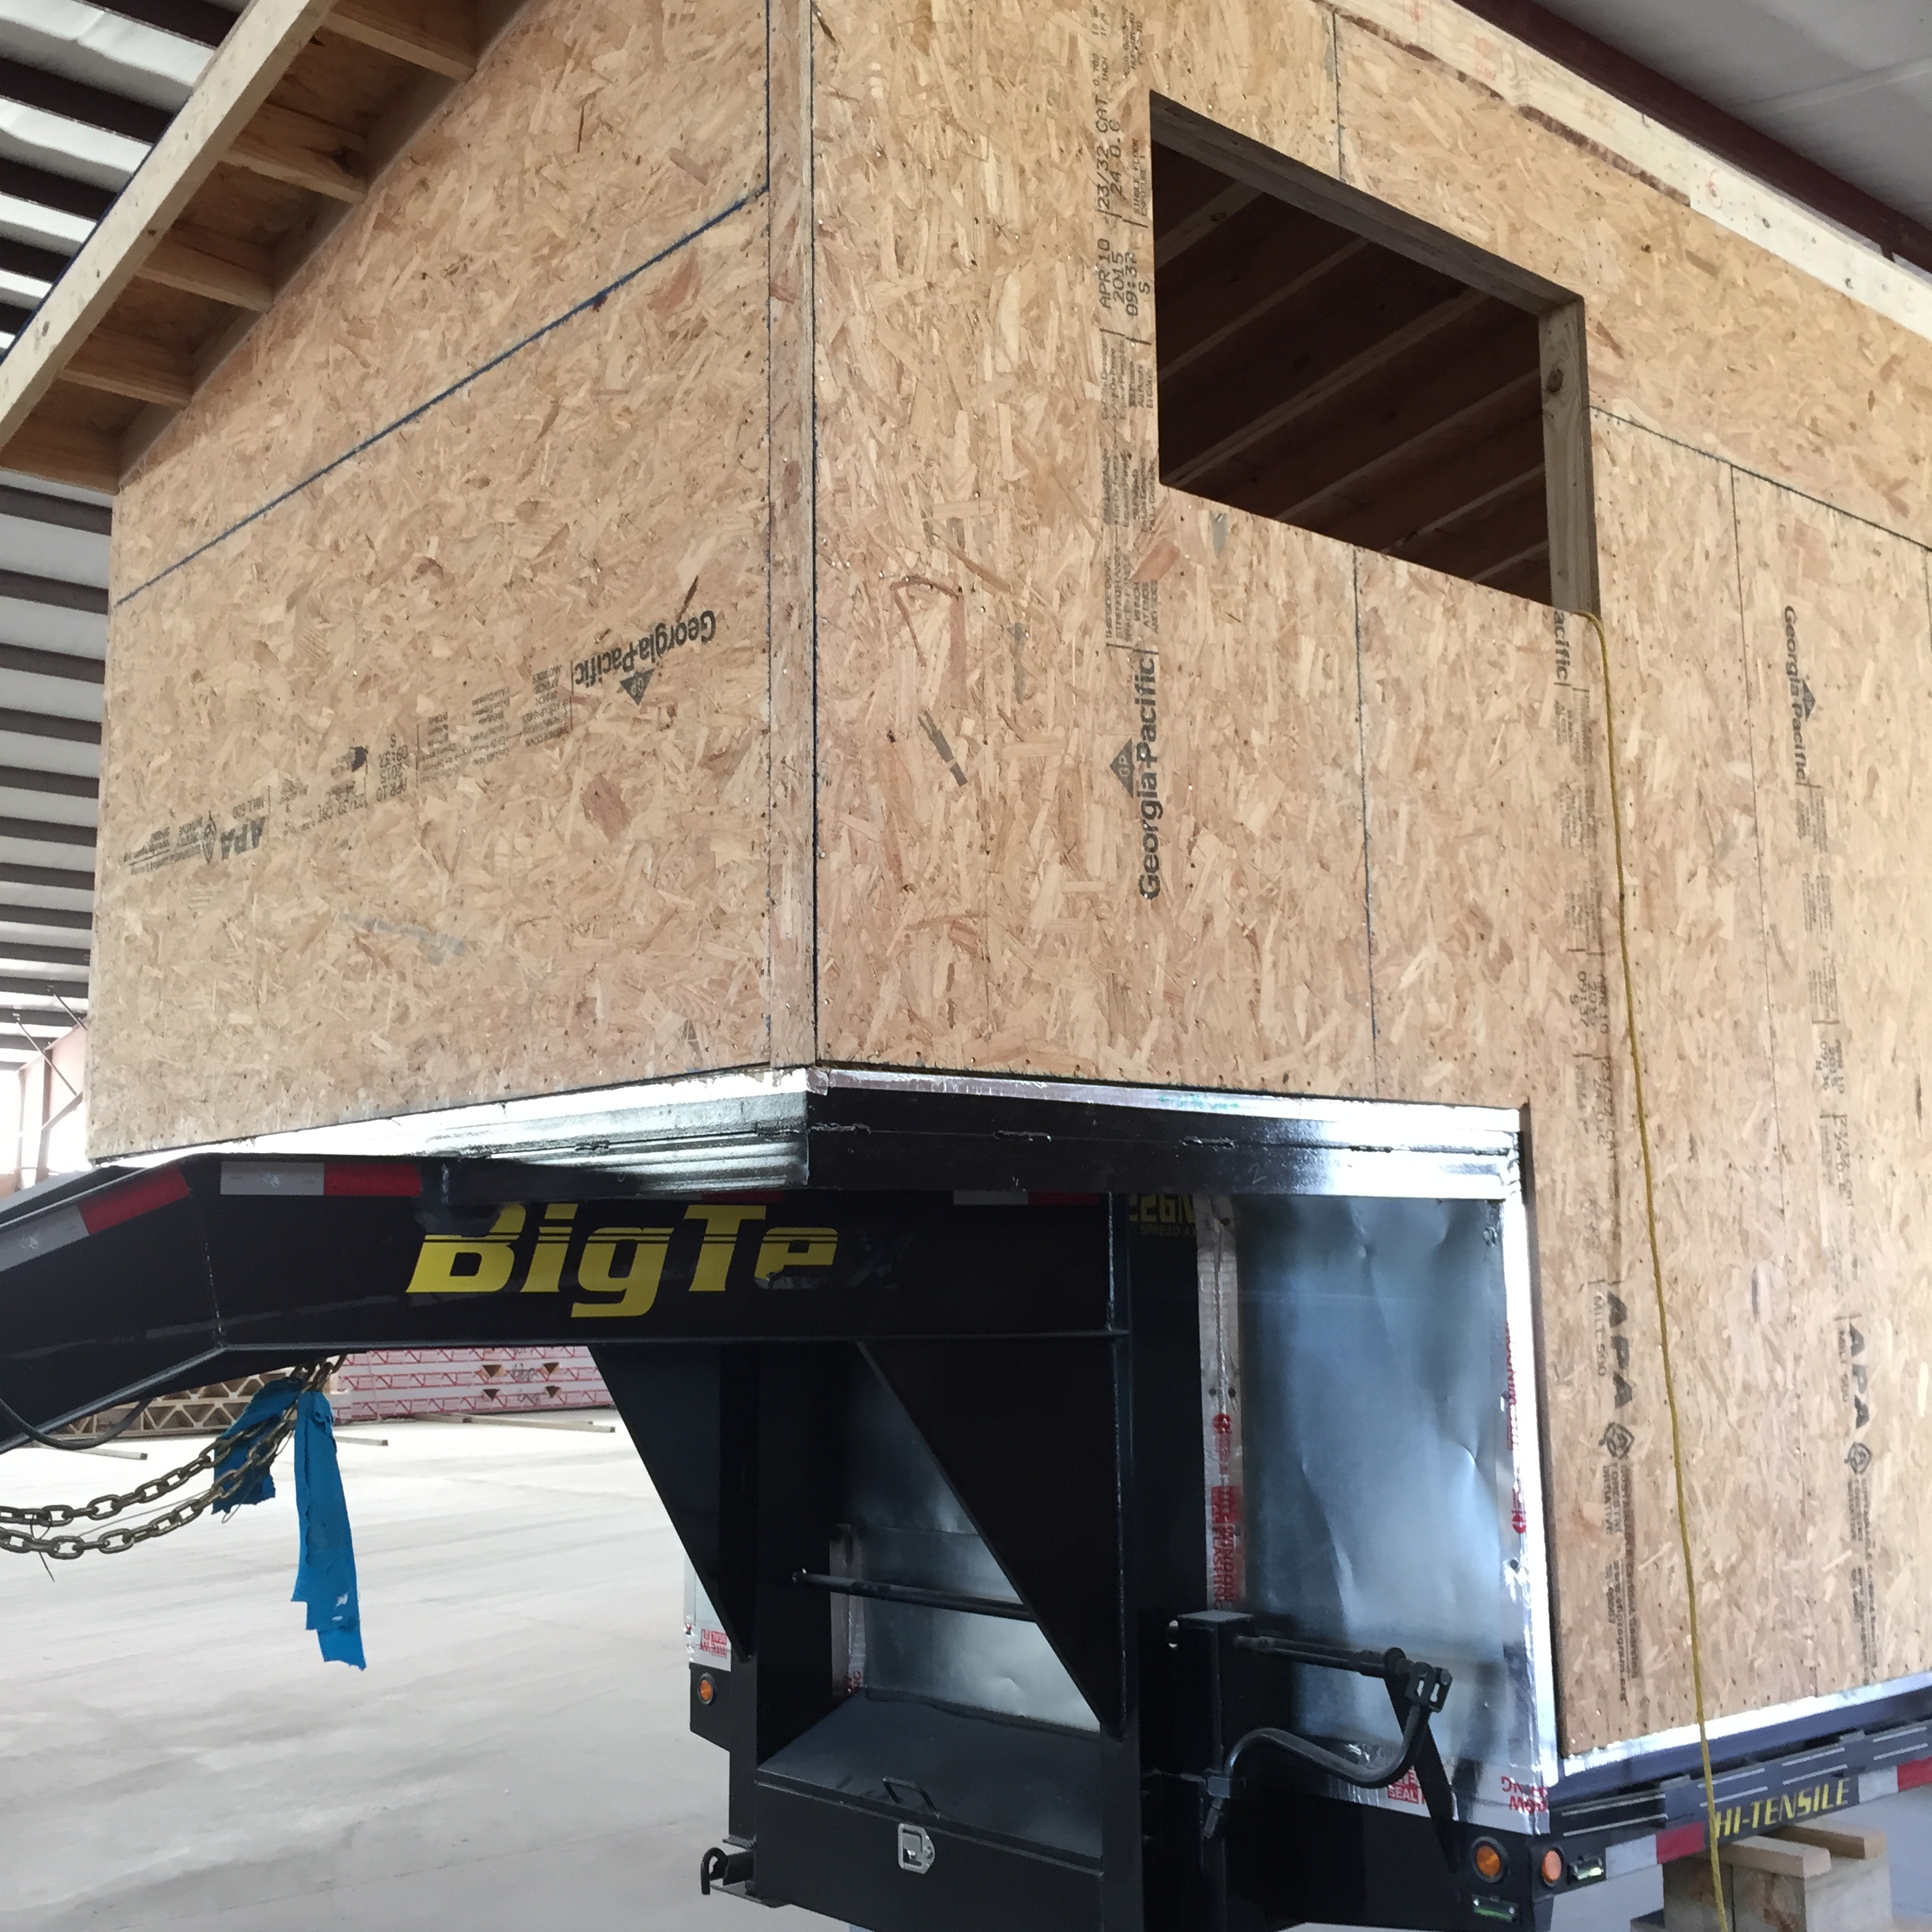
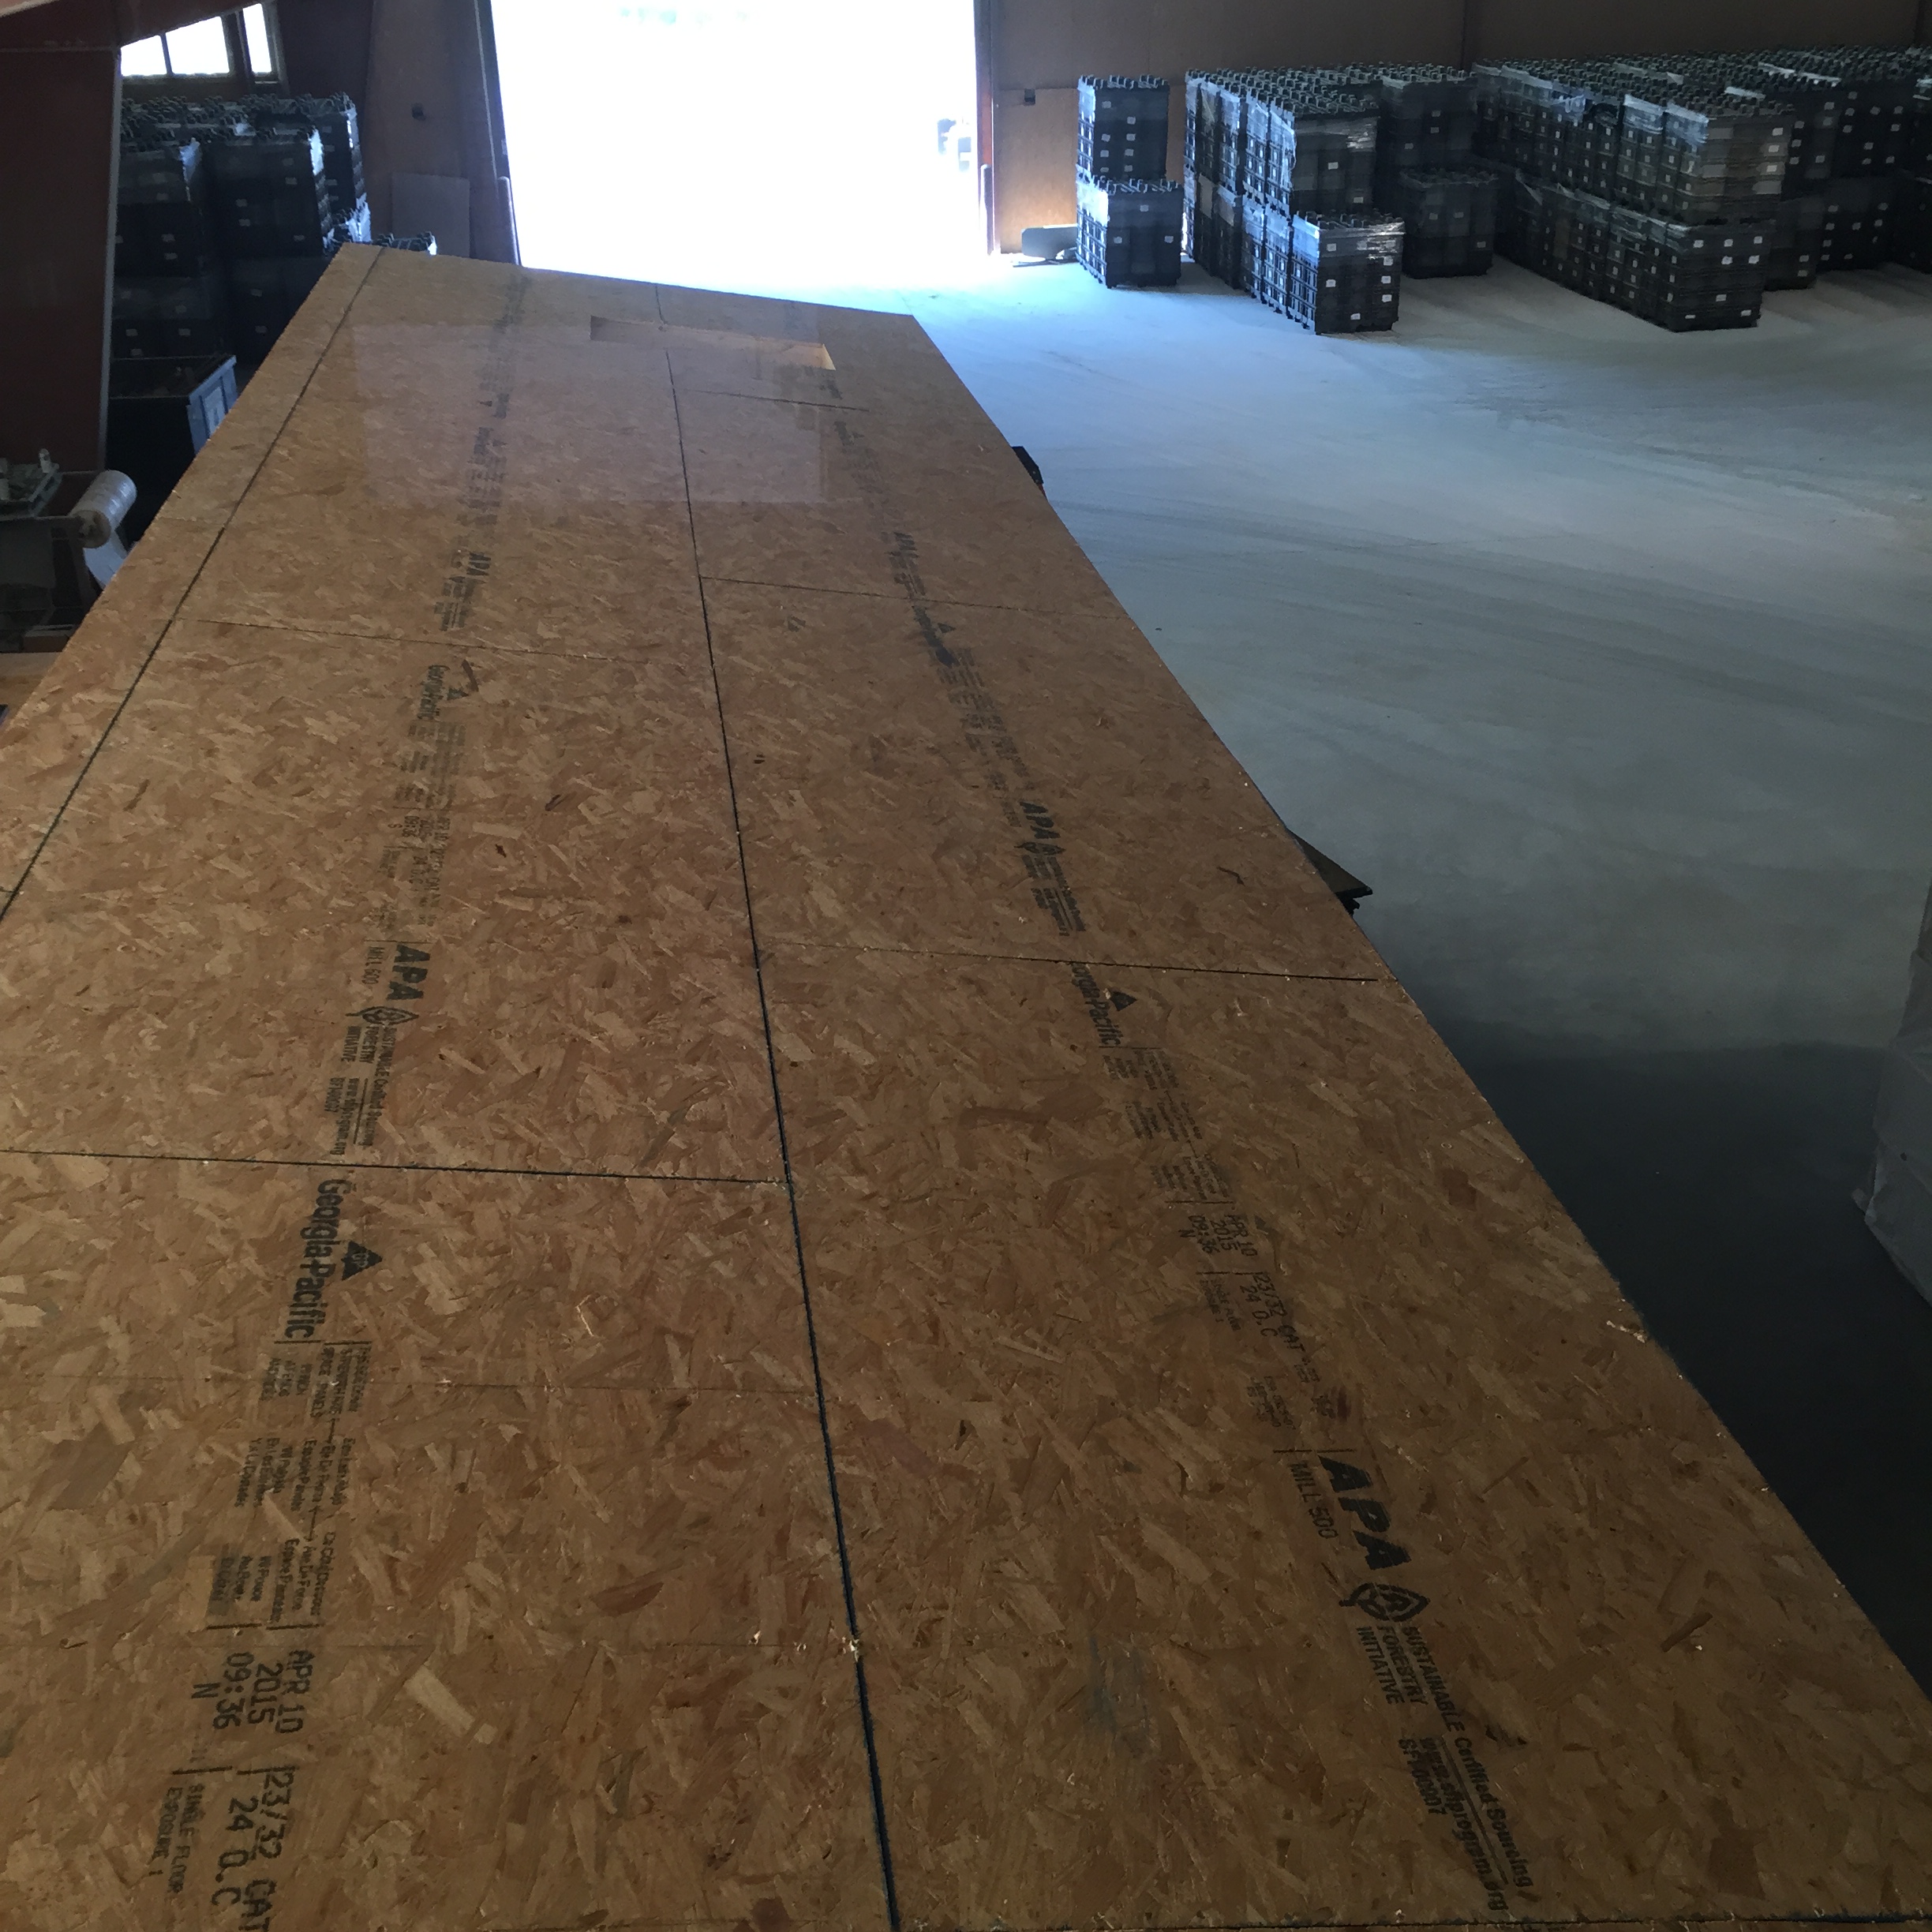
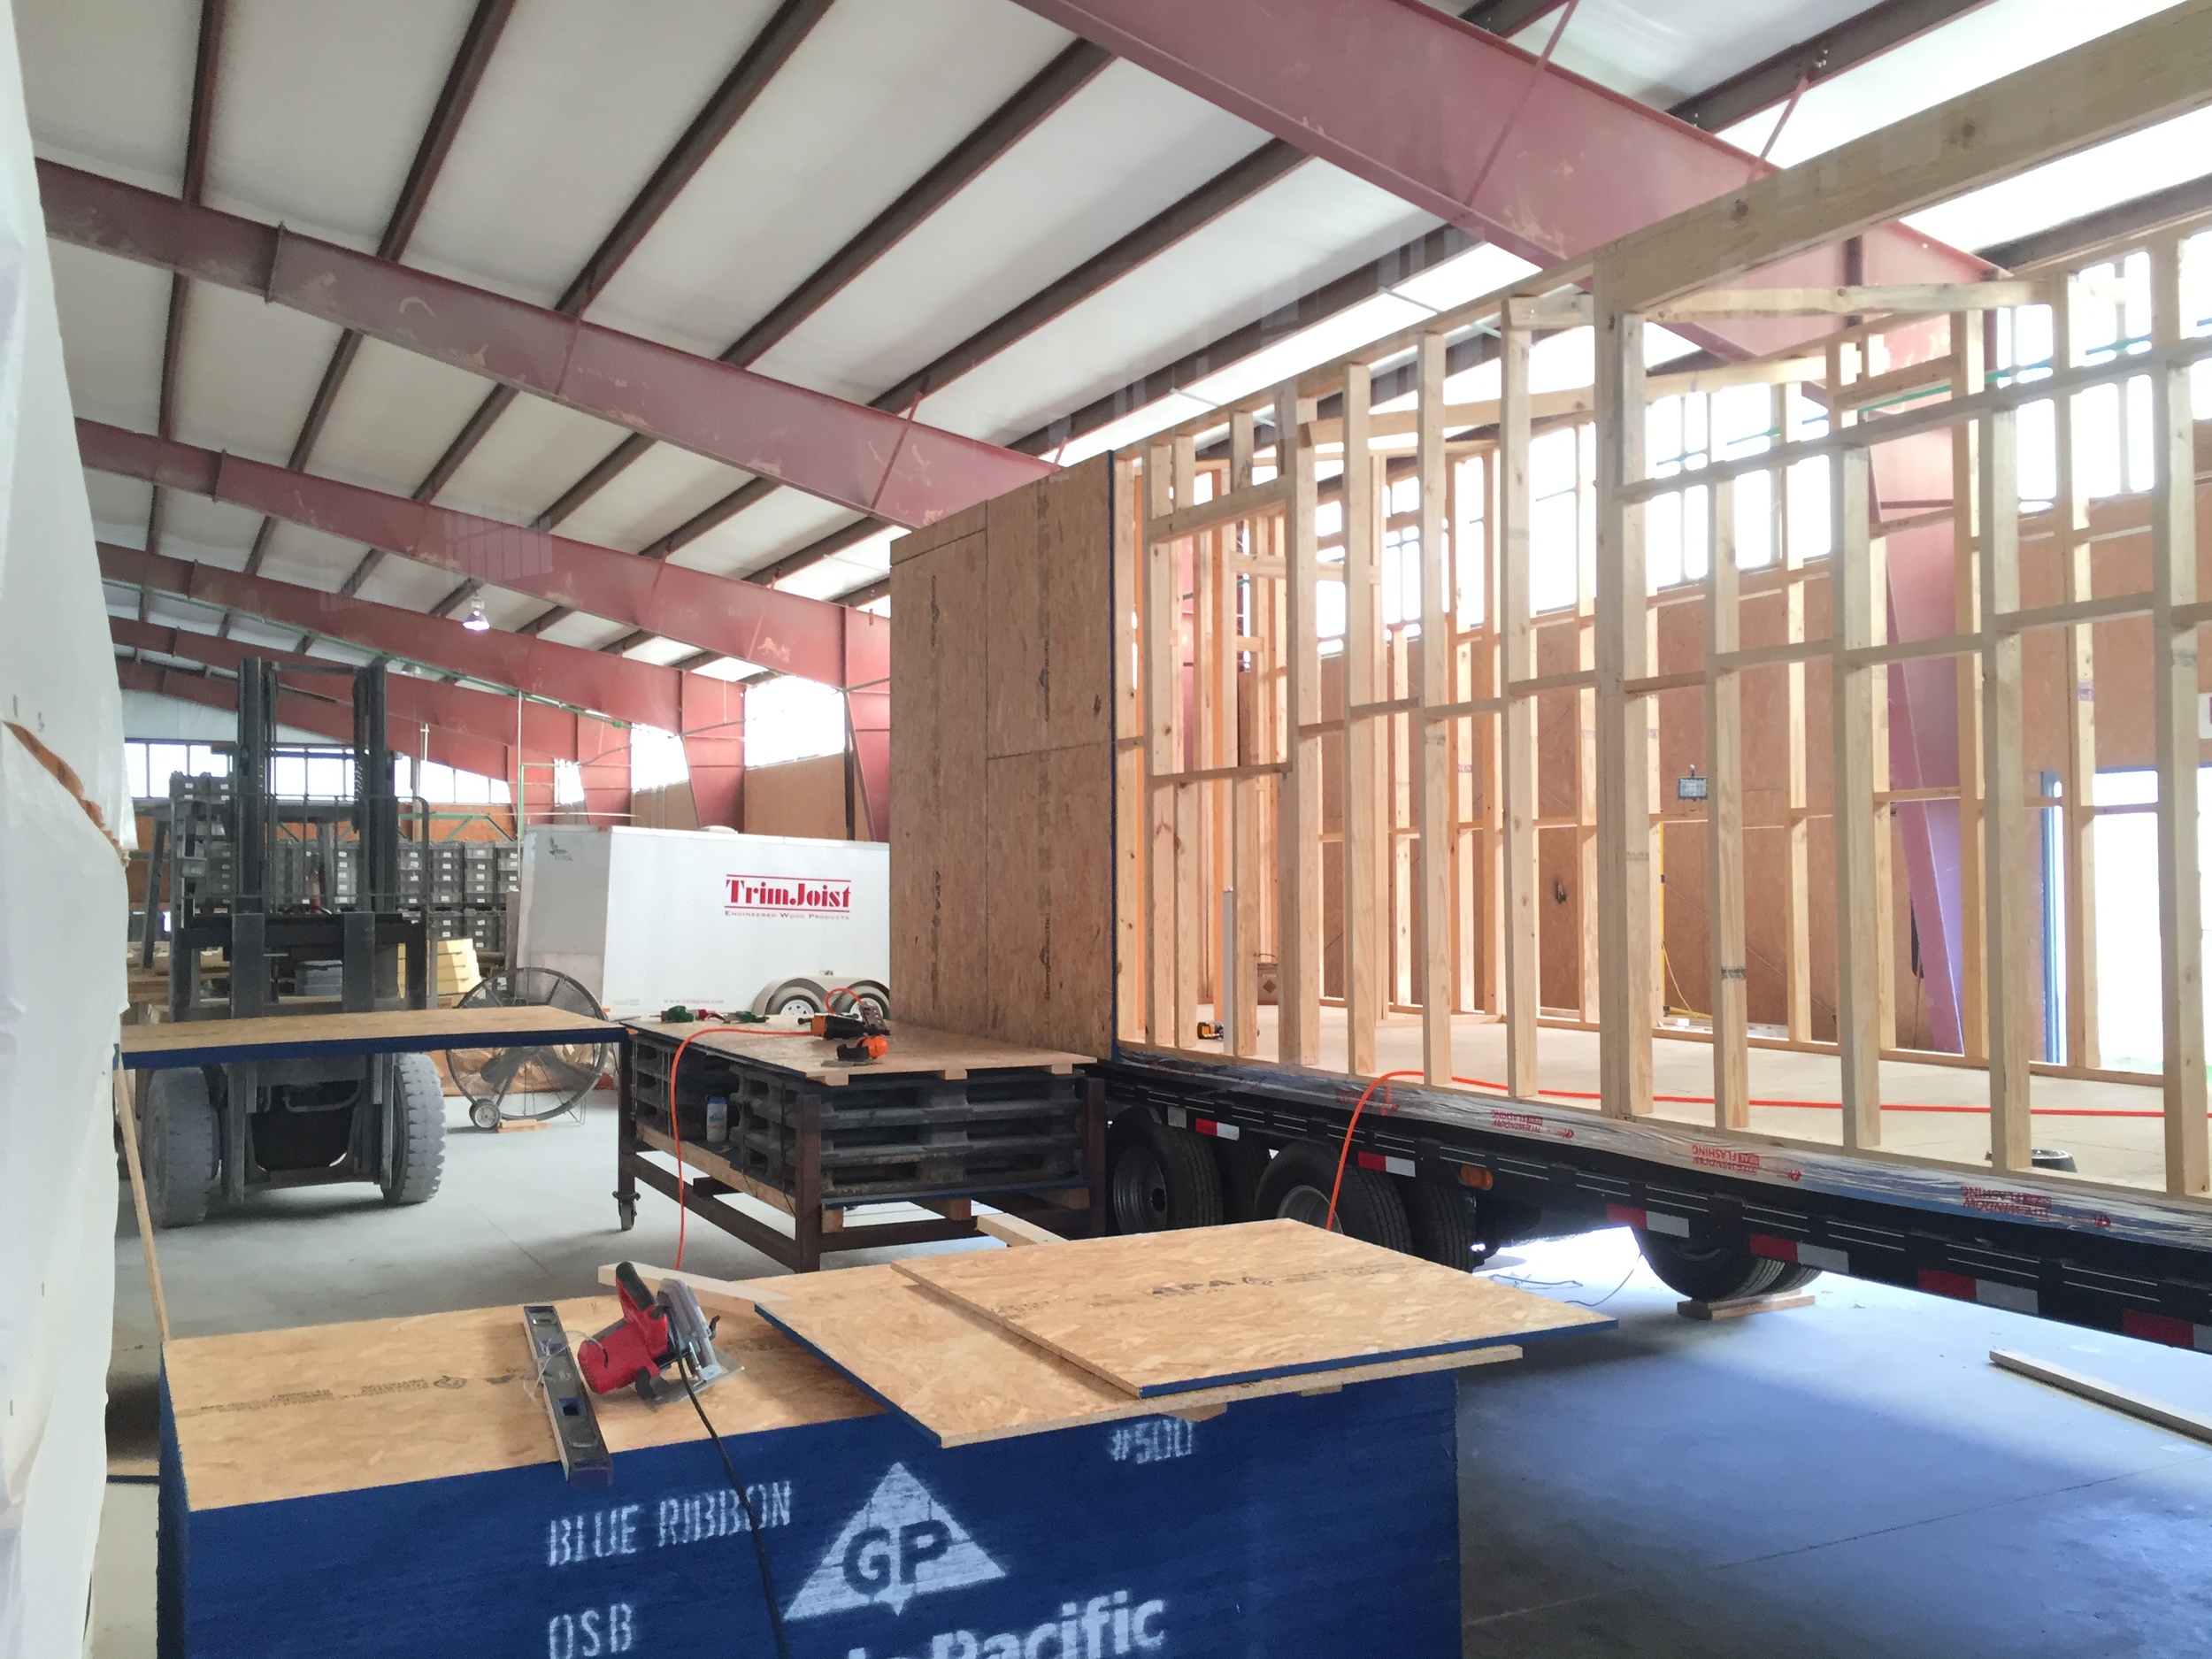
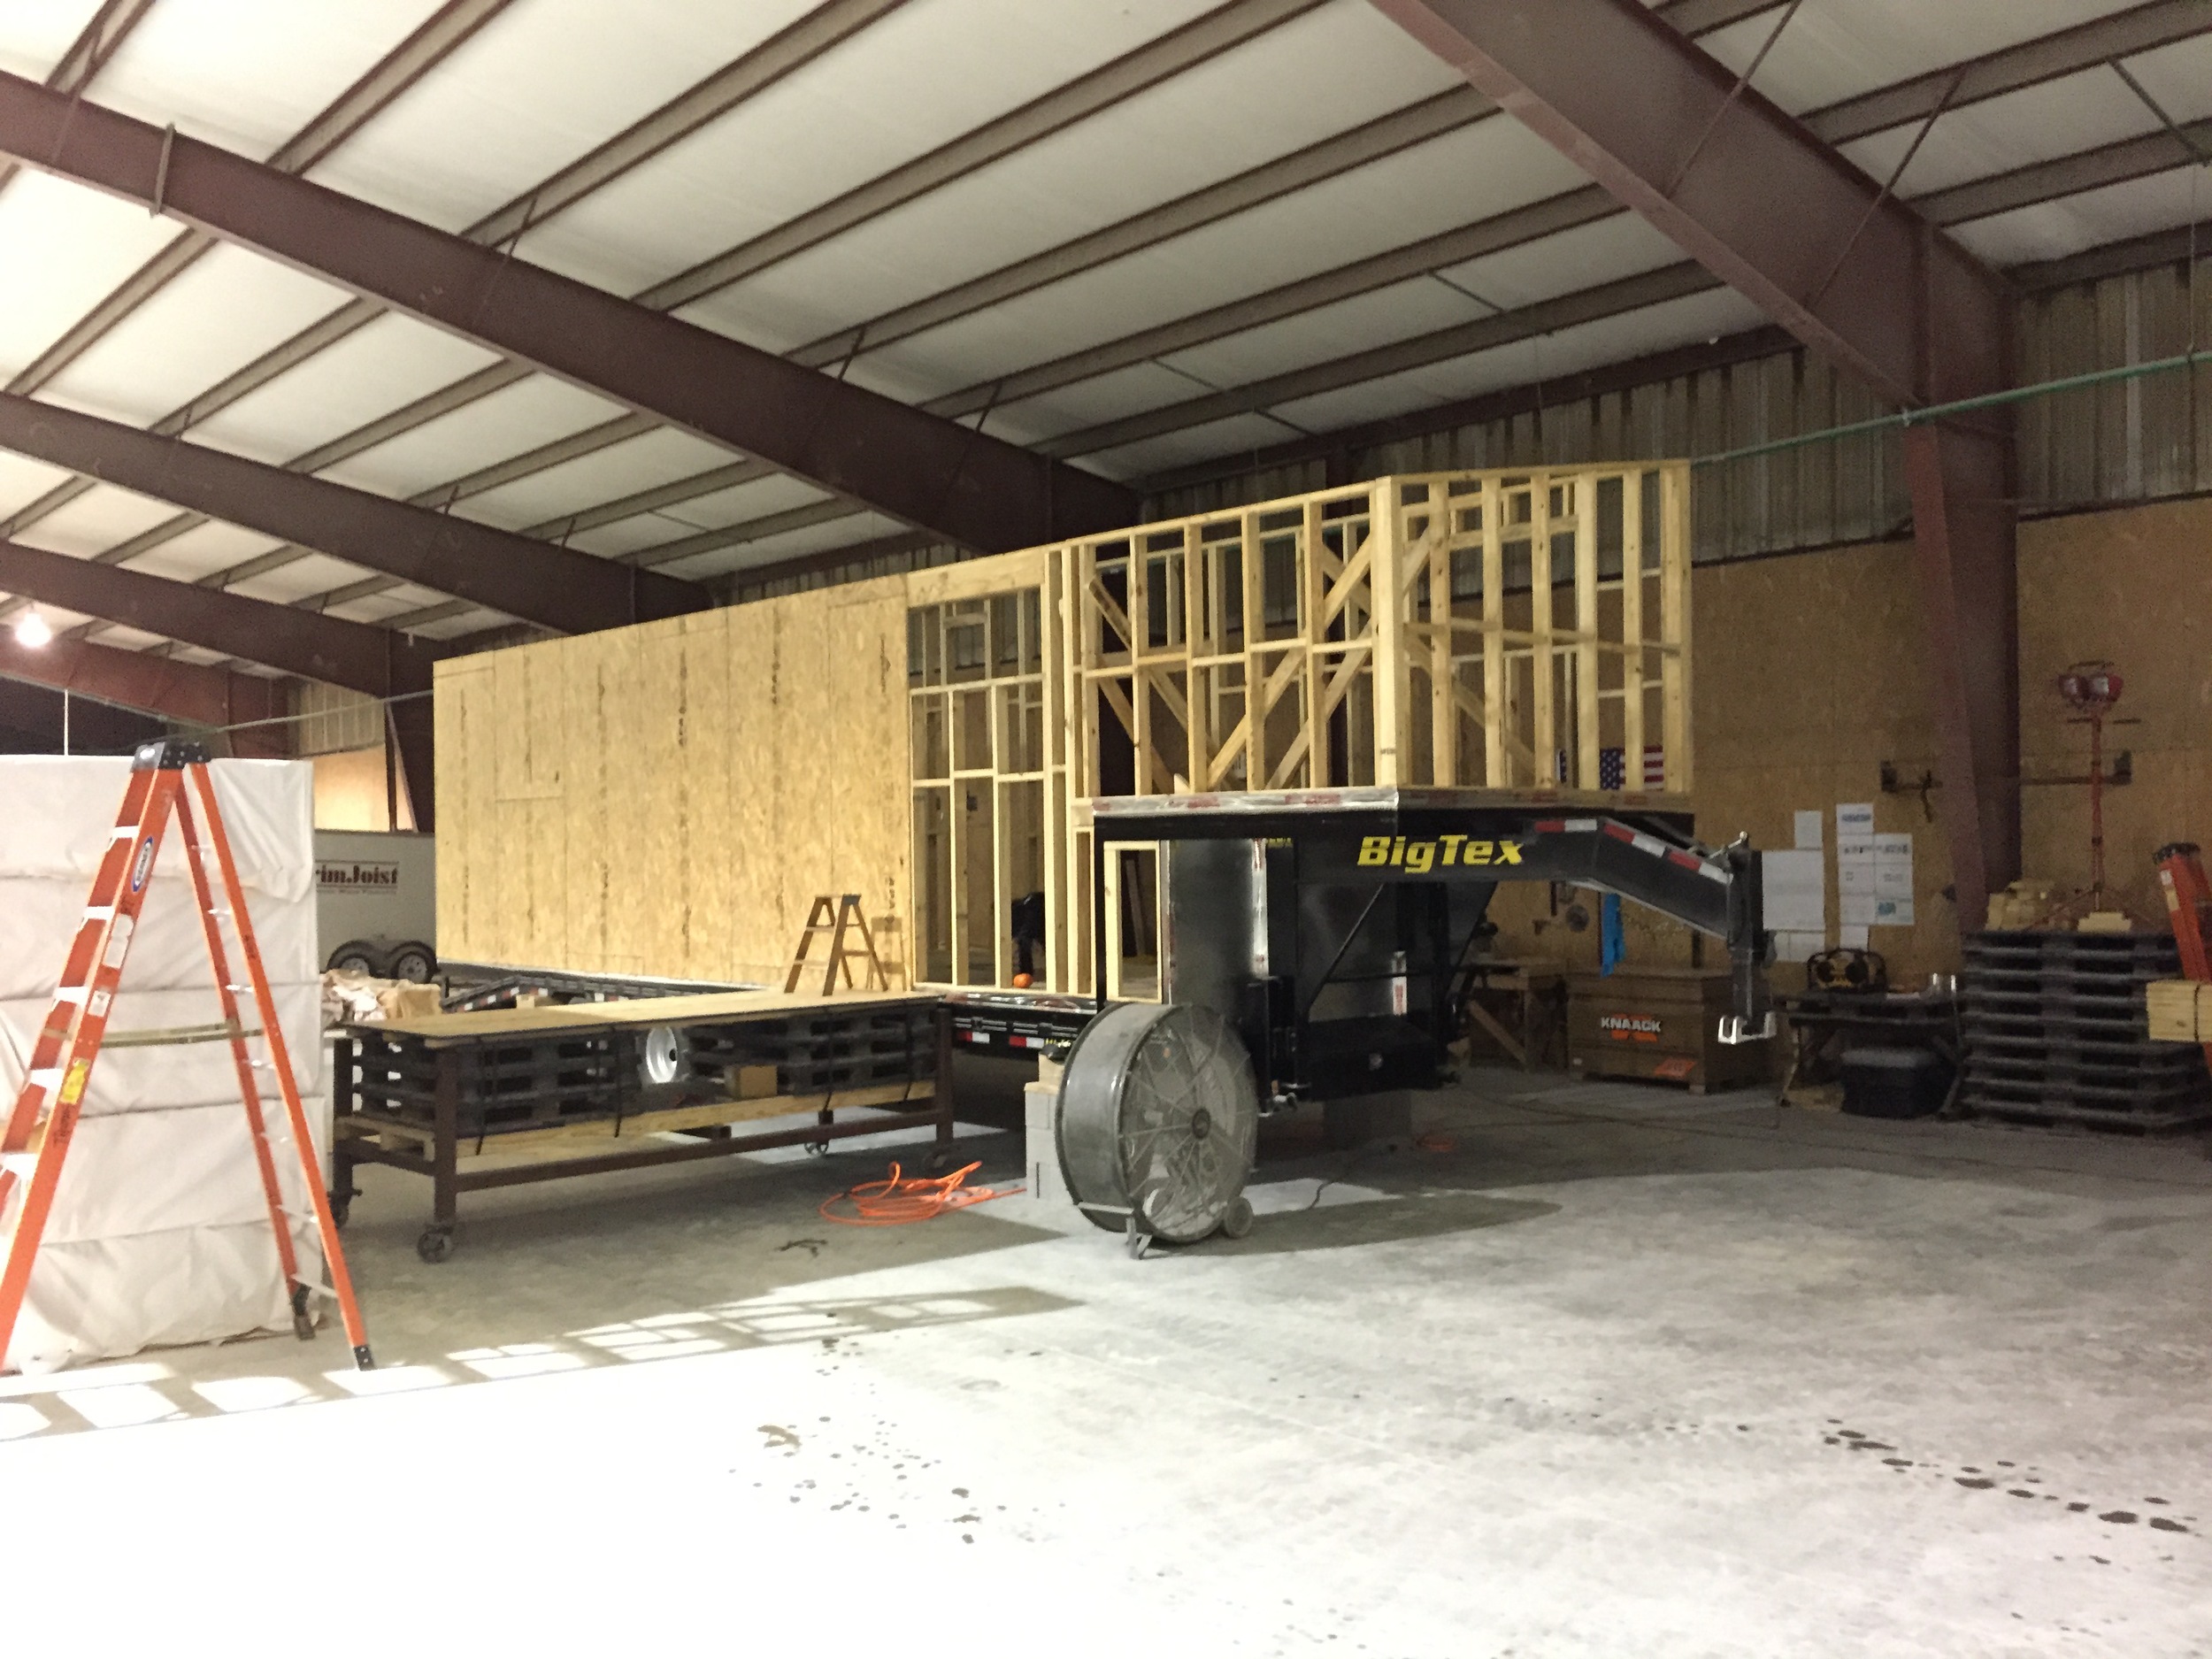
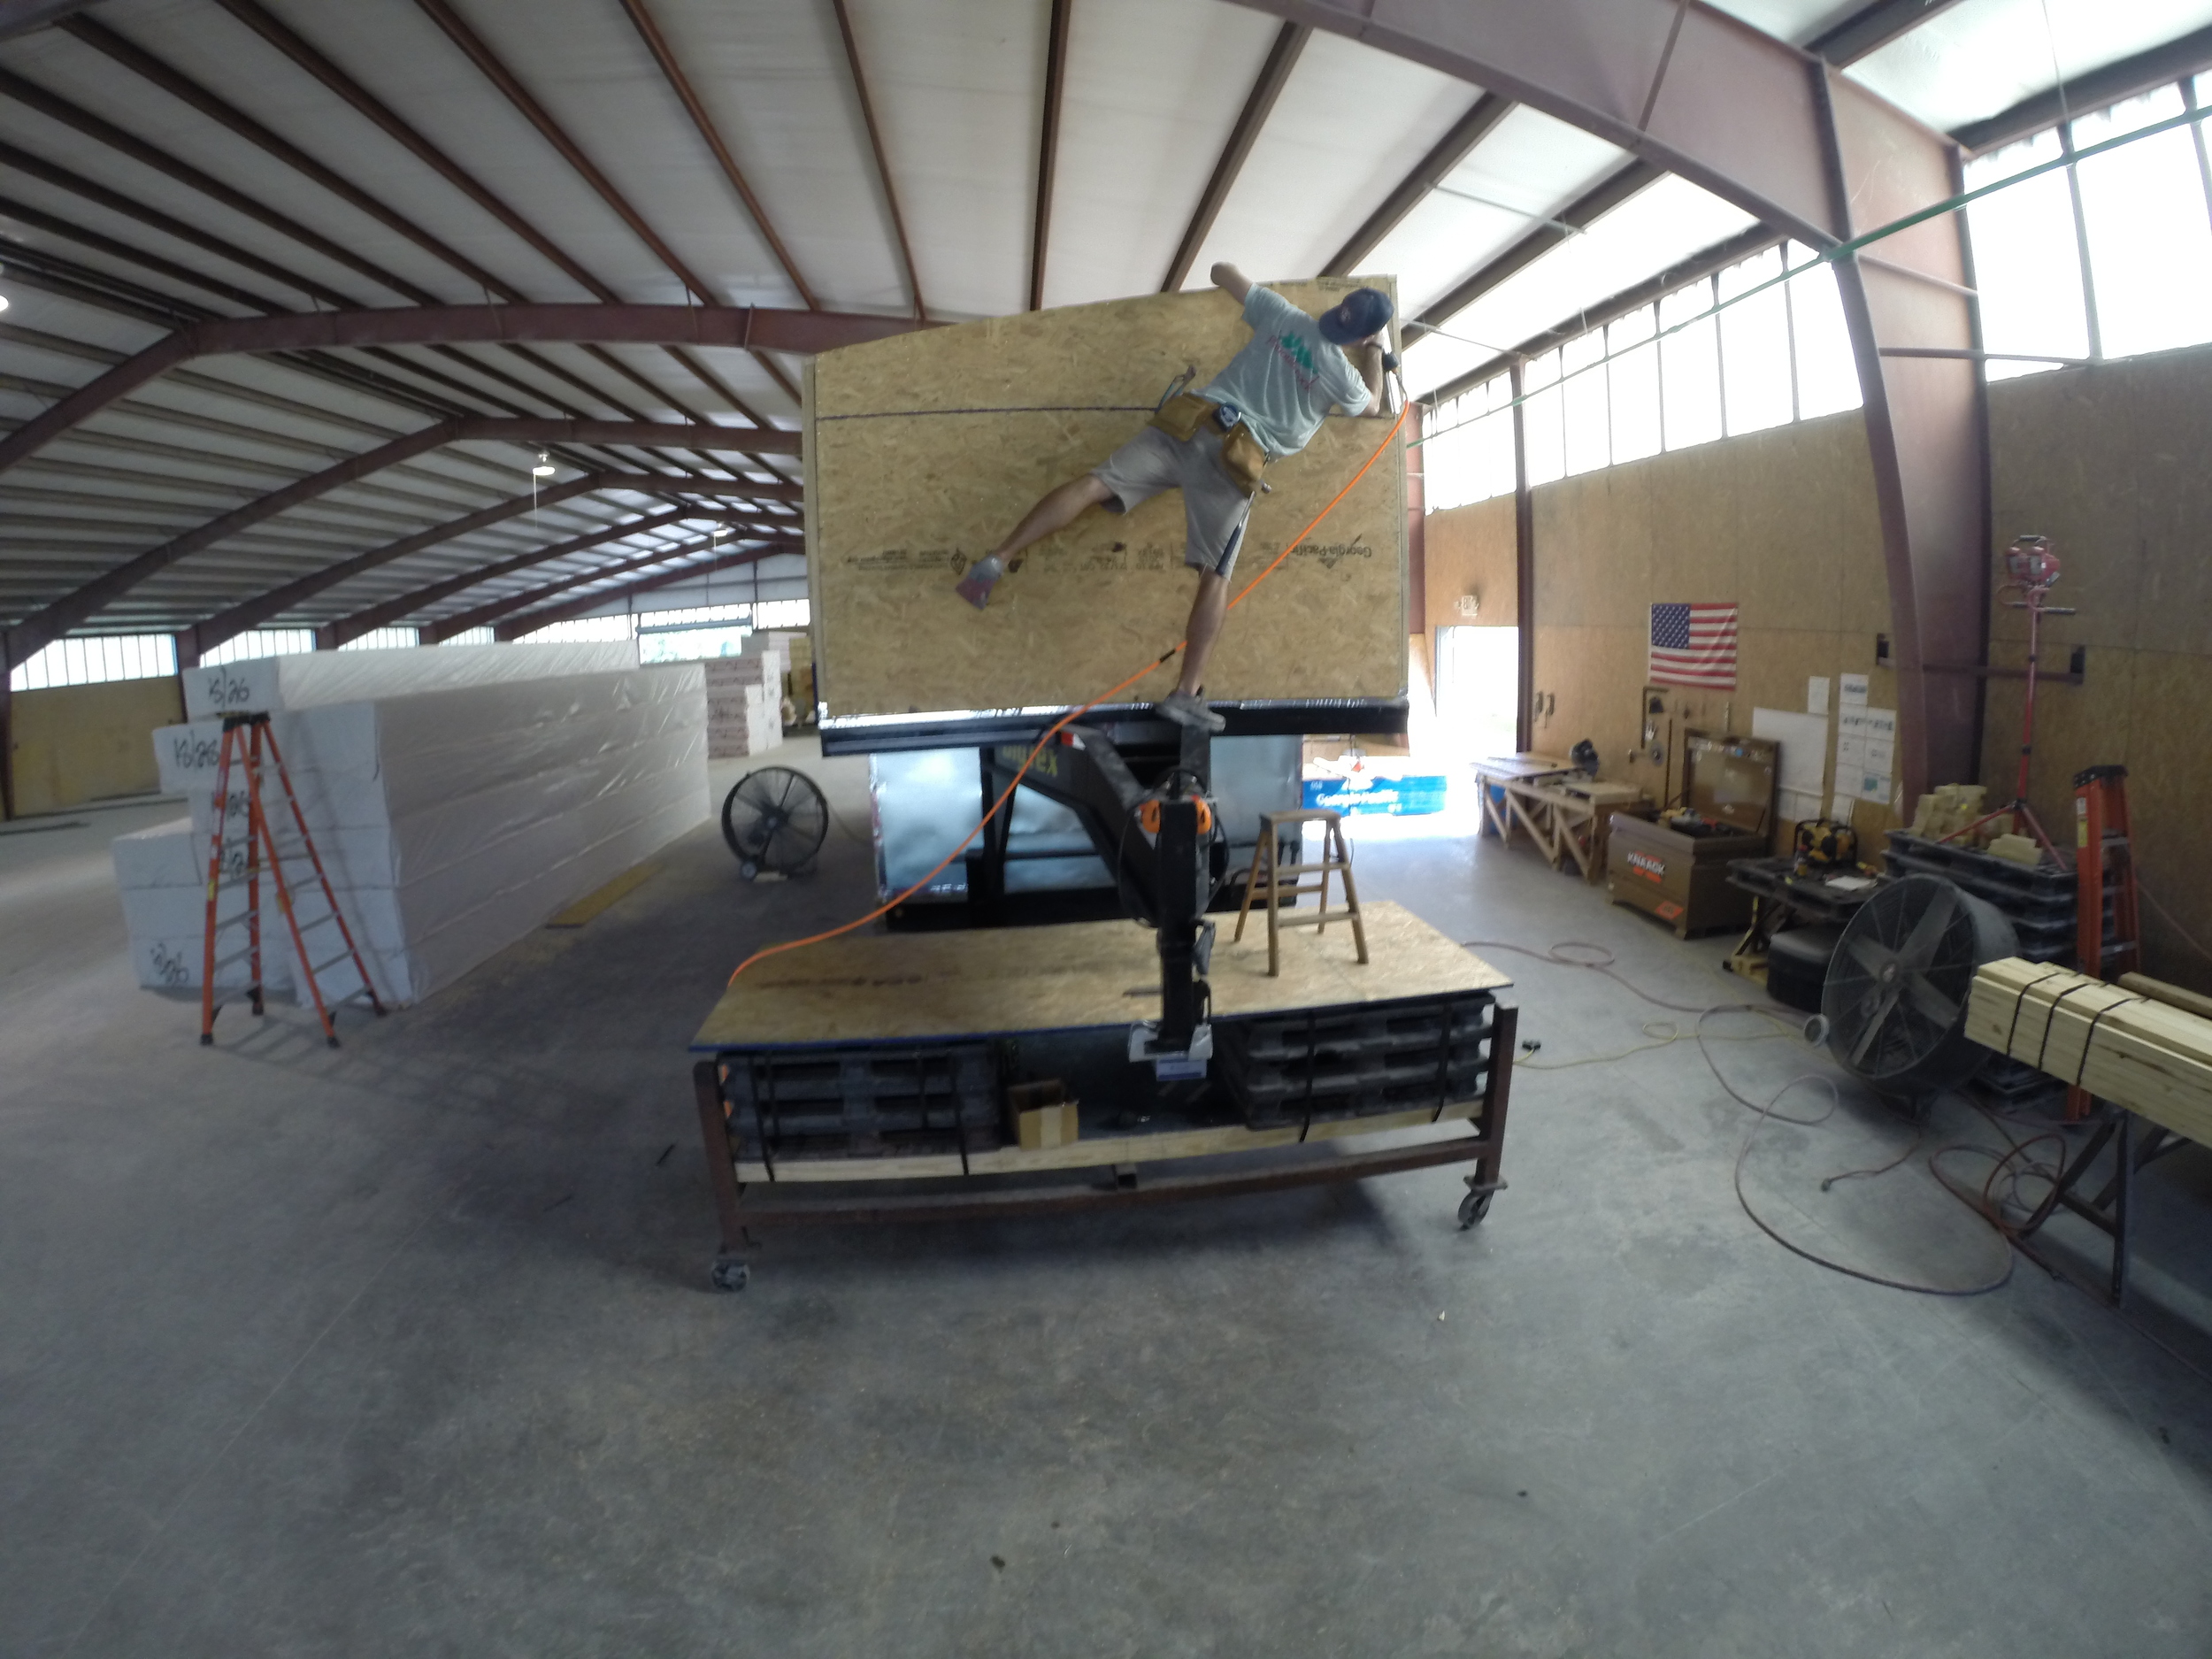
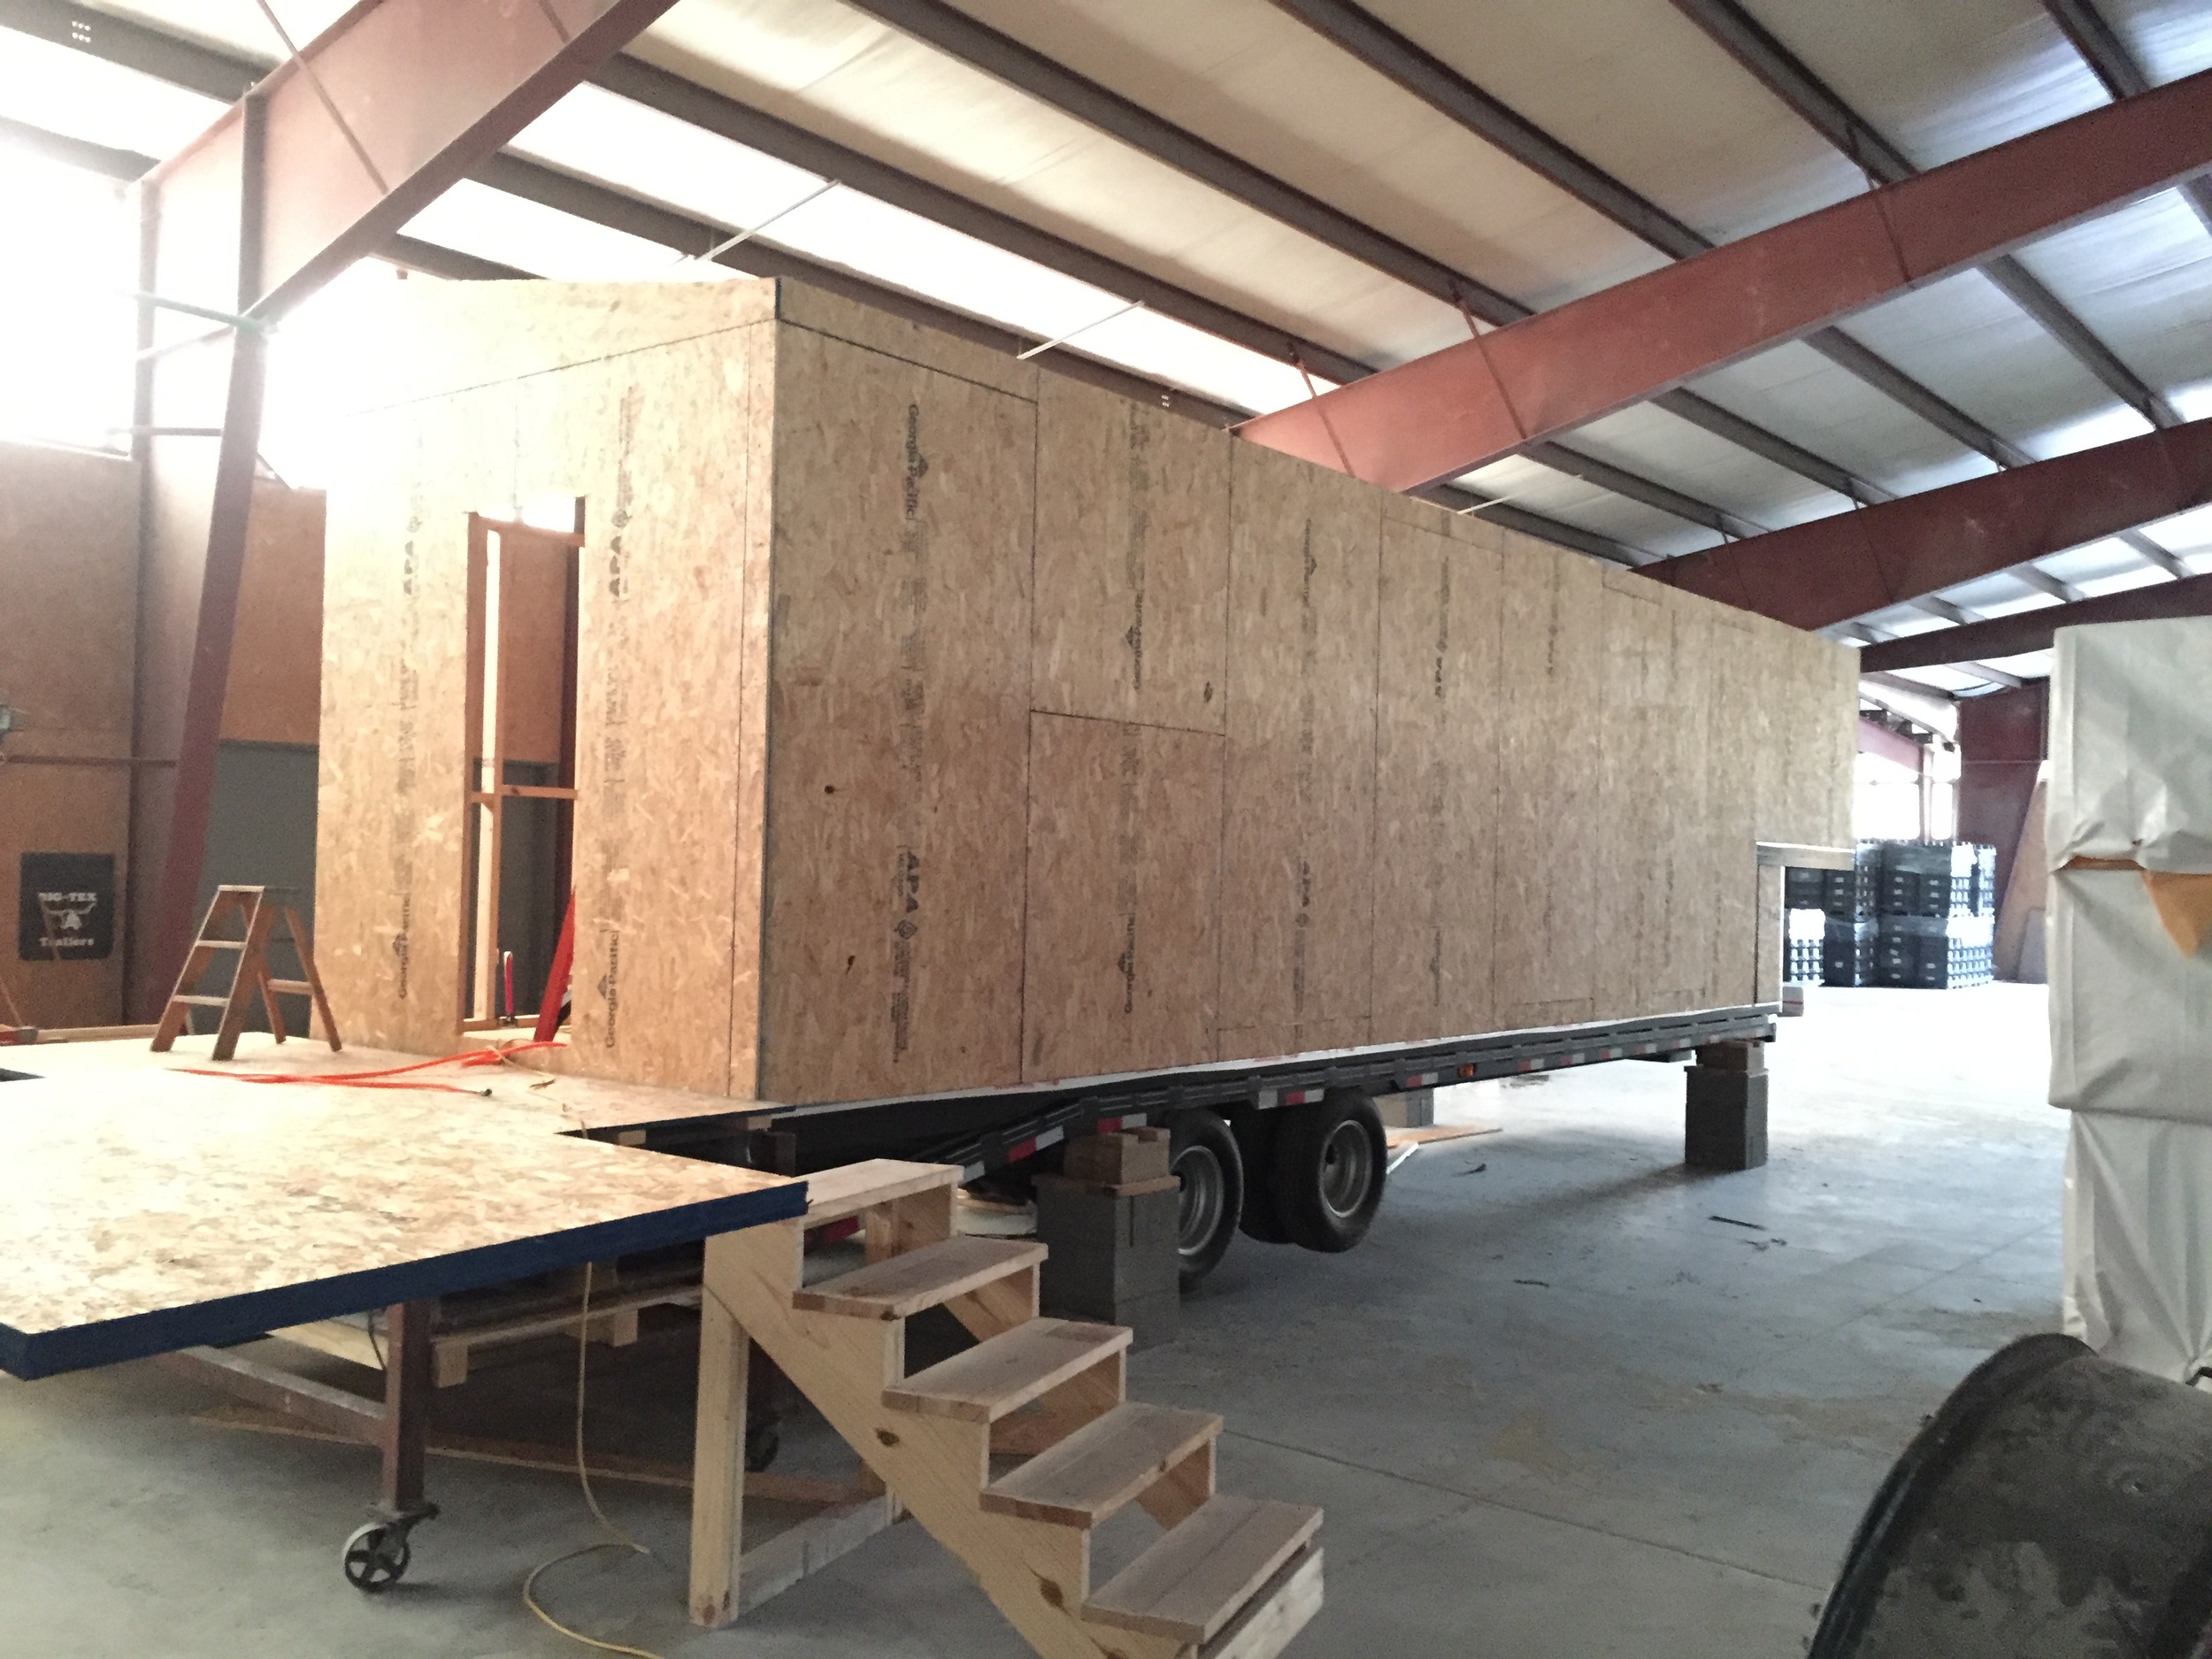
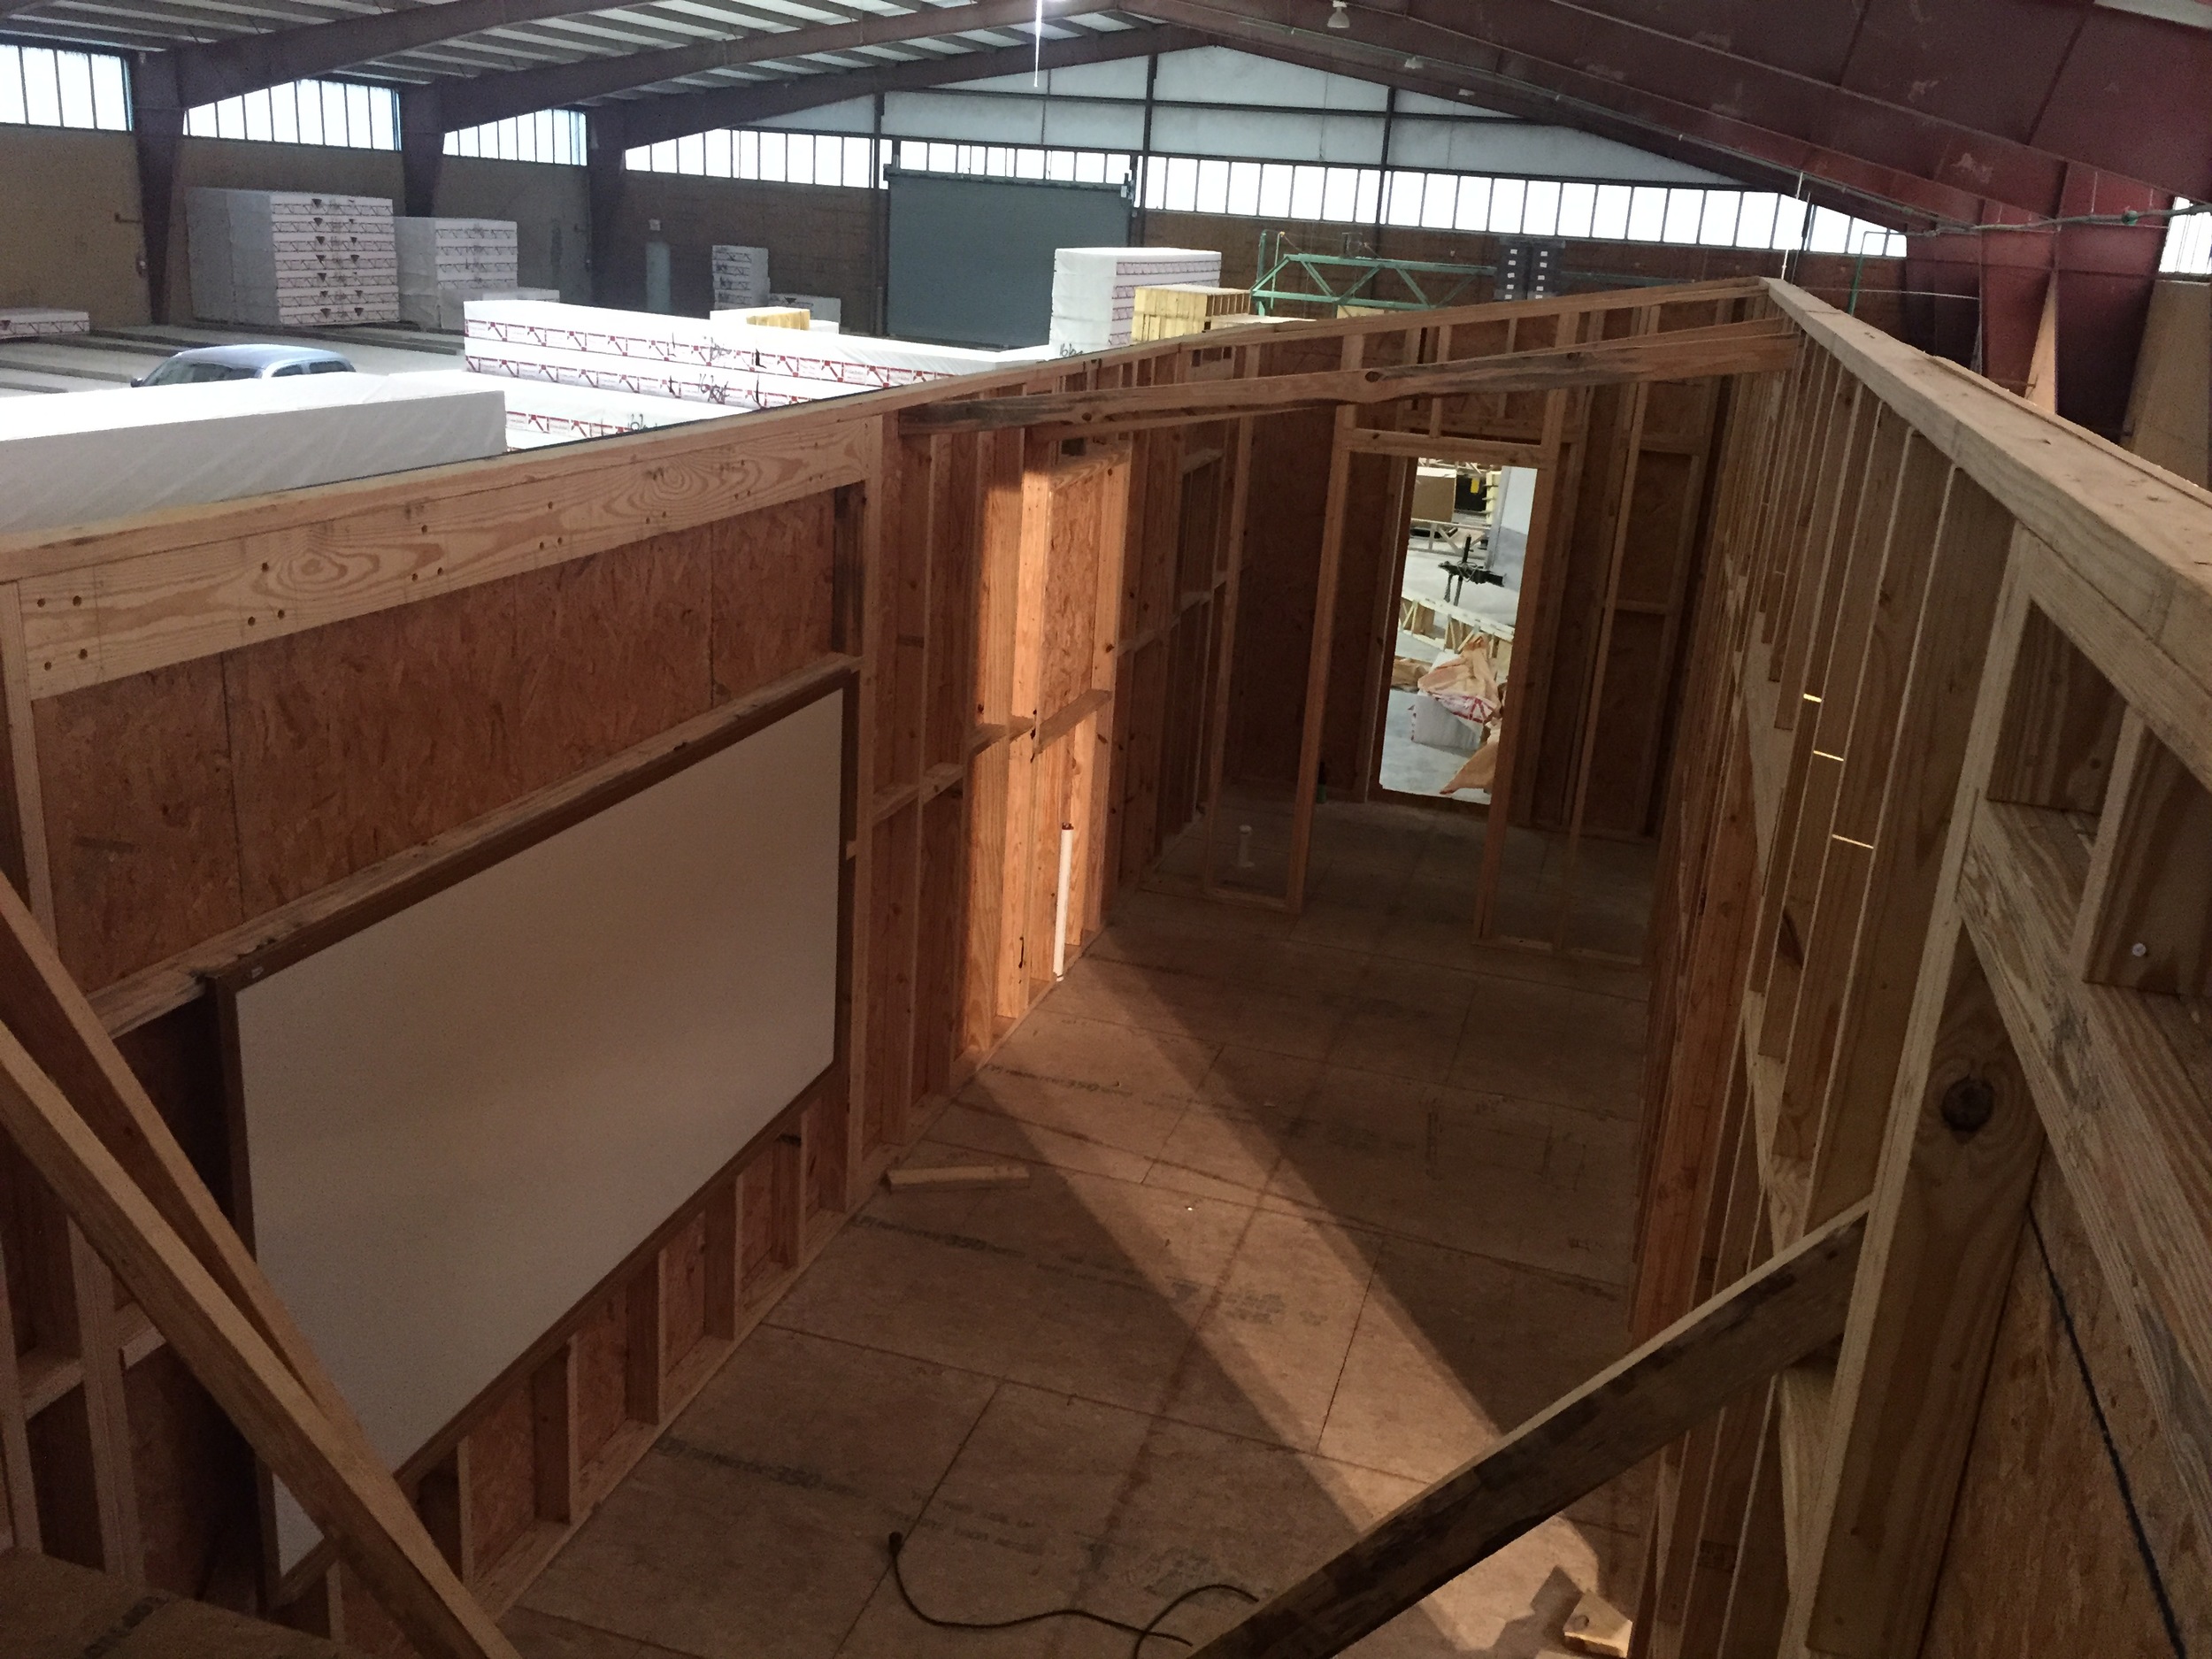
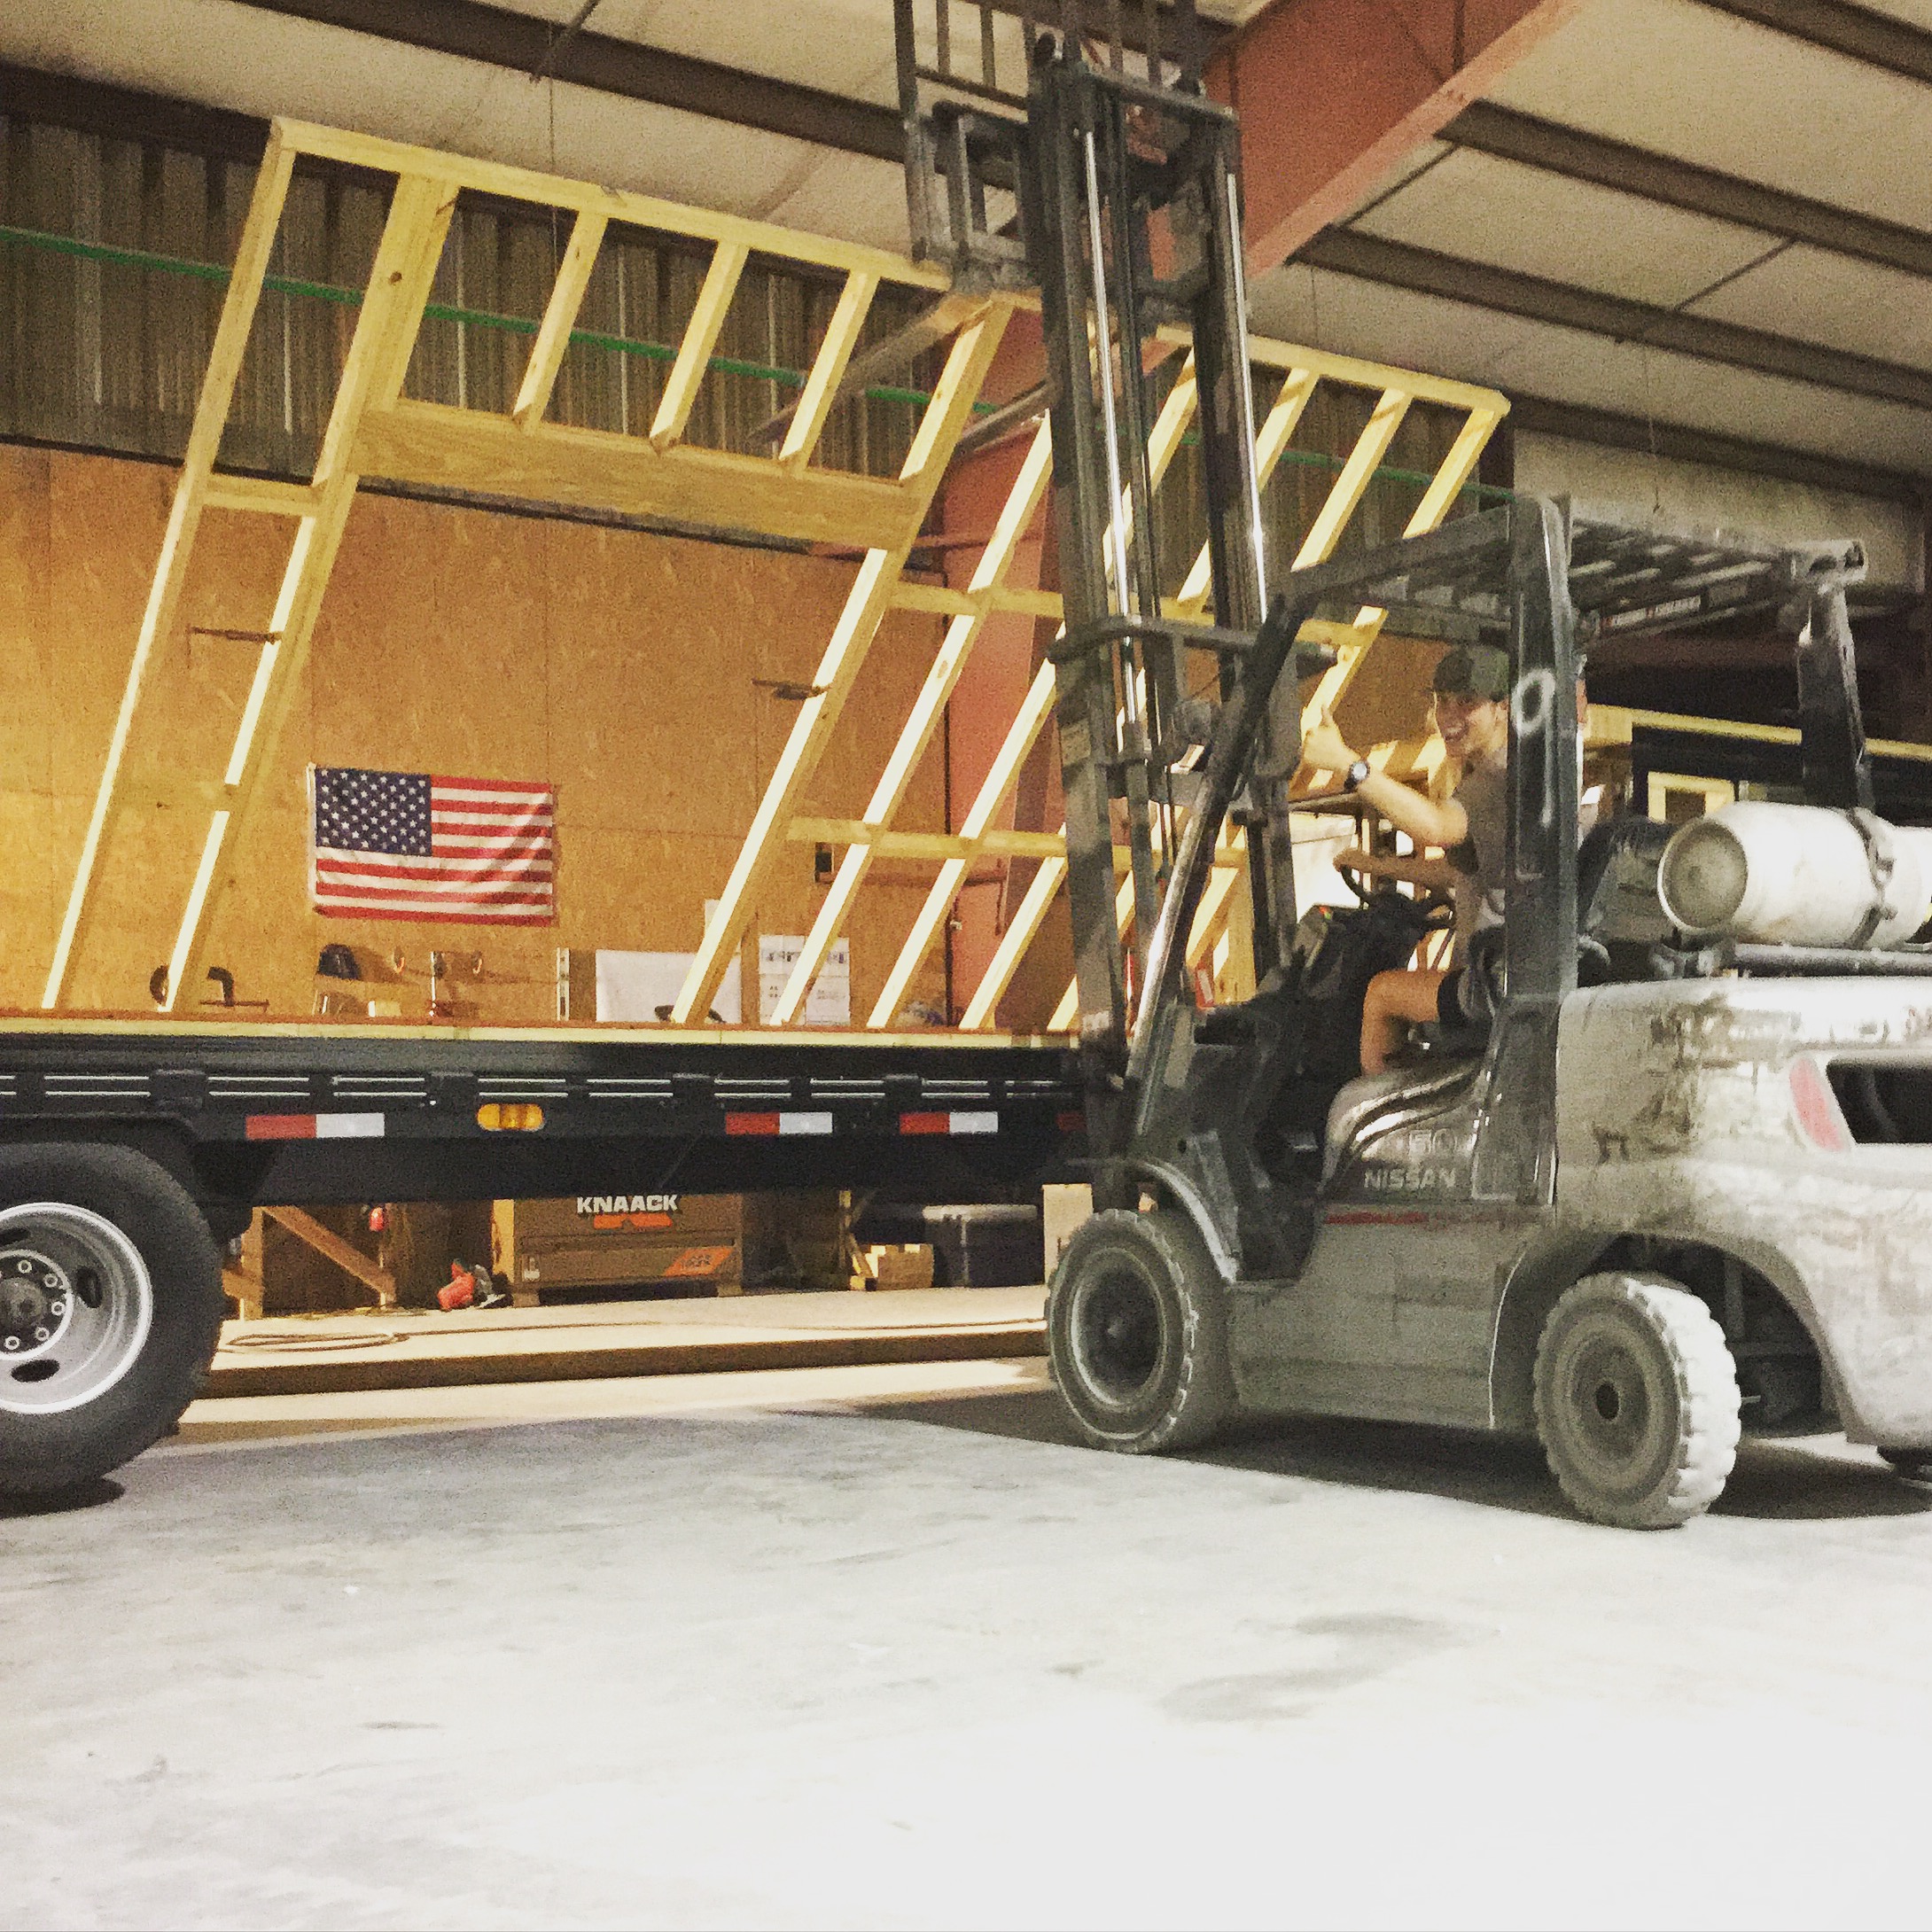
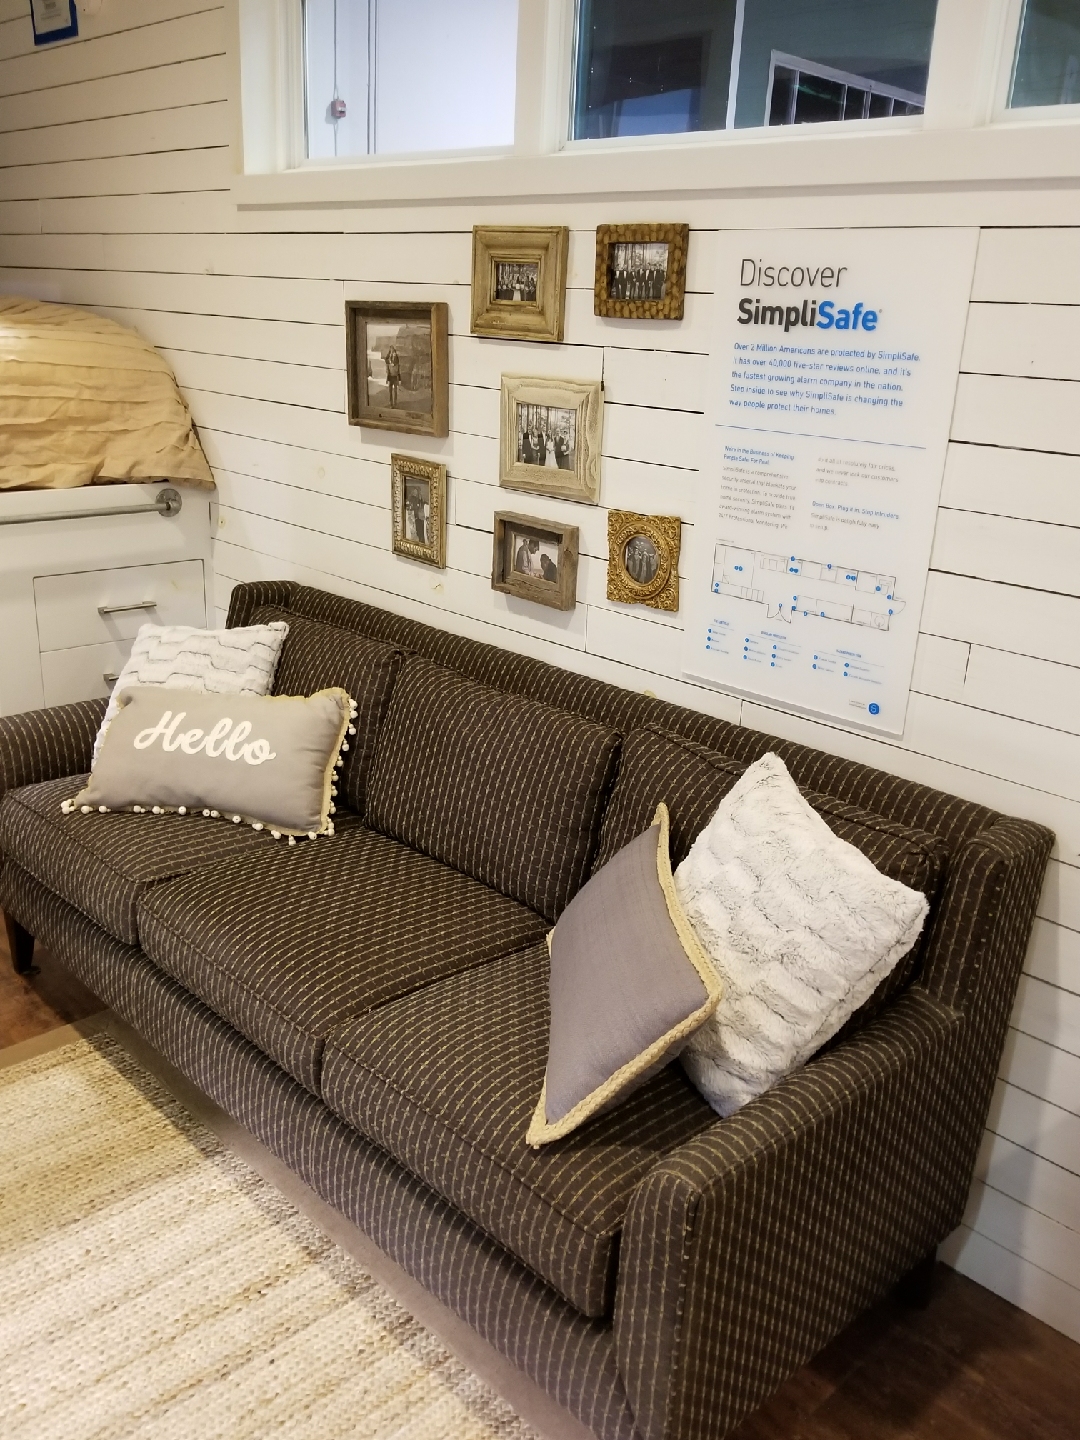
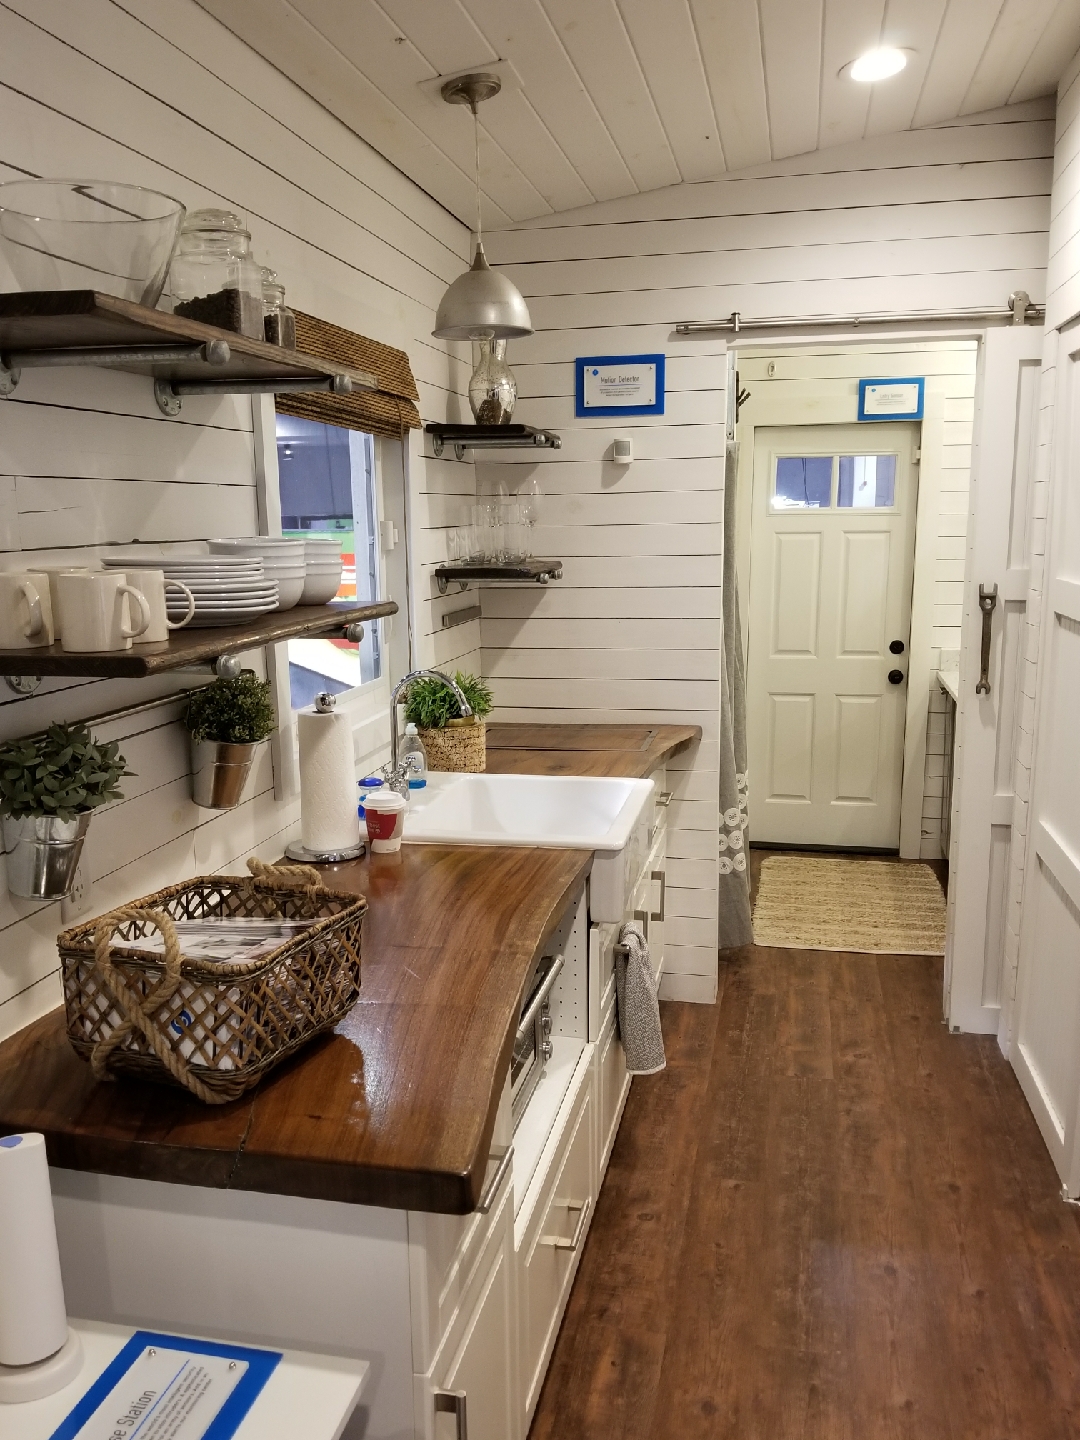
The tiny is now outfitted with all of their security system sensors, detectors, cameras, etc. and is traveling around the U.S. to tradeshows & they're retailers. She has a whole new life on the road!

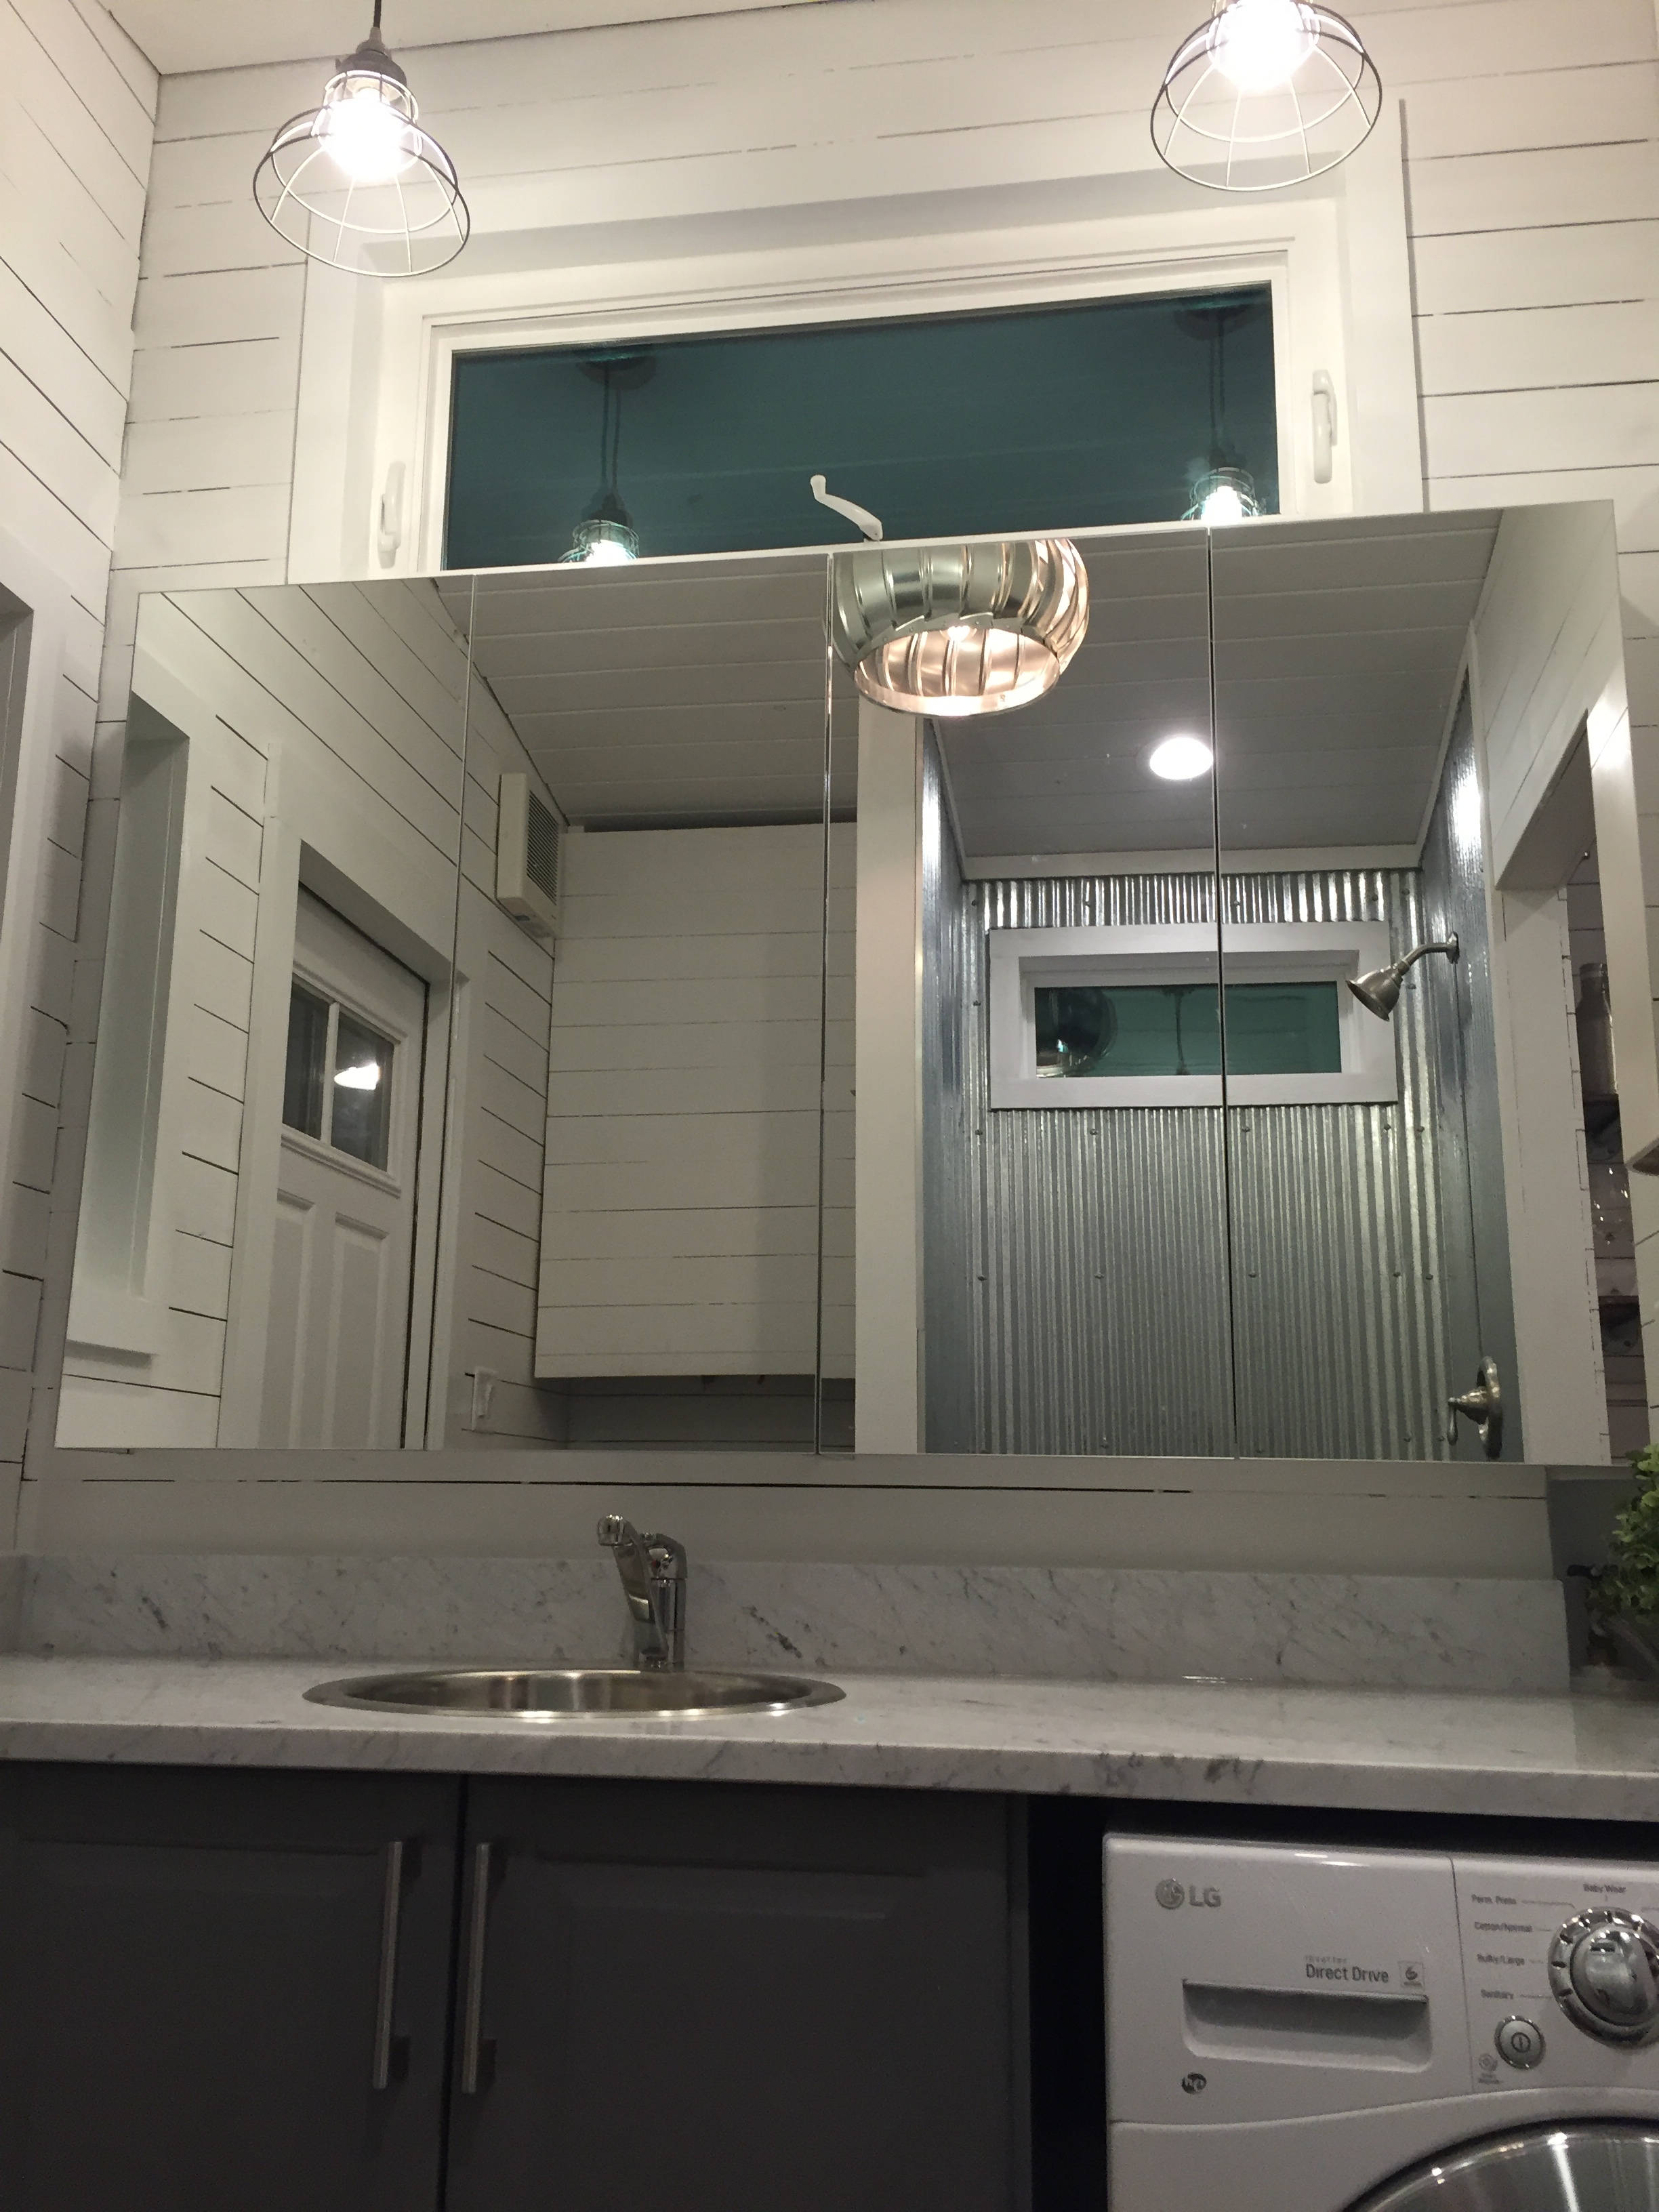
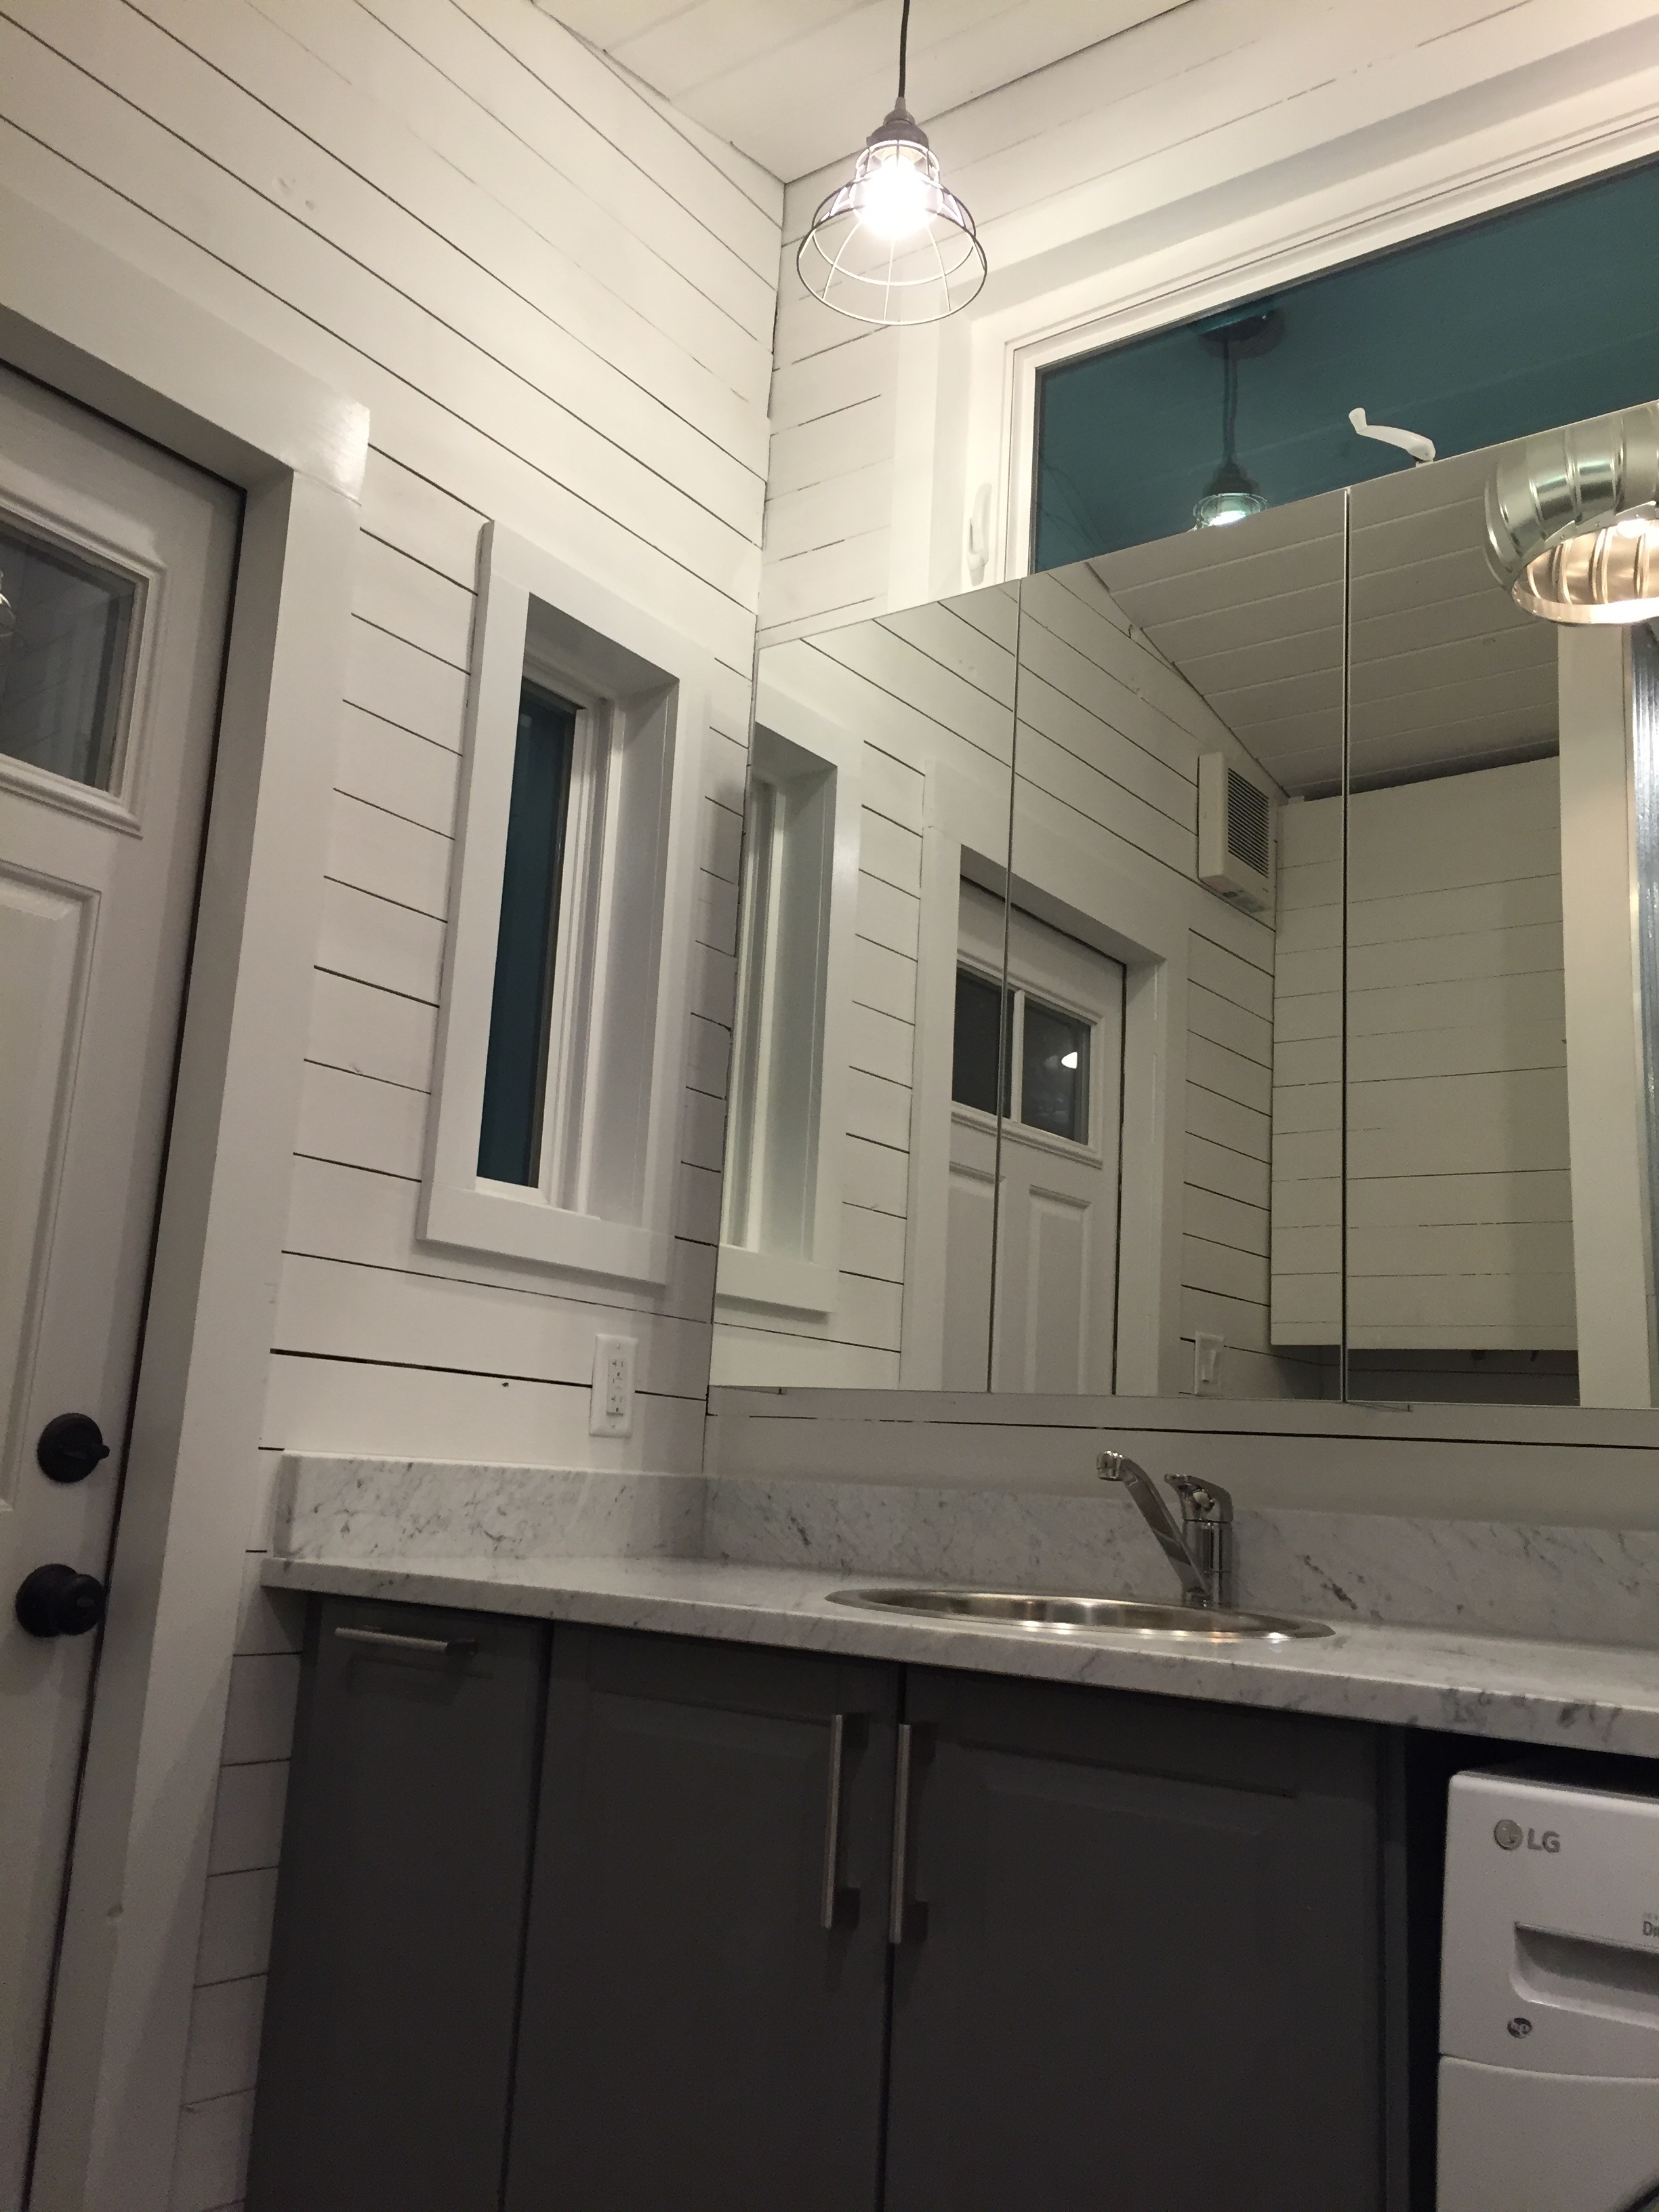
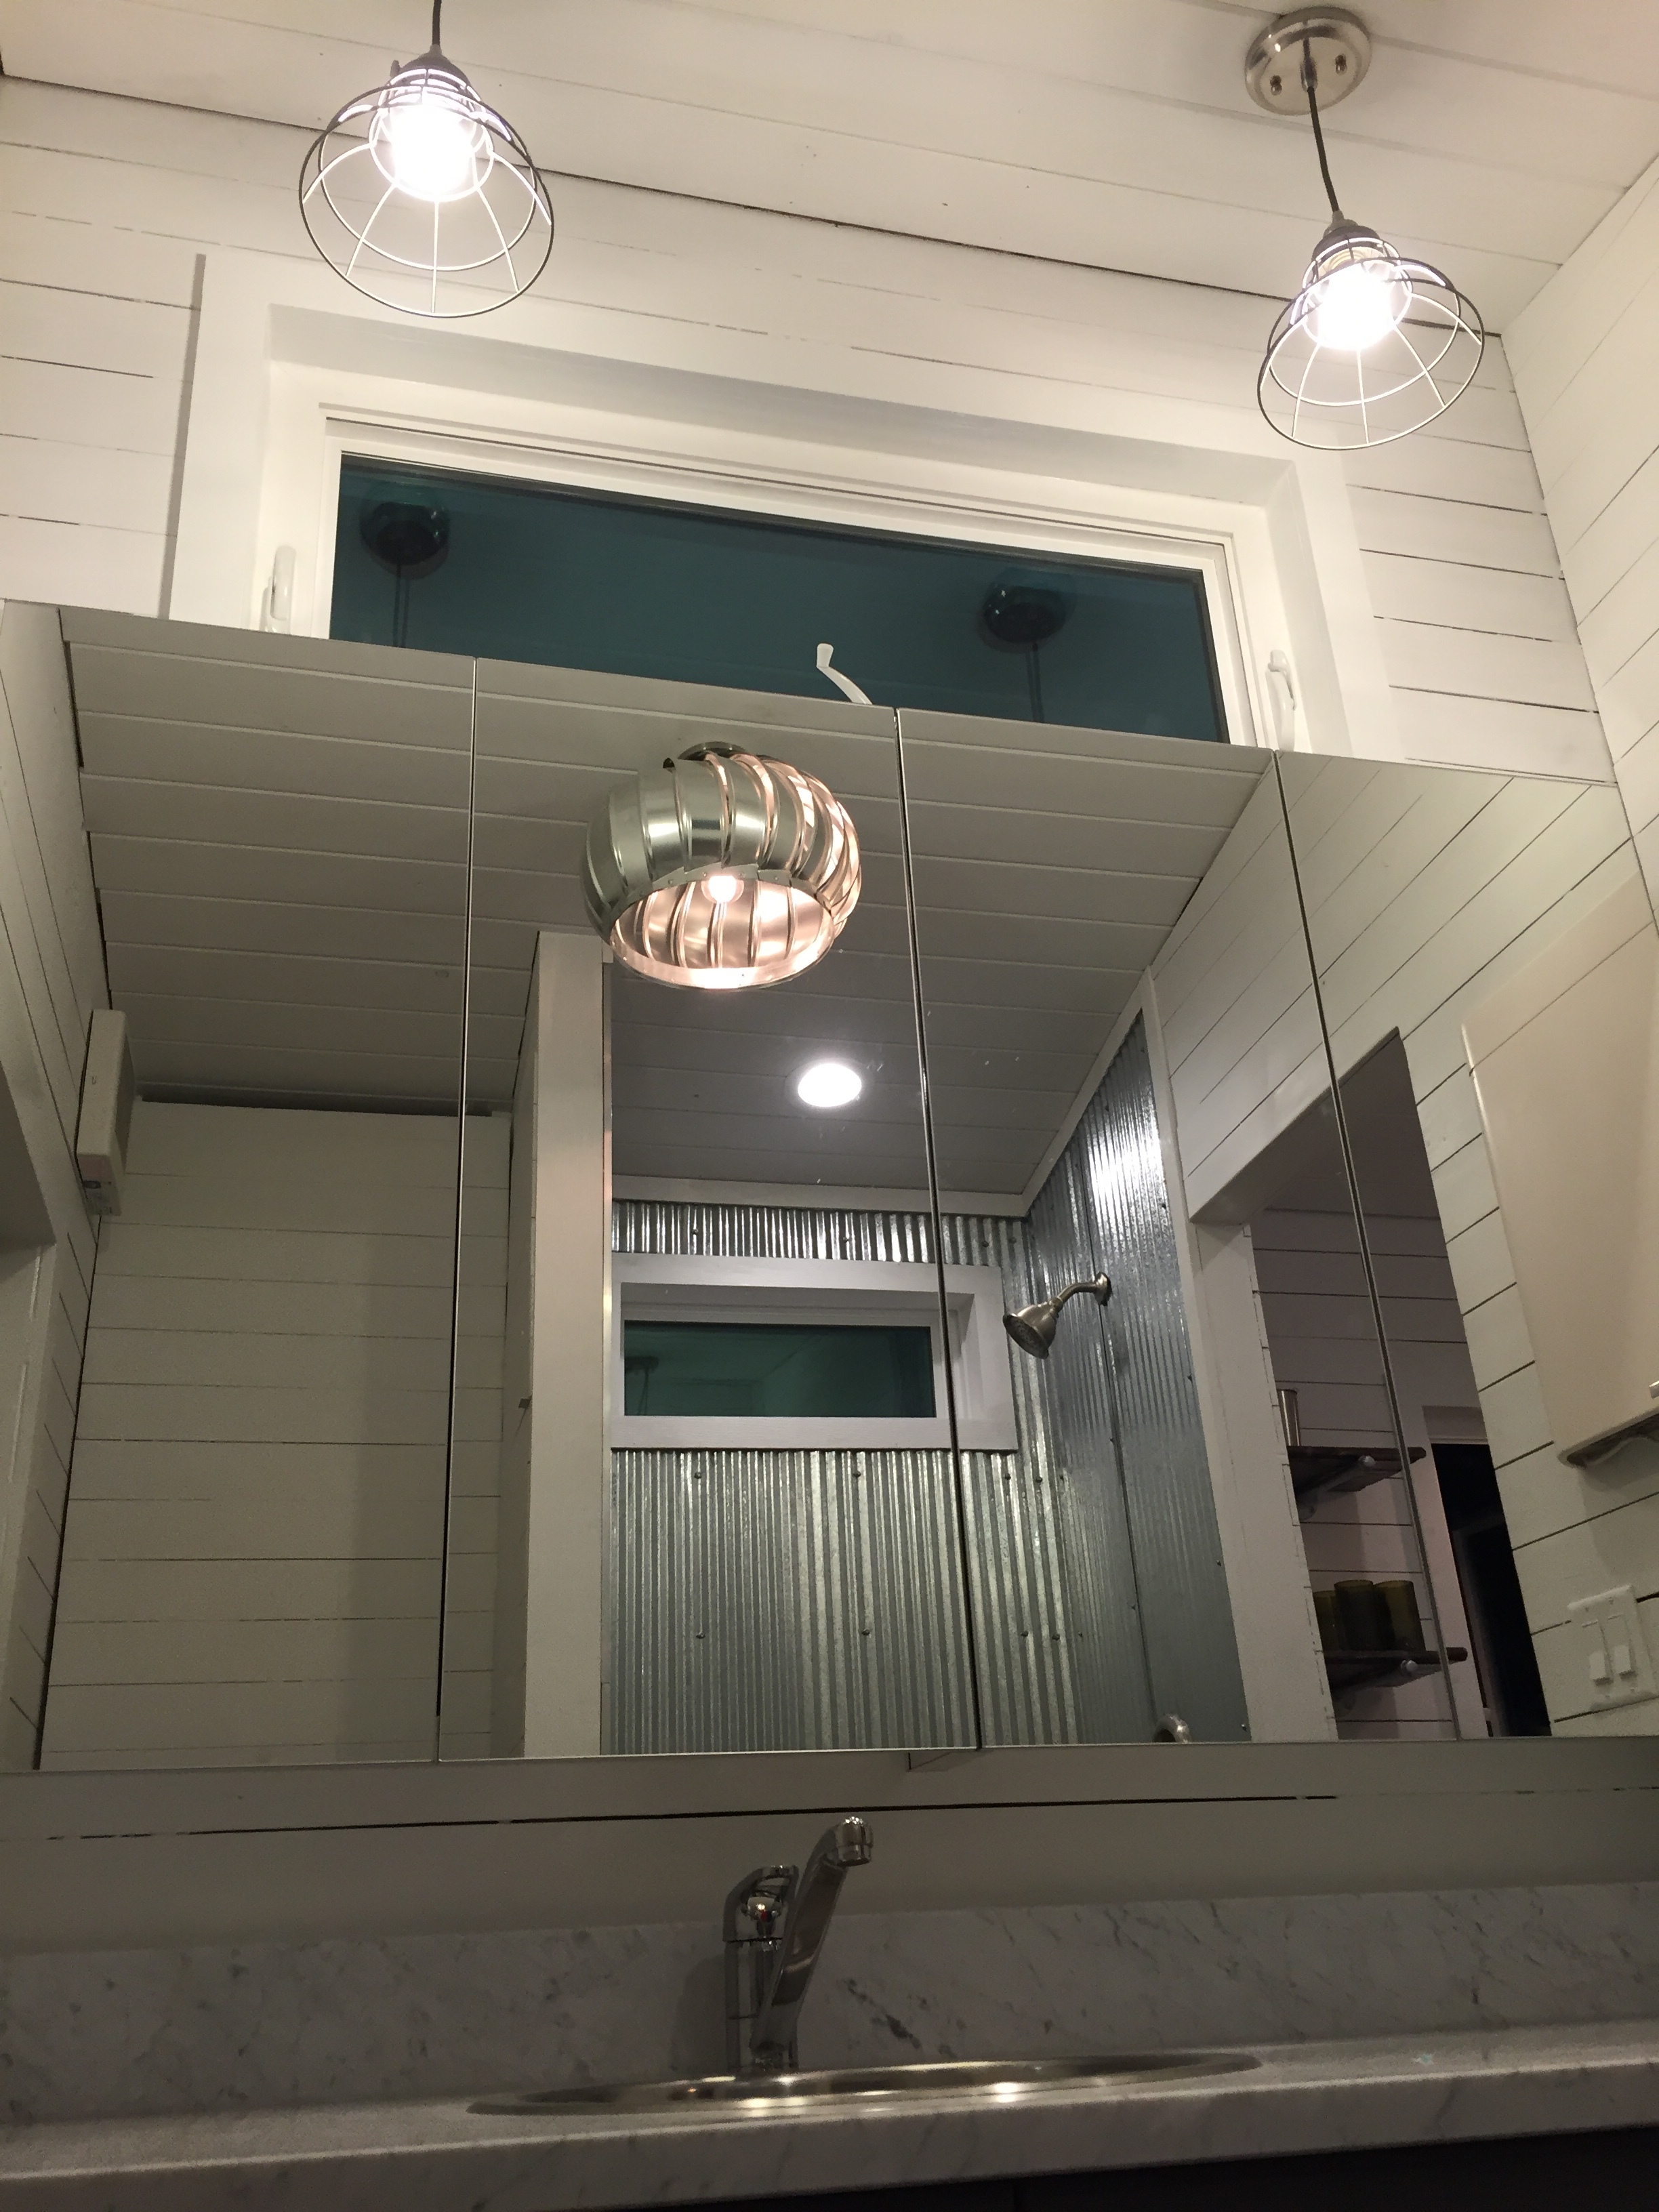
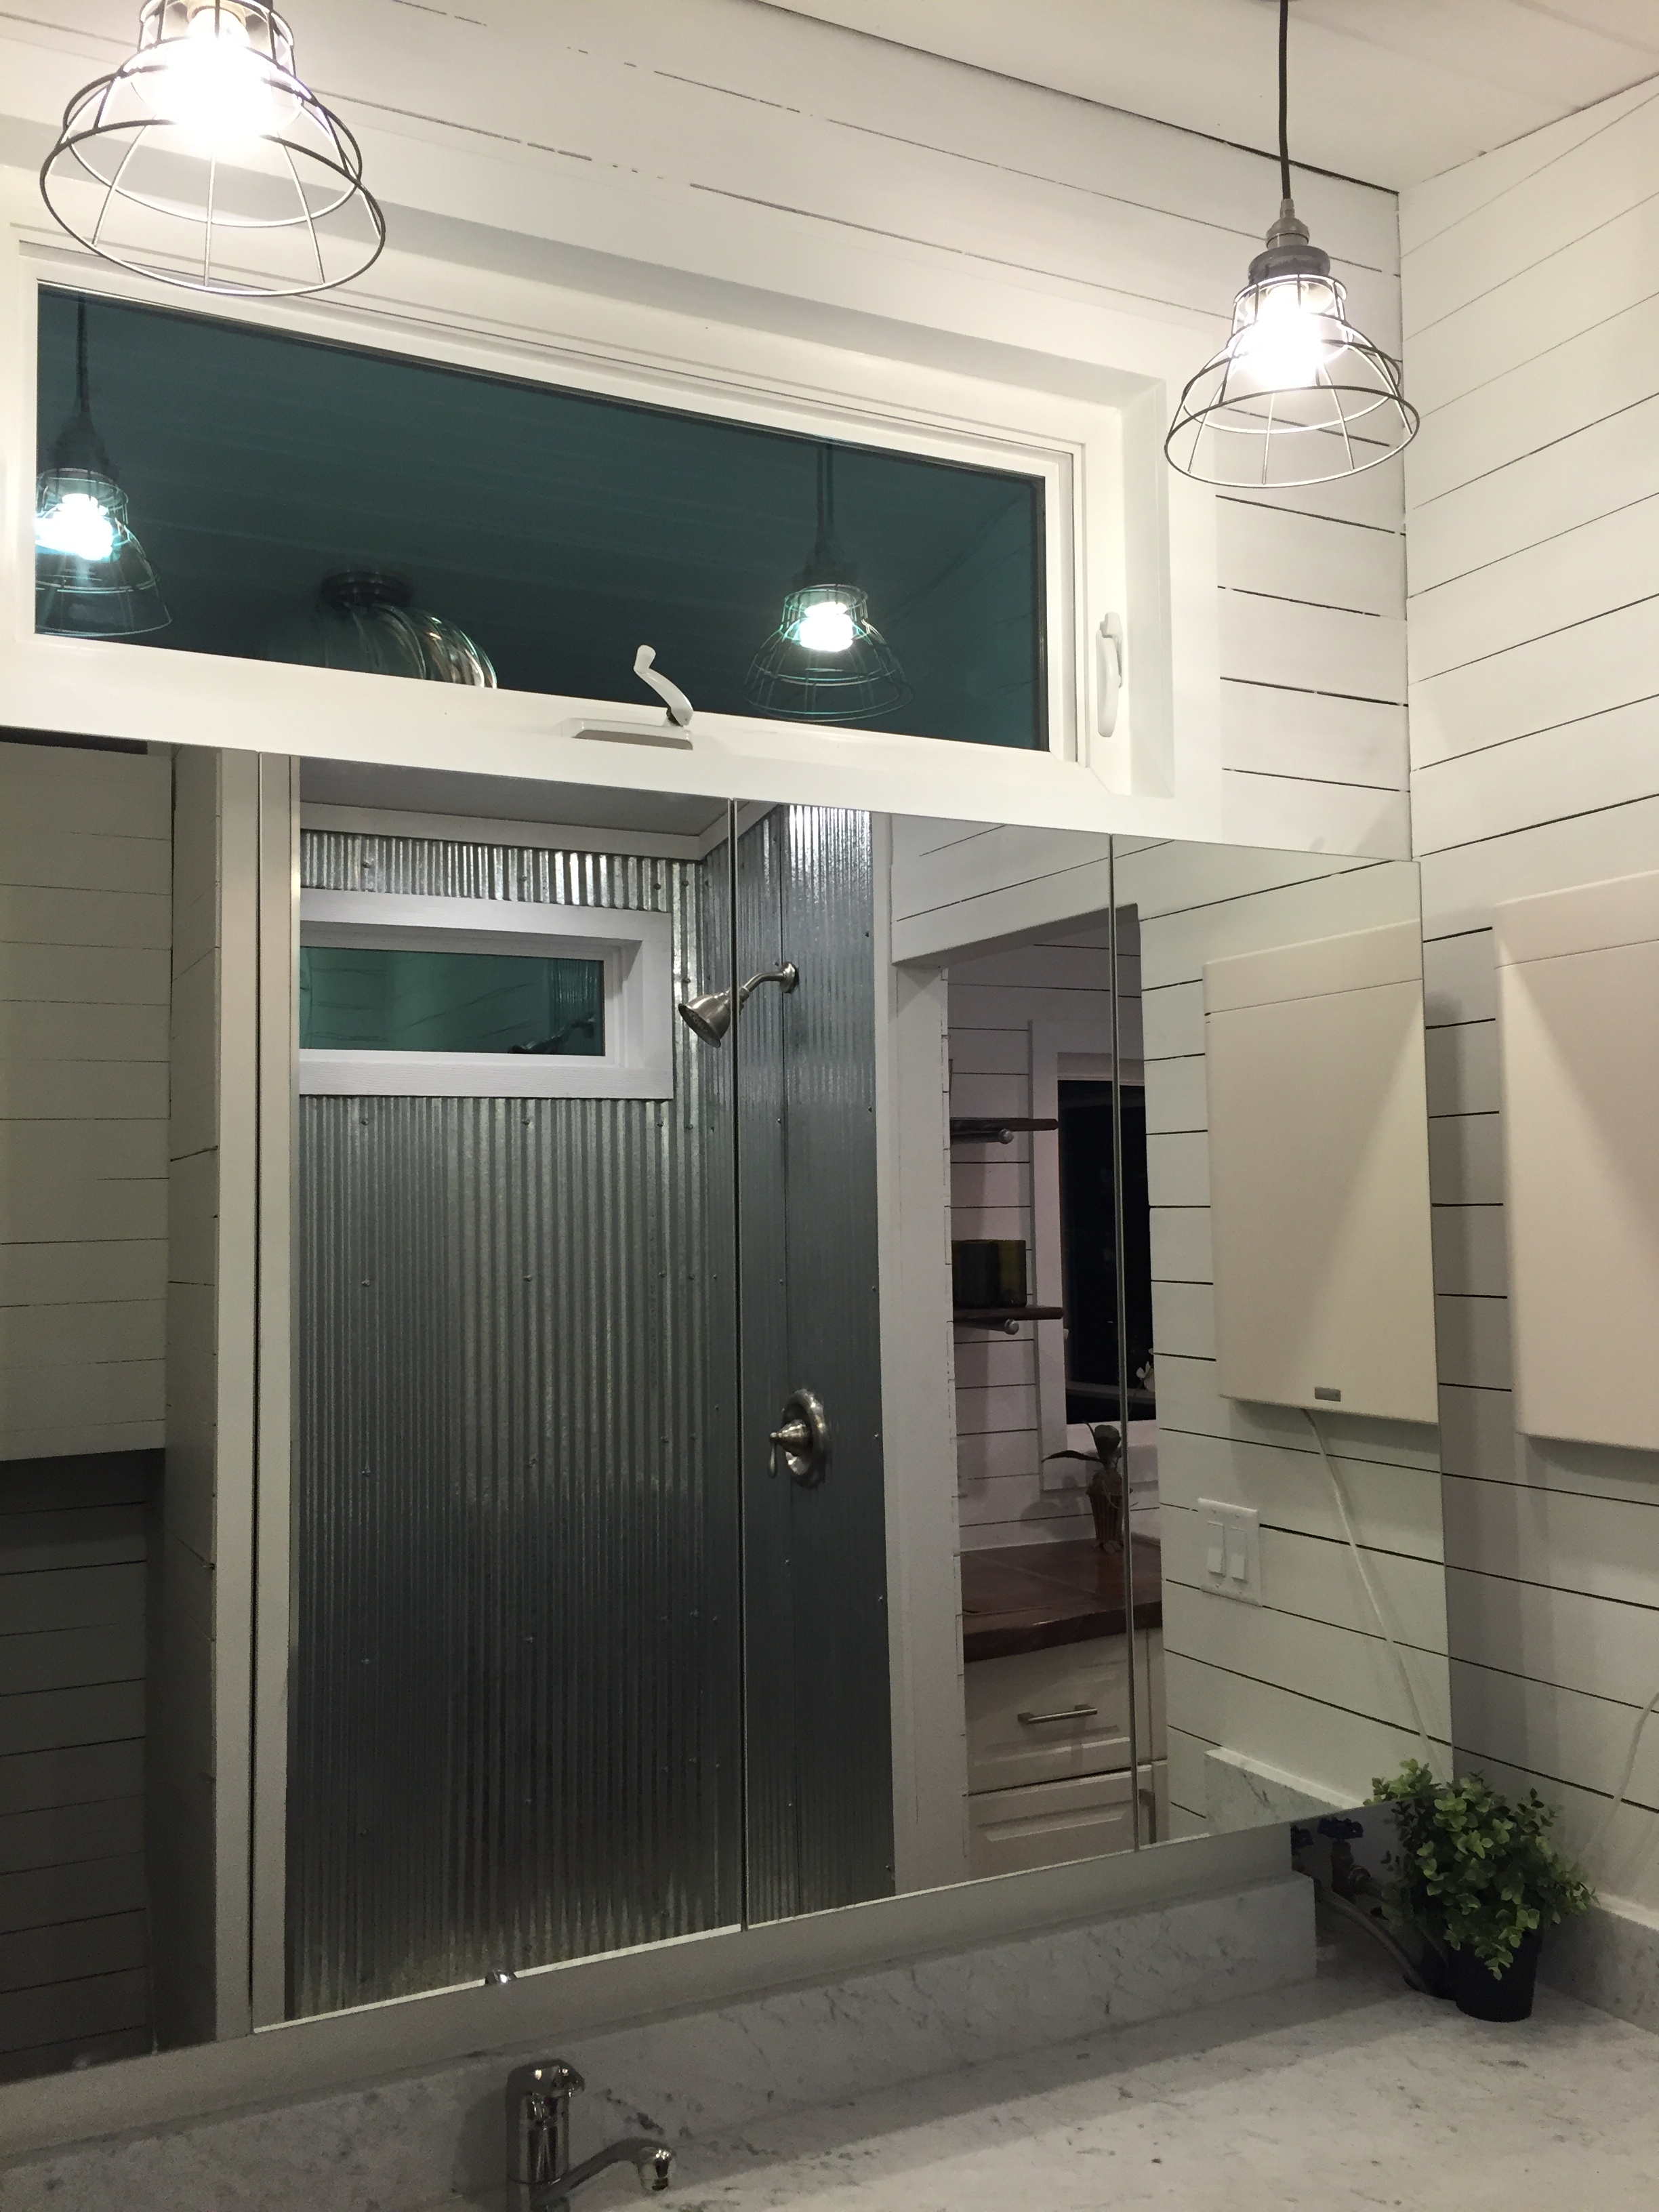
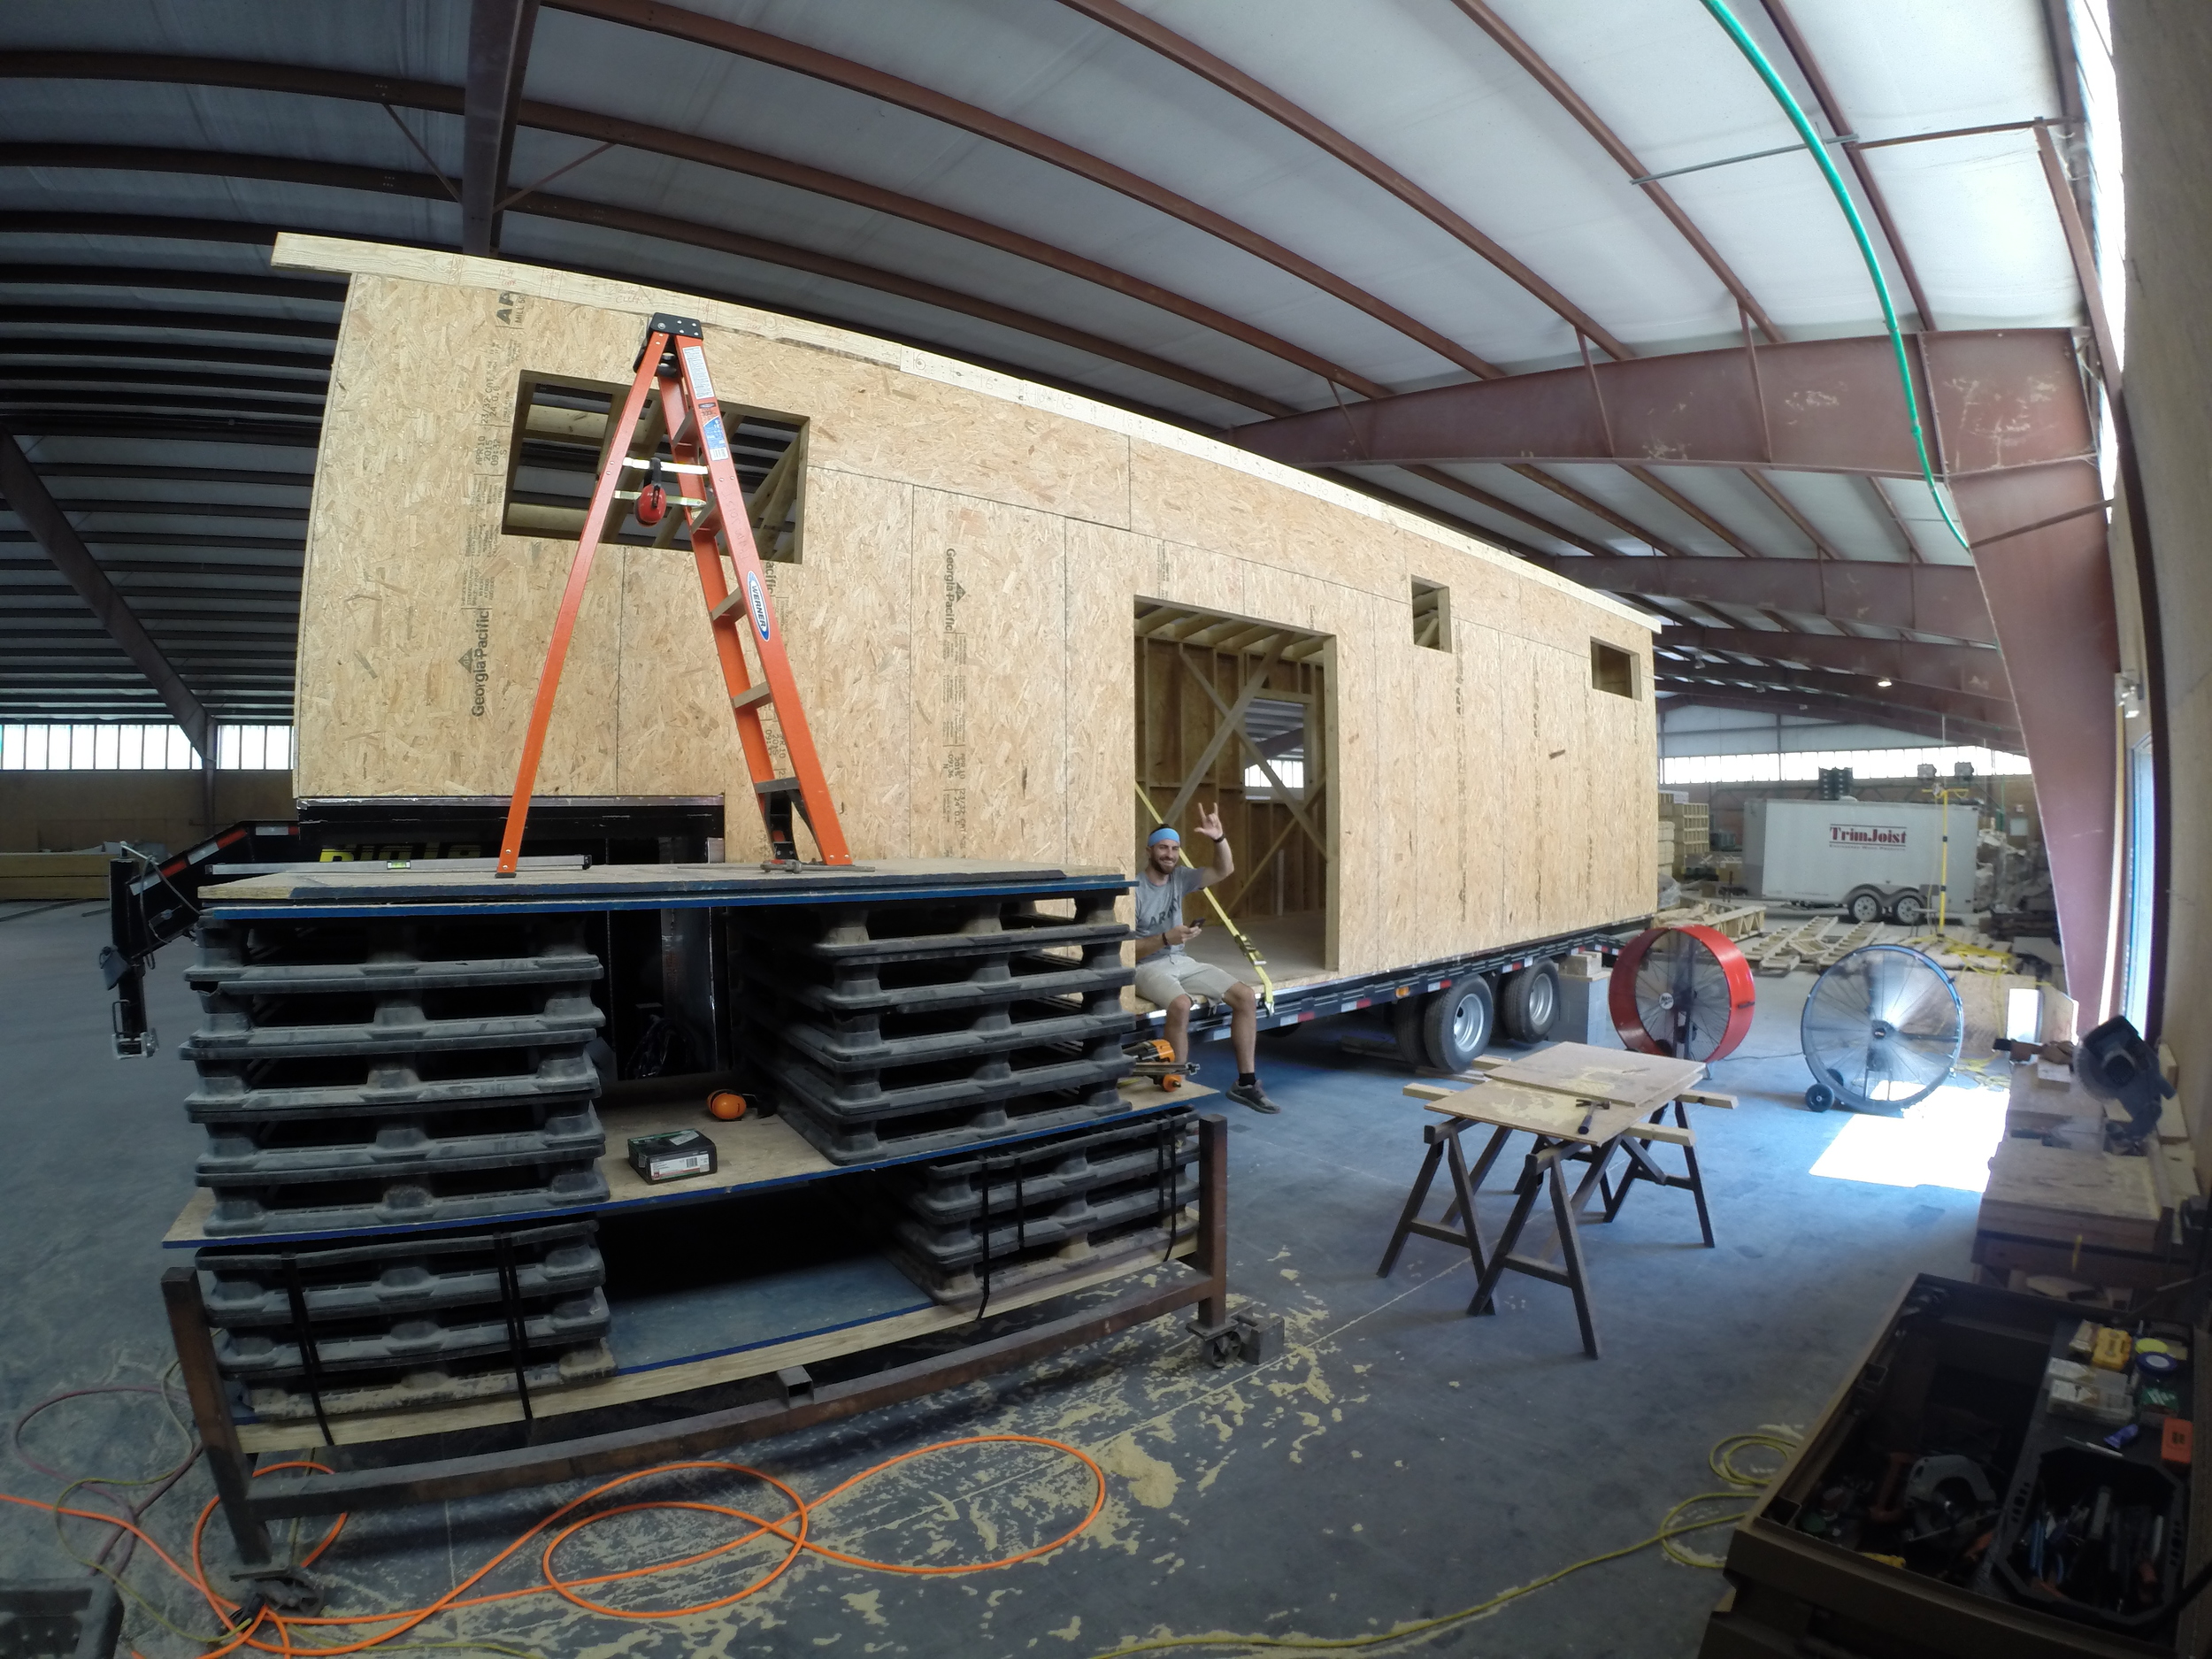
Here are a few pics of her in action on the showroom floor:

We are so excited that she has a life on the road and is still doing good in some way for other people! Please know that we still actively check our email and post/engage over on Instagram to answer questions about our build process, floor plans, etc, so please always feel free to reach out to myself & Brian!

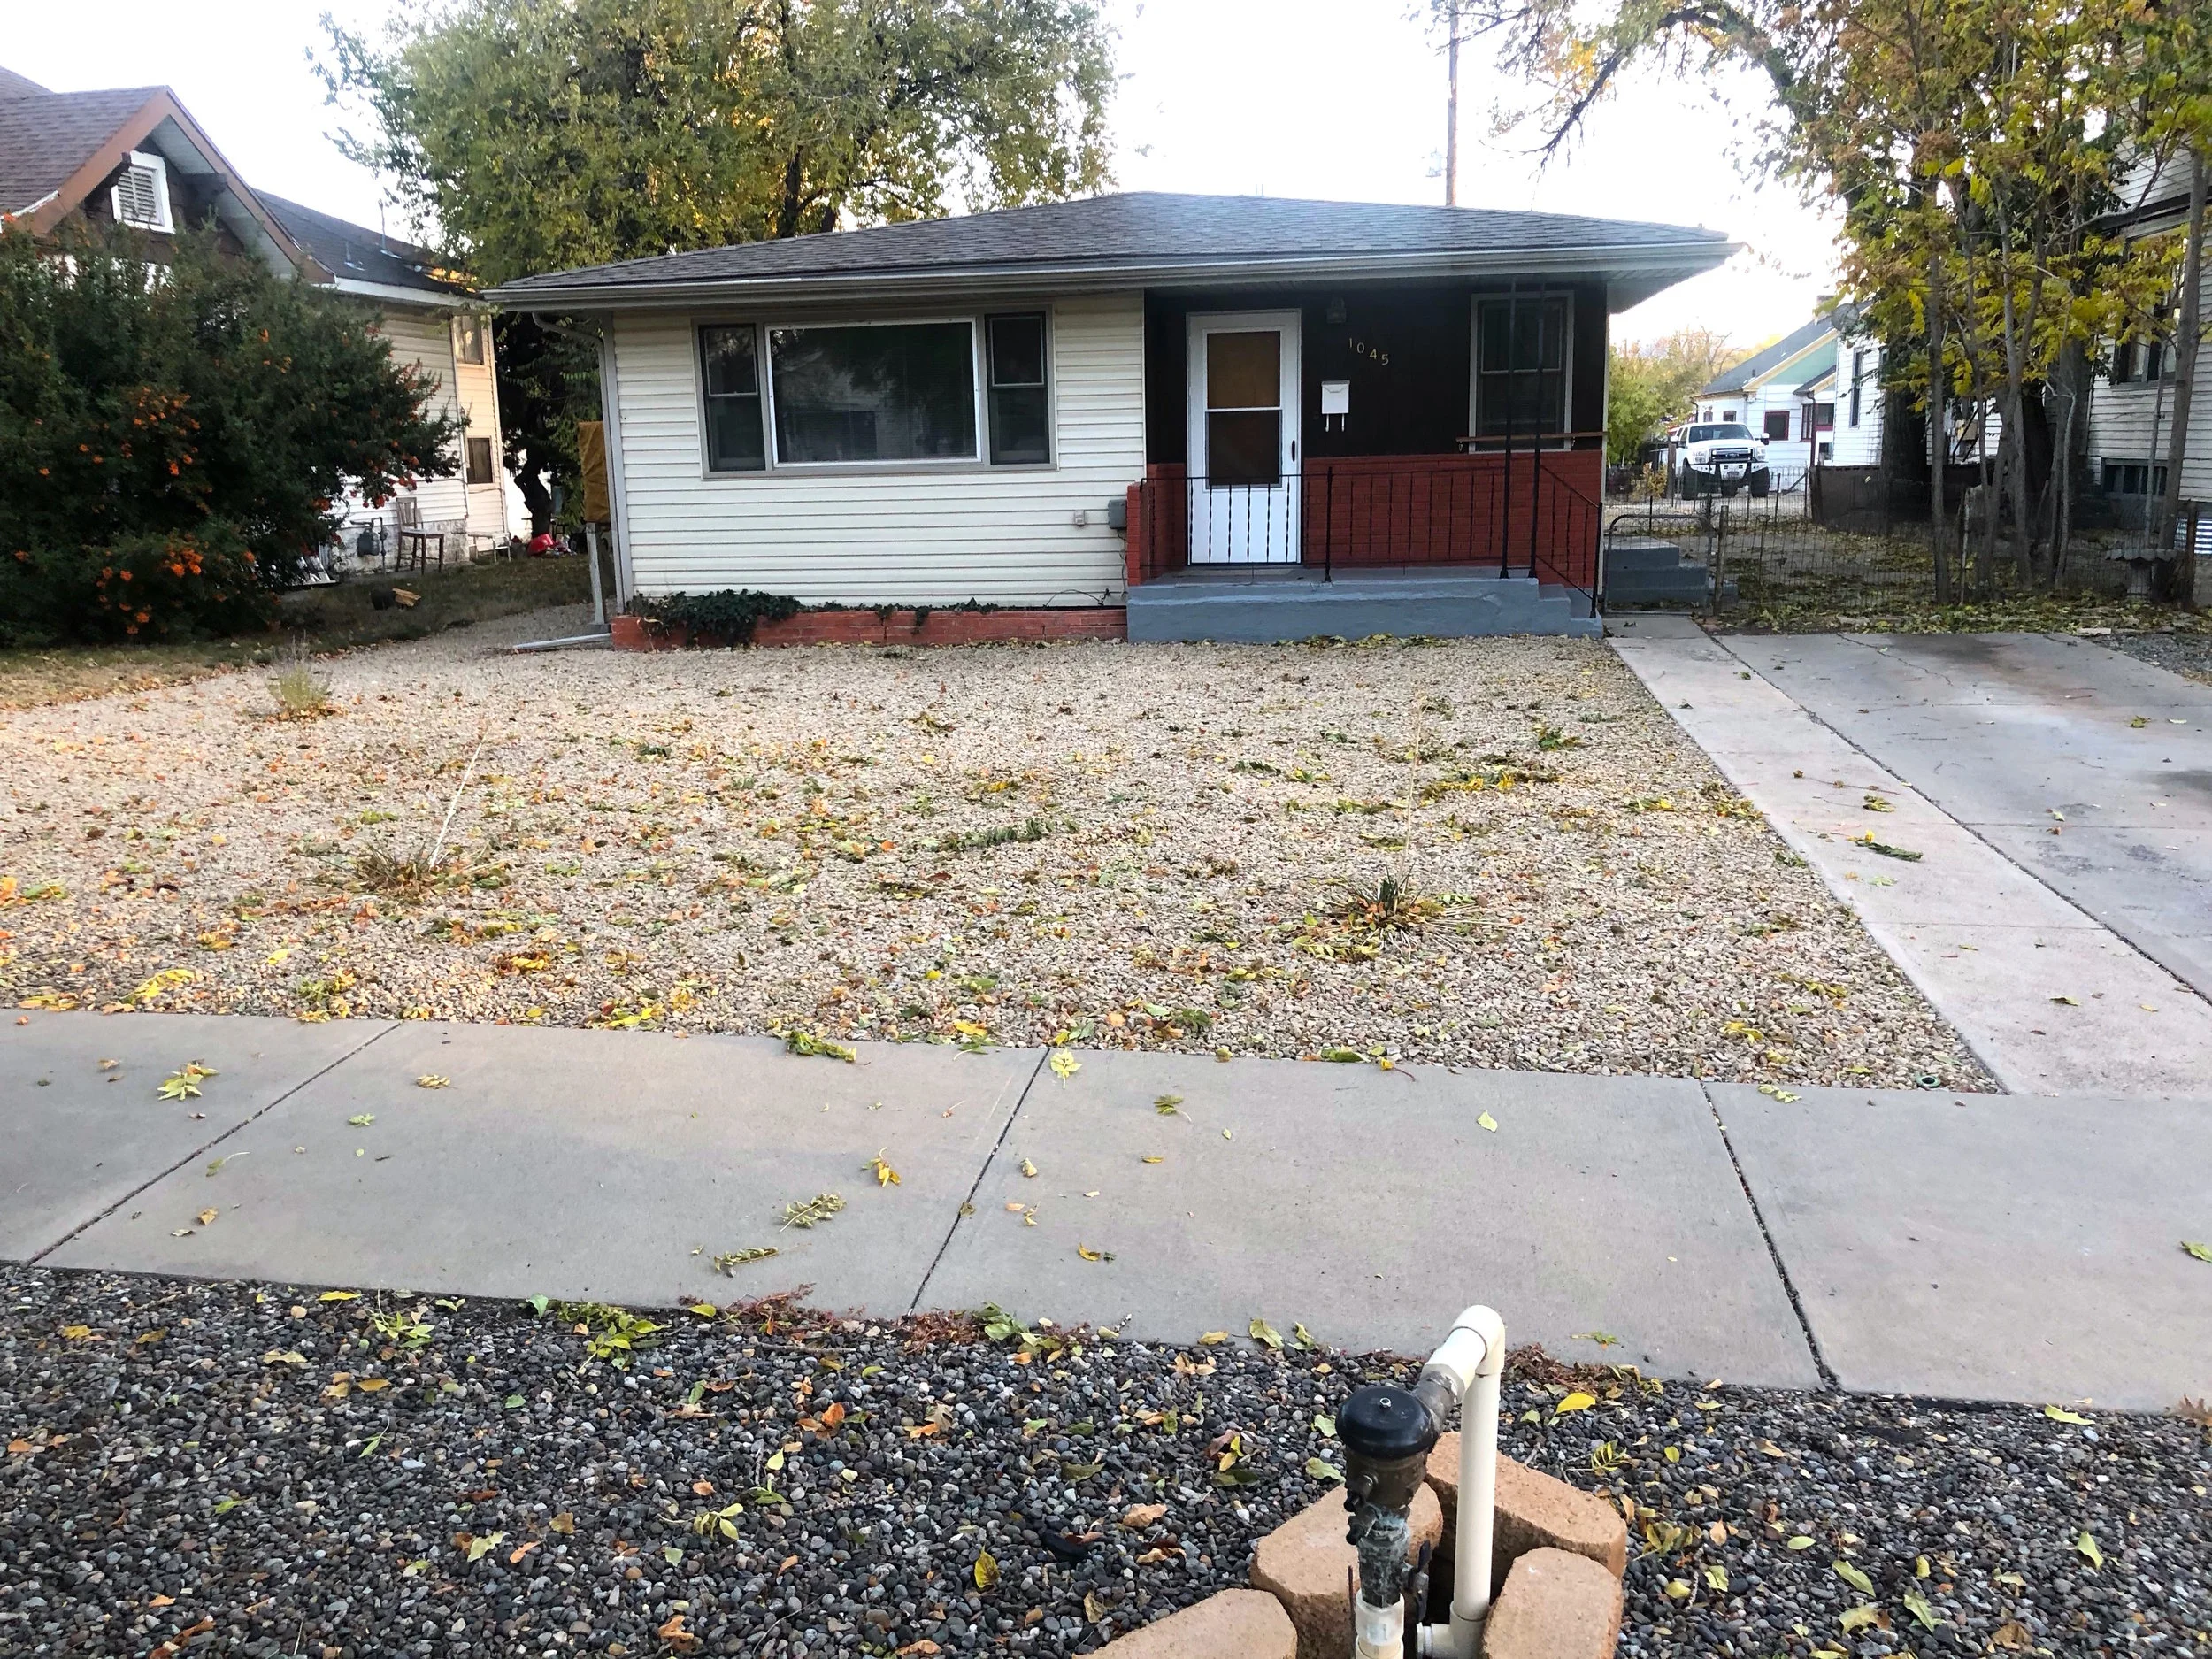
So, we clearly can't sit still for long, so we decided we needed another project:

A 1950s tiny fixer (on land) in downtown where we live that needs some TLC!

Here she is in all of her glory:

Bluecutt Tiny Fixer Upper Wandering On Wheels Brian & Skyler

We are spilling all the pictures + details + how-to's and DIY's over on our Instagram (@bluecutt) & the new blog - www.bluecutt.com about this fixer! We would seriously LOVE for you to join. If you thought building the tiny was a fun process to follow - think demo + build-back + building furniture & decor all-in-one & all on a crazy small budget. 

...and be sure to

Can't wait to connect with you guys, hear feedback, get your opinion, and get this first fixer up and running! From the bottom of our hearts, we are SO thankful for those of you that have supported and loved on us through this journey.

Here's to the next one!

-Brian & Sky

THE BEST WAY TO KEEP UP WITH US...

Okay family and friends - we totally bit off more than we could chew! With me working full-time + running SugarSky as my side-hustle + tiny house extras & Brian on the tiny house full-time + job searching and interviewing day-in and day-out, we just flat out have not done a good job updating the blog! We are so sorry. We do have plans to come back and update the posts so that people can use this as a source of knowledge of their builds. 

In the meantime, PLEASE follow us on Instagram, @wanderingonwheels. This is where we post most often! 

Also - here are some of the latest pictures! Enjoy :)!

UNTIL NEXT TIME,
-BRIAN & SKYLER

ELECTRICAL & PLUMBING

Plumbing and Electrical... ohhhh boy. I'm just going to dive in because there's a lot to say + a lot of pictures to help describe!

PLUMBING

Here's a list of fixtures we had to run plumbing to:

  • Kitchen Sink
  • Ice Maker (at Fridge)
  • Shower
  • Hot Water Heater
  • Cold Water Stub Out for Future Flush Toilet
  • Vanity Sink
  • Washer/Dryer Combo
  • Exterior Hose Bibb

1. Subfloor Plumbing - We started running plumbing before we even installed our subfloor sheathing. This allowed us to run the plumbing inside the subfloor to insulate it due to where our house will be placed (very cold climate!). Reference this post for more info on subfloor plumbing!

2. In-Wall Plumbing:

Tips/Info:

  • We chose to use PEX piping for our Hot & Cold Water Supply Lines.
  • We used 2" PVC for our main waste lines.
  • You fill up your wall cavities very quickly with plumbing. Trace all of your lines with a sharpie prior to starting install.
  • Run all of your waste piping first due to size and slope.

More Info on Hot & Cold Water Supply Lines:

  • The reason we went with PEX is because it is pretty simple to connect all of the pieces together and it withstands freezing/thawing better than copper. We used sharkbite fittings which allowed us to simply cut the PEX pipe to the appropriate length and push it into a fitting. Our cold and hot water main lines are 3/4" and the branch lines (that go to the fixtures listed above) are 1/2".
  • We drilled holes in all of the studs that the PEX needed to run through. We kept the holes in the middle of the studs. We then put nail plates on the studs for protection so we wouldn't puncture the pipe when installing the interior siding.
  • You also need to take into consideration where the service entry for water will be on your home. Ours is located on the back side.

More Info on Waste Piping:

  • This was more of a challenge because we used 2" waste piping and it had to obviously be installed at a slope. Not only did it take a lot of space in a 2x4 stud, but also everything had to be sloped 1/8" per foot.
  • Right off the bat, we had to use a heat gun to bend some of vertical pipe back into the wall (because when we stubbed them up it was before placing the walls and they were out approx 1/2").

Honestly, the majority of the work was in the subfloor. So, again, check out our previous post that discusses surge tanks, the greywater system as a hole, etc. 

Now for....

ELECTRICAL

This was actually going to be the one thing that we were going to sub out because, afterall, electrical is a pretty scary DIY project. After researching electricians in our area, everyone was so booked and prices for a 300sf house were astronomical...so, to YouTube we went!

The steps that we took to start down this scary path:

  1. The first step was designing the entire electrical system (circuits, outlets, switches, loads, etc.). We came up with a list of all of our appliances.
  2. We printed off a floor plan and started drawing where we wanted all of the outlets.
  3. We then decided (based off of the appliances that would be plugged into these outlets) which outlets could be on a circuit with one another.
  4. We printed off a floor plan and started drawing where we wanted the lights and switches.
  5. Same thing. We then decided (based off of which lights should turn on or off independently/together) which switches were dedicated to which lights.
  6. From here, we were able to size the panel because we knew how much the house would pull - we went with 12 breaker, 100 amp panel which gave us plenty of circuits and plenty of amperage. 
  7. We then correlated each of the circuits mentioned above to a breaker on the panel. Keep in mind that it is suggested that all GFCI outlets are to be placed on the same circuit. All outlets within 4' of a water source are to be GFCI and all exterior outlets are to be GFCI. 
  8. We also mounted some Low Voltage boxes in the wall and ran Cat6 cable (from computer station to TV, from TV to modem spot). We will also be running in-wall HDMI to successfully install Apple TV and other systems. Our TV is wall mounted, so this has to be done.
  9. Then, we watched lots of YouTube videos and installed everything :). Scary, we know.

Electrical Materials Info:

  • We used a combo of single, double, and triple gang PVC boxes for switches, outlets, etc.
  • We used 20 amp circuit breakers.
  • The majority of the wire that we pulled was 12/3 romex with the exception of our AC/Heater split system unit. This required 10/3 romex. Here, the first number is the gauge and the second number is how many wires. For example, 3 is a hot wire, neutral wire, and a ground wire located in the bundle.
  • The majority of our light fixtures are recessed canned lights. You can find these at Lowe's/Home Depot (6" housings). 
  • As mentioned above, Low Voltage boxes, Cat6, and HDMI were run.
  • The tool that we used the most was a simple $12 wire cutter/stripper.

You may ask.. where is the MECHANICAL?  No mechanical work because we are installing a split system (heats and cools the house). The split system that we have chosen (also based on some advice from our buddies over at @californiatinyhouse or www.californiatinyhouse.com) is an 18,000 BTU Pioneer unit that is streamline/looks nice from the inside and has a fairly thin compressor that will live outside on the neck of our trailer.

Ultimately, the service that comes into the house will be a 50 amp RV hookup, but our panel is technically 100amps (as we oversized just to be cautious!). Eventually, we want to switch to solar panels, but we will make this move when we are stable and the tiny house has a home.

We started exterior siding back at the end of August and have completed all the siding up that we can. We have had a little holdup with our doors and can't 100% finish exterior install until the doors are installed.

PROGRESS PHOTOS!

Next post: Exterior siding + roof install + interior spray foam insulation!

UNTIL NEXT TIME,
-BRIAN & SKY

PS: If you haven't, check out our Instagram. We post pictures very regularly, but between multiple jobs + building a house, it's hard to find time to sit down and write posts on regular basis! Thank you all for your continued love and support!!

Exterior Sheathing + Roof + House Wrap Install

Ok, wow. So, one thing that I’ve realized is that it is SO MUCH HARDER to consistently blog (even about something that you're super excited about) than I originally anticipated. We are sorry for not updating any sooner. I’ve realized that basically every single post starts with “Okay, so, a lot has happened since the last time we posted” and then proceed to flood you all with tons of information. This is pretty much going to be the same thing, but just thought I would preface first.

SO! If you haven’t, please check out our last post. It shows lots of pics and talks about our tiny house finally going vertical (very exciting!). Today, there are several things that I want to fill you guys in on. Lots of pictures to help describe all the technical jargon and then of course, extra progress pictures at the end of the post. Here goes!

1. Exterior Sheathing Install – This came right after we raised all of the vertical walls into place. We actually ended using a rather thick OSB sheathing (22/32” thick) because this was actually material that is readily available in the facility we’re building the house in.

wandering on wheels sheathing

To preface, Brian built this absolutely ridiculous baker’s scaffold to install all of this stuff. The point of the baker’s scaffold was to get Brian high enough off of the ground to lift these sheets into place. Yes, he lifted them by himself, so this system came in handy… although very sketchy.

wandering on wheels scaffold

We used construction adhesive and a caulk gun to adhere the sheathing to the exterior studs. We ran construction adhesive on every single stud before placing a sheet. After raising the sheet into place (vertical orientation), we held it there and drove 8 penny nails all around the exterior of the sheet with a nail gun (every 6”). I want to take this time to make a quick note. OSB sheets are 4’x8’. Because we were running these vertically and our house is taller than 8’ on both sides, we had to have shorter slices of OSB to complete the height of the wall. To refrain from having the seam run at the same places all around the house, we staggered these pieces during install. For example, if the wall were 9’ tall, we placed a full 8’ sheet and then a 1’ piece at the top. Right next to that, we would run the 1’ piece at the bottom and install the 8’ above that [see picture below!]

wandering on wheels sheathing

Throughout install, we accounted for a 1/8” gap between each sheet to accommodate any swelling of the material. When installing, we ran the sheets of OSB over all of the openings. When the house was almost completely covered (I say completely because we left a small opening to get into  the inside of the house), we then drilled a hole in the top right corner (as a pilot hole) of each opening.. door, window, etc. Following the drilling of this hole, we went back out to the exterior of the house and, using a ½”’ flush cut router bit, we cut each opening. This tool saved us countless hours and gave it a really clean cut. Highly suggest investing in a router!

wandering on wheels sheathing

In hind sight, we should have waited to sheath the house AFTER the roof rafters were installed.

2. Rafters Install – Here are some statistics about our roof install:

  • Our roof pitch is 2:12
  • The high side sits at 9’7” off of the subfloor decking
  • The low side sit at 8’3” off of the subfloor decking
  • There are hurricane clips EVERYWHERE (a painful experience.) 

To stay within the DOT (Department of Transportation) 8’6” width, we weren’t able to add any overhang to the long sides of our trailer. We did, however, add 1’ of overhand on each of the short sides. On the long side, we used a 2x6 “rim/fascia” board to run the length of the long sides (sitting vertically on the top plate).

wandering on wheels sheathing

After several attempts, we finally got a correct rafter template. We then traced this template out on 30 qty 2x6’s. These 2x6’s would then become our rafters (16” O.C.) after they were cut to the template (using a variation of a jig saw and miter saw). We then installed the rafters by shooting 3 nails through the “rim/fascia” board into the end of each rafter. After this, we the toenailed each rafter into the top plate.

wandering on wheels tiny house

On the short ends where the 1’ overhangs are, we cut and installed outlookers to create the overhang. We are already getting very detailed here, so feel free to look these up for more information! If you’re going to have an overhang though, you must have outlookers.

wandering on wheels tiny house

Finally, WE ADDED 238490-32890-18487789 HURRICANE CLIPS TO EACH. SIDE. OF. EVERY. SINGLE. RAFTER. As mentioned previous, this was death by hammer for me. Lots of bruised thumbs and almost falling off ladders. Those nails/clips are TOUGH because the purpose of these things are to hold the roof structure down to the walls. This will not only help with uplift during our travels, but also will help in the event of storms!

wandering on wheels tiny house

CAPTION: Attempting to look happy while nailing hurricane clips. Also, I'm not the only one... Brian smashes his fingers every once and a while too [below]!

2015-07-18 17.32.09.jpg

3. Roof Decking Install – This was basically the same process as the exterior sheathing install. Same size board. Same size nails. Same router (to cut on the skylight).

wandering on wheels tiny house

4. House Wrap Install – Big shout out here. This was all made possible because of the help our dear friend, John Scarborough, came into town to help out. This was huge! Thanks, dude! We purchased 150’ of 9’ tall house wrap. Using the baker’s scaffold again, we worked our way around the house (covering all of the openings again) and nailed 1” cap nails spaced 16” O.C. (hitting the studs) spaced 12” vertically. Any seams that we had, we used house wrap tape. When the house wrap needed to overlap, we used a 12” overlap. Check out the video on our Instagram for more details! 

wandering on wheels tiny house

PROGRESS PHOTOS!

And! Here are some progress photos. Please note, you may see more than was written about in this post. I’m trying to catch up! We are actually done with in-wall rough-in for plumbing and electrical. That post will happen over the next several days, so stay tuned… it’s any interesting one!

UNTIL NEXT TIME,

-BRIAN & SKYLER

WE'RE GOING VERTICAL!

Yesterday was SUCH an exciting day! We actually raised our first wall. It was fun, funny, and rewarding all at the same time.

Fun because it's the first glimpse of our tiny space coming together. Funny because Brian taught me in 3 seconds how to operate a forklift while holding half of our house up with his muscles because we underestimated how far we could lift the wall with the forklift. And finally, rewarding because all of the hard work to date is finally starting to show. If you're curious as to our progress to date, just scroll down or check out our last post!

Here's a pic of us actually going vertical. I couldn't wait until progress photos because it's so blooming exciting!

Wandering On Wheels Tiny Houes Walls

Now for the process to get to this point. We last left off with the building of our subfloor. There has been a LOT that has happened since then.

1. The subfloor (including plumbing) was totally complete. This included running and testing all of the plumbing. Brian is a boss when it comes to plumbing and pitched everything spot on. Main plumbing run - kitchen sink, shower, bathroom sink and washer/dryer combo. We'll branch off for the icemaker in our refrigerator - yes, we determined ice is actually very important to us... and not the DIY ice cube trays. 

2015-06-04 17.18.05.jpg

Here is a good place to note that we ran all of plumbing inside our subfloor. The above picture will also be encapsulated and insulated as well. Due to harsh weather conditions, running plumbing under the trailer, thus having it exposed to the elements, just wasn't an option.

And now.... for the "10 foot head test".

To do this, you install a 10' length of pipe at your highest most point (where all water will flow downward). You cap off all of your pipes and fill the whole system with water. The water will fill close to the brim of the 10' pipe because it can't escape. You draw a line where this is and you wait...for 24 hours... to see if the water falls below the initial mark. If it does, you have a leak somewhere which = no bueno. Thankfully, no leaks for us!

2. The spray foam insulation was sprayed to fill the entire subfloor. 

  • This is a pretty pricey insulation choice, but definitely worth it if you're going to be manning subzero conditions.
  • Our buddies over at Black Warrior Insulation out of Tuscaloosa, AL (we'll forgive you - WDE) were seriously so friendly, accommodating, and flat out awesome. Be sure that you price shop spray foam. We found that this is something that some people really try to (for lack of better words) screw you on.

3. Floor sheathing was cut, laid, and a cajillion screws were used to hold it down.

  • Seriously, we screwed screws every 6 inches around the perimeter for the sheathing and every 12 inches "in the field" or "in the center of the house".
  • If you think about it, a traditional 4x8 sheet of plywood will not fit horizontally on the trailer (because the house is just a few inches wider than 8'). In this case, we cut and staggered the plywood.

Oh and... Brian took a little bit of time to build Harper a tiny dog house so she can hang out with us and not get too hot (there's a door to the left of the trailer where she likes to hang outside) :).

...And finally.... wall construction began!

Not to fool you - wall construction is a beast in itself. You have to think about door sizes, window sizes, rough door sizes, rough window sizes, threshold allowances for doors that swing outward vs. inward, sliding vs. awning vs. fixed vs. casement windows...and on and on! But, this time finally came and we were excited.

We went down to visit our buddy Jack at New Home Building and he gave us great information. Highly suggested: If you have a local building supply store... those guys know a ton and will probably be very interested and accommodating with your build. Go visit them. Their help has be invaluable to us!

After we came home, we sat down and opened up our 3D Revit Model. Which, by the way... Here's the latest!

3D View 7.jpg

Note: Materials and finishes haven't been totally decided on yet, so we will update our model/renderings as we pick those out.

We used the model to lay out all of our windows and thus pull all of the dimensions needed to frame out the rough openings in the wall. Here's an example:

Capture.JPG
Capture 2.JPG

We then took these dimensions out to the field and away we went with framing! We started framing the wall with the front door first:

This was the moment that I was speaking of in the beginning... fun, funny, and rewarding. This was when Brian held up this wall (MUCH  HEAVIER THAN IT APPEARS) by himself and I jumped down and learned how to operate a forklift while he was shouting commands. Not entirely safe, but it got the job done :).

2015-06-29 21.28.10.jpg

And here she is, the first wall stood, in all of her glory + one handsome, hardworking husband! You Tiny Housers know that this seems to be such a small feat, but in reality, it's such a large one!

Over the course of this next week, we hope to have the entire house framed out. We have raised a few more walls on the front side and will move to the back side, and then each side of the house.

Tips & TRICKS!

  1. PURCHASE A NAIL GUN. I put this in all caps because you don't know how many times we've said, "how in the world could we have done this without a nail gun"? End of story. Brian found an incredible deal on Amazon for 4-set Freeman Framing & Finishing Combo Set.
  2. Think, a lot, before you start framing. I think this is a what makes a tiny house move smoother throughout, but especially with framing. You must think about 30 steps down the road to not make mistakes initially. I know it sounds cliché, but very true.
  3. After determining the height of the walls, batch cut all common studs to length. 

UNTIL NEXT TIME!

-BRIAN & SKY

SUBFLOOR SHENANIGANS

So, our subfloor is almost complete! If you want to know what specific modifications we made to our trailer before starting our subfloor, check out one of our previous posts!

Today's post is broken down into 3 different parts. I've added a picture below each section to give you a better idea.

  1. Installation of Galvanized Flashing (see pic below)
Wandering on Wheels Galvanized Flashing

     2. Planing Down & Epoxying Wood Pieces (see pic below)

Wandering on Wheels Wood Epoxy

     3. Installation of Actual Floor Joists (see pic below)

Wandering on Wheels Joist Installation

Alright, so:

These were the 3 major components of putting the subfloor together. Sounds easy, right? Not so much. Huge props to my incredible husband who gives it heck every single day out there! Here's the detailed breakdown:

  1. Installation of Galvanized Flashing -   This was extremely necessary because you MUST waterproof your home. Galvanized flashing protects the undercarriage of the home and blocks all moisture from penetrating the underside of the house when it's being towed down the highway or simply sitting in a cajillion inches of snow. We had to come up with a clever way to do this though because our trailer isn't 100% flat. Unless your trailer is custom built, you will inevitably run into this same issue. More to come on th is later, but here's how we installed our galvanized flashing:
    • Acquire the flashing - We drove around to a LOT of places and were finally able to track down 26 gauge flashing. A local building supply house had it and we ended up purchasing 9 sheets of 4 foot x 10 foot sections. Here the sheets are in the back of Brian's truck!
Wandering on Wheels Brian's Truck
  • Cut the flashing - Okay, take a look at our trailer (pic below). The trailer isn't all in one plane/level, so we had to improvise. Instead, we marked each sheet and cut it with a 4 1/2" angle grinder cutting wheel. Sidenote: This process took the better part of a day and a half. We also ended up burning through multiple cutting discs. We did, however, have to overlap the pieces at some locations. Where we had to overlap flashing, we overlapped 8" with the intent to go back and tape the seams with rubber butyl flashing tape.
Wandering on Wheels Uneven Trailer

Totally different planes happening here

  • Install the flashing - Finally, it was time to actually put the flashing down. We rolled it out between each section of the trailer (see picture below). Of course, we also did the same on the bed loft (see previous post if you're confused about what the bed loft is!).
Wandering on Wheels Galvanized Flashing

2.   Planing Down & Epoxying Wood Pieces - I want to note that this isn't necessary for everyone. if you have a 100% flat trailer, this wouldn't be an issue for you. By default, if you don't have a custom trailer, chances are you're going to have to come up with a crafty way to waterproof your trailer. In pictures below, you'll see that we had to use pieces of wood to wedge in between steel members to hold our galvanized sheet metal in place. We used some crazy epoxy my Dad (another shout out Pops for giving us such a great place to build our house and some awesome resources!!!) uses on the trimmable floor joists his company manufactures to hold these pieces in place.

We purchased multiple pressure treated 2x2's and planed them down to 1 1/4" to fill the gap in between the steel flange and the steel cross members (see pic below).

Wandering on Wheels Epoxy Wood
Wandering on Wheels Epoxy Wood 2
Wandering on Wheels Epoxy Wood 3
Wandering on Wheels the epoxy

The craziesT epoxy you'll ever not want to lay your hands on.

Wait, remember how I said we were going to tape the overlapped joints with rubber butyl tape? This is what that looks like!

Wandering on Wheels Butyl Tape

And finally.....

3.  Installation of the Actual Floor Joists - We purchased lots of pressure treated 2x4's (for the bed loft) and 2x6's (for the main trailer bed). More in a bit on why we chose different sizes for each application.

  • The Bed Loft - After purchasing, we first built the entire bed loft platform frame on the ground with 2x4's. Everything was screwed in place on the ground and then forklifted into place on top of the custom modified bed loft (above the 5th wheel).
Wandering on Wheels Forklift Bed Frame
  • The Main Deck - For the main trailer deck, we purchased pressure treated 2x6s. The reason we went with 2x6s on the main deck is because we wanted to obtain a certain R-value that we could only get with a 6" deep of a cavity. We also wanted enough space to run our plumbing in the subfloor as opposed to underneath (because we will be living in a very cold climate). In the pictures, you'll see that we cripple studded our joists to make them more secure. The bed loft and the front half of the trailer can be cripple studded because there is no plumbing to run in those parts of the house. Also, we ran our joists length wise (the 35' long way) to attempt to utilize the unevenness of our trailer to our advantage. There is a big long schpill and countless hours spent on retrofitting wood to fit each nook and cranny of the uneven trailer that we won't go into :) just know - my husband is one patient guy.

We still have a small section to frame out and then we will start running plumbing. When underfloor plumbing is run, we will then fill the entire cavity with closed-cell spray foam insulation. Many more pictures and posts to come. In the meantime...

... queue some miscellaneous progress photos!

Wandering on Wheels Progress 1
Wandering on Wheels Progress 2
Wandering on Wheels Progress 3
Wandering on Wheels Progress 4
Wandering on Wheels Progress 5
Wandering on Wheels Progress 6
Wandering on Wheels Progress 7
2015-05-19 15.04.21.jpg
2015-05-20 15.56.34.jpg

Lessons Learned

  1. If we were to do it all over again, we would consider running the joists the opposite way than we actual ran them. This would have eliminated all of the notching and custom fitting we had to do.
  2. Don't get crazy epoxy on your leg hair.

TIPS & TRICKS

  1. A miter saw, a speed square, and a solid drill are invaluable.
  2. Just like the old carpenter saying goes... when you make a cut, leave the line.

Until Next Time,

-Brian & Skyler

Interested in dropping us a line? Always feel free to contact us or shoot us an email at info@wanderingonwheelsblog.com!

INITIAL UNDERSTANDING OF A TINY HOUSE

UPDATE FROM OUR LAST POST: We have received our trailer back!!! It came yesterday (4/22) and it was a flood of excitement. There will be a separate blog post as we move along in waterproofing and framing the subfloor. Stay tuned for that!

In the mean time, we wanted to do a post on general questions we are asked when telling people of our adventure to live tiny. There will be a Part 2 to this post that addresses in-depth FAQs, but this will give you a basic understanding of tiny living.

WHAT IS A TINY HOUSE?

Generally when I get on the subject of our tiny house build, the person I'm talking with (if they are somewhat young) immediately goes "Oh, like Tiny House Nation!". Well, pretty much. For those that don't know what a tiny house, I literally say "just google it and go to images". These are a few of the exterior images you will see.

TinyHouse1

Gable roof, more country log cabin style

Shed roof (back to front), more modern, contemporary style

Shed roof (side to side), gooseneck trailer (bed above the gooseneck, no loft).

This is the same trailer we have. Ours, too, will have the bed over the gooseneck and no loft.

Interior (mainly wood) of a gable roof  

Note: Wood used for interior wall finishing is very common in tiny homes as opposed to drywall which is rigid and will crack during transportation. Although, we've read multiple places of people using drywall and never seeing a crack!

Interior of the gooseneck trailer seen above.

Also, this is similar to what ours will look like - light, white, airy interior to appear more open.

Okay, so now that we've seen a few different tiny homes, you can see that they vary significantly. Most recently, the tiny house movement refers to tiny homes as small homes on wheels, but there are MANY other types of small homes - boats, treehouses, etc. that brings us to the next question:

WHY ARE YOU BUILDING IT ON WHEELS?

There are multiple reasons here:

1. Mobility -  Many people build on wheels for it to be transportable. People want to have the luxury of relocation and pulling their home with them everywhere they go.

2. Building Code - This is also the way that your tiny house is put into the "gray area" of building code. Without getting into too much detail, this is the way that you're able to (in some places) get around building code. Your tiny house is looked at as more of a mobile home than a permanent residence. This is more of a factor for us than #1. Yes, we want our house to be mobile, but we don't want to pull it every few months. It's a nice means to move our home out west, but not our primary reason for putting our home on wheels.

HOW DO YOU TRANSPORT THE TINY HOME?

1. Pull it yourself with your own truck - This is a great option for people who are planning to move their house a LOT! They can justify the purchase and upkeep of a large truck (3/4 or 1 ton truck). As mentioned previously, we don't imagine ourselves moving our house frequently, so this wasn't the right option for us.

2. Pull it yourself with a rented truck - You can also rent 1/2, 3/4, or 1 ton trucks. This is a great option for someone who has a tiny house that is small enough to fall under the weight requirement to pull with a normal driver's license. Your normal driver's license allows you to pull a gross vehicle weight of 26,000 pounds (truck weight + trailer weight + whatever you're pulling). In our case, our whole setup would be over this requirement and one of us would have to get our Commercial Driver's License. Something else we couldn't exactly justify in our case.

3. Hire someone to pull it -The cost of pulling your tiny home (time + gas money) can actually be pretty crazy if you're pulling it all the way across the country. In our math, once we actually did it ourselves, got our CDL, rented a truck, and hauled it out there, it would have been just as cost effective (and probably more safe!) to have someone else pull it.

HOW "BIG" CAN TINY HOMES BE?

We have heard a general rule of thumb that anything under 500 square feet is generally considered "tiny living", although, in our minds, 500 square feet is pretty big :) Tiny homes on wheels could max out around the 300 square foot range.

Ours will be roughly 270 square feet. This is, of course, on the larger side of tiny homes!

WHERE WILL YOU PARK IT?

There are also multiple options for parking:

1. RV Park - I would say this is the least permanent option, although people with smaller Tiny Homes are able to pull this one off. In our case, our home is way too large to pull up into any RV Park.

2. Host Home - This is the way we will go initially. Basically, there is a community of people that are interested in "hosting" tiny home dwellers. There are multiple places you can find these gracious people online. The overall idea is that we will put the tiny house on their land and plug right into their utilities (electricity, water, etc.)... although, because we're moving to a very cold climate, this is a lot easier said than done. Separate post on MEP (Mechanical, Electrical, Plumbing) when we get there! This, though, will give us the ability to get out west in a timely manner. Purchasing land + running utilities and/or living off the grid is expensive and time consuming. We want to get out tiny house out west before we bite off this step.

3. Purchasing/renting your own land (off grid or running utilities) - This is our ultimate goal. We would love to be able to purchase land and live off the grid. You could of course purchase land and have utilities run, but as we all know... this can be a very costly thing - especially if you live on a piece of land well outside of town. Like I mentioned in #2, we want to get where we're going with our tiny house and then we will set out on the adventure to find land and make it to total off-grid living. We feel it's necessary to become part of a community - making friends, getting advice, etc. before making this step.

Where will all of your stuff go?

Brian and I have actually moved several times over the past few years - both individually and together. We all know that with every move comes purging. In our most recent move we held a massive garage sale and anything we didn't sell went directly to Goodwill.

With that being said, we still have WAY too much stuff...and we really don't have all that much. Tiny home dwellers say that building the tiny house is only half of the challenge and that downsizing your possessions is the other half... and equally, if not more, difficult.

We will hold another very large garage sale prior to going tiny and again, everything we don't get rid of will go directly to Goodwill.

We will each have one large tub dedicated to ourselves. Everything we own will fit into those - yes. 1 tub for shoes, clothes, makeup, swimsuits, boots, jackets, computers, and anything else you see as a necessity. Sounds like a great challenge, right?

WHY ARE YOU DOING THIS?

Well, for several reasons:

  • Location: It's always been a dream of ours to move out west where we can live next to a mountain. As outdoor driven people, this will give us the ability to snowboard, mountain bike, hike, etc. anytime we want. We also wanted to have our own (semi) permanent residence, but not one that was tied down to a particular location.
  • Money Isn't Everything: Being 3+ years out of college, Brian and myself both had successful careers but quickly came to the conclusion that money isn't everything. We wanted to live a much more simple life.
  • Our Own Space: We not only wanted our own home, but also wanted to build it ourselves. The tiny house was the way of doing just that, but also doing it debt free - something that is very important to us.
  • Experience Life by Traveling: Because we're not having to make monthly mortgage payments, rent payments, etc., we will have the money and means to travel as much as physically possible and this is something that we can't wait to do!

until next time,

-Brian & Skyler

THE FACILITY + THE FLOORPLAN

Quick update on our previous post: Tomorrow (April 6th) is the day that all of our trailer modification material will be ordered. We hope to have the trailer back within 2 weeks to start the official build! We are PUMPED to say the least.

Until then, we wanted to give you a quick tour of the facility and show you a sneak peak of our floorplan.

First and foremost, we are SO very grateful for the ability to build our tiny home indoors, away from all elements. Thankfully, my (Skyler) father owns a trimmable floor joist company (that's a mouth full, I know) and is giving us some space (+ his knowledge! Shoutout to how helpful you have already been, Dad!) to construct our tiny house in a corner of the plant. Here are some quick pics of the "build site":

TrimJoist Skyler & Brian Tiny House Build Site

(The official build site is over towards the right)

TrimJoist Skyler & Brian Tiny House Build Site

At the end of last week, B and I quickly laid out our tiny house on the shop floor (in the area pictured above where it appears to have been swept). We expected to do this with tape, but even after sweeping, the floors were just too dusty. We ended up using lumber crayon instead :). For all of those readers that are thinking of building a tiny house yourself...a couple of tips:

a) Download a copy (or download a trial) of Bluebeam. It takes virtually zero experience and gives you the ability to draft like you can in AutoCAD - minus the super technical stuff. If you find yourself lost, their website has more tutorial videos than you can even imagine... not to mention, after having BB, you'll never go back to Adobe once you have it. This is a tool that we use in the Construction industry for marking up plans, etc. and it's incredible.

b) Definitely layout your house.. even if it's with tape on the floor inside your existing house. We thought we had it pictured perfectly because we see 2D floor plans come to life everyday (check out our original welcome post to learn more about us if you want!) with our jobs, but we didn't see everything perfectly. We made some modifications the very first time we laid it out.

For kicks, I quickly drew up our floor plan in 2D to share with you all - here it is:

Brian & Skyler Thomas Wandering On Wheels Arch Floor Plan

Of course, we are very well aware that things could potentially shift around when we actually start the build.

So now that you have a little bit of an idea what the floor plan looks like, here are a few pictures of our adventure sketching it out on the shop floor. Mind you, it got dark and we didn't know where exactly the lights were that we were supposed to turn on in the plant, so we attempted to use construction work lights plugged up to Brian's truck. They went out about every 10 mins and we had to use our cell phone lights. Pretty hysterical. At least we had some good tunes :)

TrimJoist Skyler & Brian Tiny House Build Site

It's a bit hard to capture the whole thing in one picture, but this is standing at "the back" of the house, looking inside. Our bedroom is on the far opposite end over the gooseneck.

Brian & Skyler Wandering On Wheels Tiny House

Here we are in our Kitchen/Laundry Room! Yes, we may be a little nuts. This definitely puts "tiny" into perspective.

Skyler & Brian Tiny House Wandering on Wheels

....and standing in our bedroom! As mentioned before in a previous post, our bed will be above the gooseneck.

Any questions or ideas about our floorplan? Always feel free to email us at wanderingonwheels@gmail.com!

Until next time...

Brian & Sky

TRAILER MODIFICATIONS

As we mentioned in our previous post, we bought a trailer that we knew we would need to make some modifications to. Check out our previous post to read more about trailers and key things you should think of prior to purchasing!

Thankfully, our buddies over at a local machine shop are able to work welding magic! In summary, the welded modifications that we will have to make are as follows:

  • Building up the slanted dovetail (our bathroom will sit over the dovetail area)
  • Boxing out & extending the gooseneck area to fit a queen sized bed - leaving room for a short set of stairs to climb up to the bed
  • Welding a continuous angle around the entire perimeter to maximize space when studs are put in place
  • Miscellaneous welding work for cabinetry/storage

So, we started the process of pulling up all of our trailer decking. Some of these things were literal beasts to get unscrewed and off the trailer, but as always team work makes the dream work...

Brian & Skyler Thomas Tiny House

After this was done, I (Skyler) hand documented as Brian pulled all sorts of different trailer dimensions. We came back home and I modeled our trailer to include some of the modifications that were mentioned above. Much more clean when done in Revit, right?

 Revit doesn't always work for everyone, so here is what we came up with in 2D!

Skyler & Brian Tiny House Trailer

Here is where I want to make note that buying a new trailer & modifying it isn't for everyone. Brian & I know that we will be hauling our Tiny House cross-country at the very least 2 times... through the Rocky Mountains at that. We want to make sure that our trailer is as sounds as can be. For some, you may find this options expensive and/or overkill. We're firm believers in "to each their own"... different trailer options for different people, environments, etc. If you do have accessibility to a welding shop or can weld yourself, beefing up your trailer can never hurt!

We're sending this off to the shop and hope to have the trailer back in 2 weeks. At this point the actual build will begin!

Until next time...

-Brian & Sky

TRAILER PURCHASED + FIRST WORK DAY

Thursday was SUCH an exciting day! We finally settled on a trailer that we think will be (almost) PERFECT for our tiny house build. Overall, it's 35 feet long (30'+5' gooseneck), can hold up to 23,000 pounds, and can be hauled by either a large truck or a commercial truck (like an 18 wheeler). Sounds like overkill for a "tiny house", right? Well, we knew we weren't going to personally pull our tiny home from the beginning, so staying under a certain size limit wasn't a limitation for us. There are a LOT of decisions you need to make before purchasing a trailer. Quickly, here are a few: 

  • How much is in the budget for a trailer? This should be one of the first things that you establish as this usually drives your decision to go for a new or used trailer. Both of which entail lots and different types of research.
  • Will you have someone pull your tiny house or will you be pulling it yourself? This depends obviously on how mobile your house will be. We will only be moving ours roughly ~1x per year... if that.
  • How much space do you need? If you're going longer rather than shorter, a gooseneck is a good option due to stability when towing.
  • Depending on length, how much will your house weigh? There are certain weight requirements you cannot tow with a normal drivers license (as opposed to a CDL). Keep in mind that not only do you need to consider the weight of building components, but also you must consider the weight of trailer itself + personal possessions.
  • For some seriously awesome information about weight requirements/decision making regarding trailers, check out this article entitled "The Weight Debate". Some super great info.

Ok, back to the reason we say our trailer is "almost" perfect. What we've learned is that when you go to build a tiny house, do your trailer research far in advance. Sounds like a no brainer, right? Well, we did this, but didn't exactly act on purchasing or putting a custom trailer order in until we were absolutely ready to build. Not what we suggest.

We initially thought a custom trailer would be a great way to go, and it is, but this option is quite expensive. If you find a great manufacturer, they will love discussing the idea of a tiny house trailer, but I'm sure you'll be just as shocked to find (as we were) that can be extremely pricey and lead time is around 6 to 8 weeks.

Because the custom trailer manufacturer was out of the picture, we set out to find a trailer that met our criteria (see list above). We were able to find a trailer right in our tiny town in Mississippi! The trailer isn't exactly perfect, but, because we have access to a welding shop, they will be helping us make some modifications. We'll post pics as this happens!

In the mean time, enjoy the time lapsed video on our Instagram account that we took today while removing the trailer decking! Pics are also below!

Until next time...

-Brian & Sky