Yesterday was SUCH an exciting day! We actually raised our first wall. It was fun, funny, and rewarding all at the same time.
Fun because it's the first glimpse of our tiny space coming together. Funny because Brian taught me in 3 seconds how to operate a forklift while holding half of our house up with his muscles because we underestimated how far we could lift the wall with the forklift. And finally, rewarding because all of the hard work to date is finally starting to show. If you're curious as to our progress to date, just scroll down or check out our last post!
Here's a pic of us actually going vertical. I couldn't wait until progress photos because it's so blooming exciting!

Now for the process to get to this point. We last left off with the building of our subfloor. There has been a LOT that has happened since then.
1. The subfloor (including plumbing) was totally complete. This included running and testing all of the plumbing. Brian is a boss when it comes to plumbing and pitched everything spot on. Main plumbing run - kitchen sink, shower, bathroom sink and washer/dryer combo. We'll branch off for the icemaker in our refrigerator - yes, we determined ice is actually very important to us... and not the DIY ice cube trays.


Here is a good place to note that we ran all of plumbing inside our subfloor. The above picture will also be encapsulated and insulated as well. Due to harsh weather conditions, running plumbing under the trailer, thus having it exposed to the elements, just wasn't an option.
And now.... for the "10 foot head test".

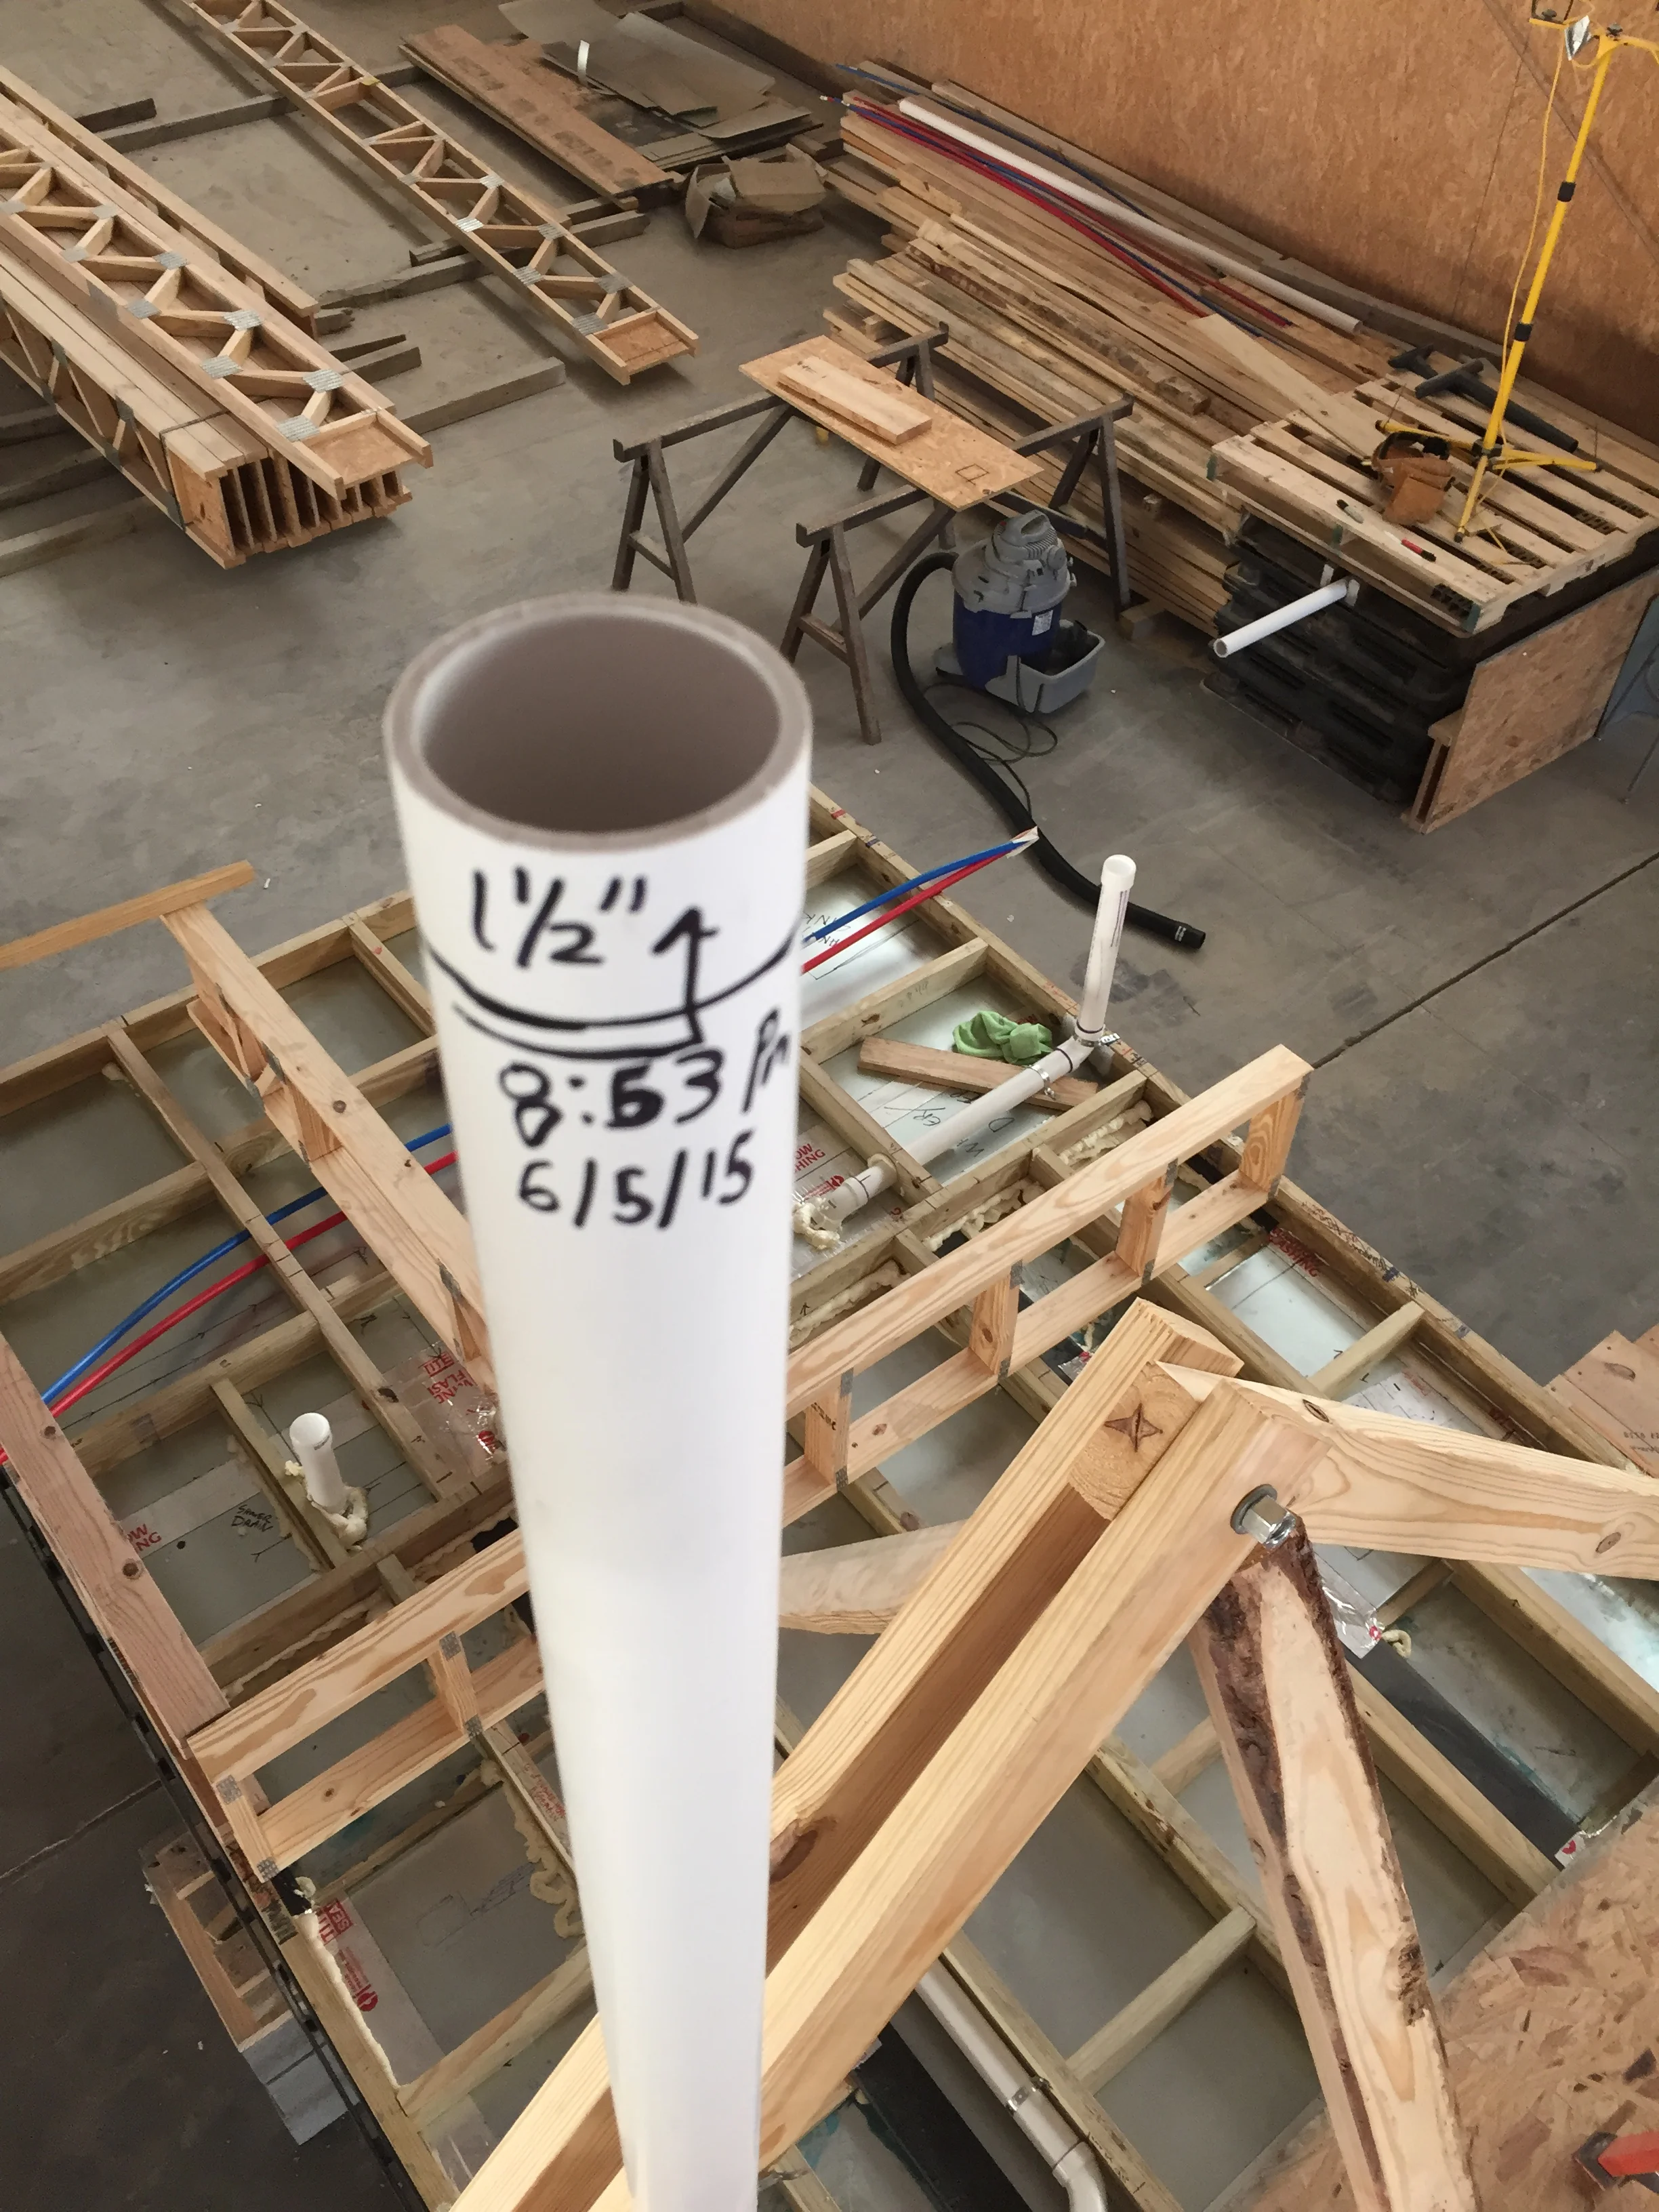
To do this, you install a 10' length of pipe at your highest most point (where all water will flow downward). You cap off all of your pipes and fill the whole system with water. The water will fill close to the brim of the 10' pipe because it can't escape. You draw a line where this is and you wait...for 24 hours... to see if the water falls below the initial mark. If it does, you have a leak somewhere which = no bueno. Thankfully, no leaks for us!
2. The spray foam insulation was sprayed to fill the entire subfloor.
- This is a pretty pricey insulation choice, but definitely worth it if you're going to be manning subzero conditions.
- Our buddies over at Black Warrior Insulation out of Tuscaloosa, AL (we'll forgive you - WDE) were seriously so friendly, accommodating, and flat out awesome. Be sure that you price shop spray foam. We found that this is something that some people really try to (for lack of better words) screw you on.


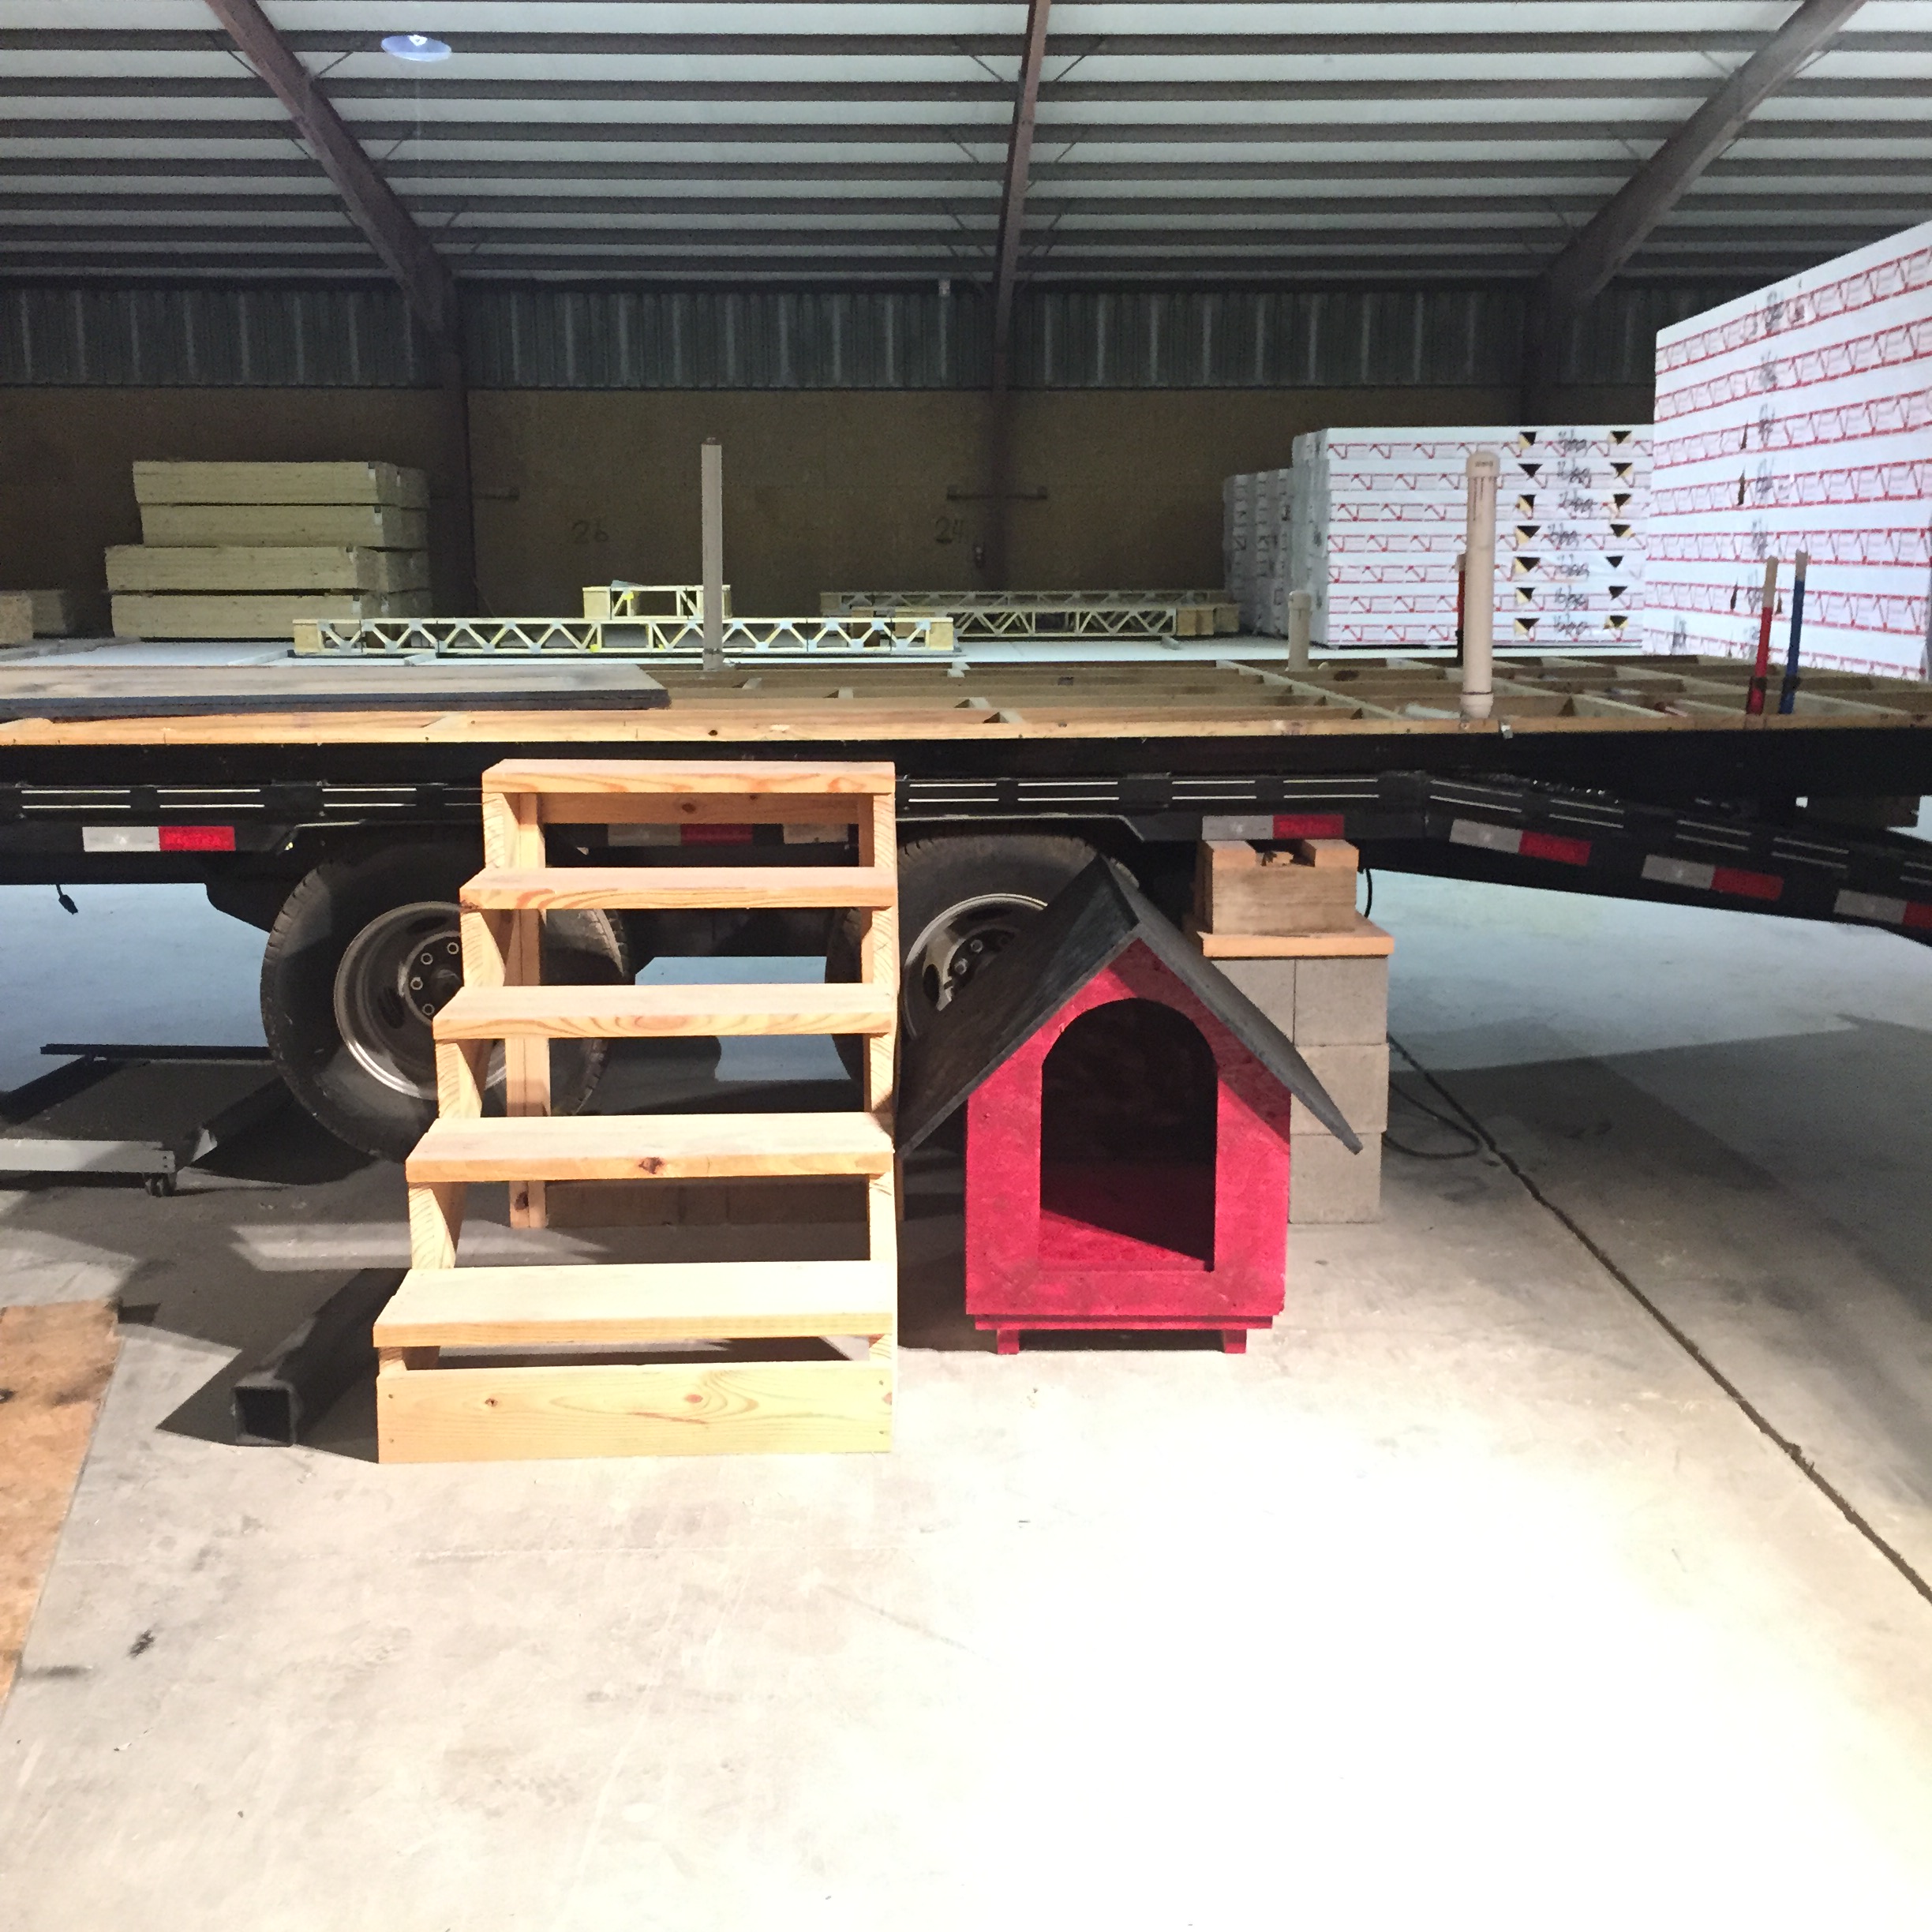
3. Floor sheathing was cut, laid, and a cajillion screws were used to hold it down.
- Seriously, we screwed screws every 6 inches around the perimeter for the sheathing and every 12 inches "in the field" or "in the center of the house".
- If you think about it, a traditional 4x8 sheet of plywood will not fit horizontally on the trailer (because the house is just a few inches wider than 8'). In this case, we cut and staggered the plywood.

Oh and... Brian took a little bit of time to build Harper a tiny dog house so she can hang out with us and not get too hot (there's a door to the left of the trailer where she likes to hang outside) :).
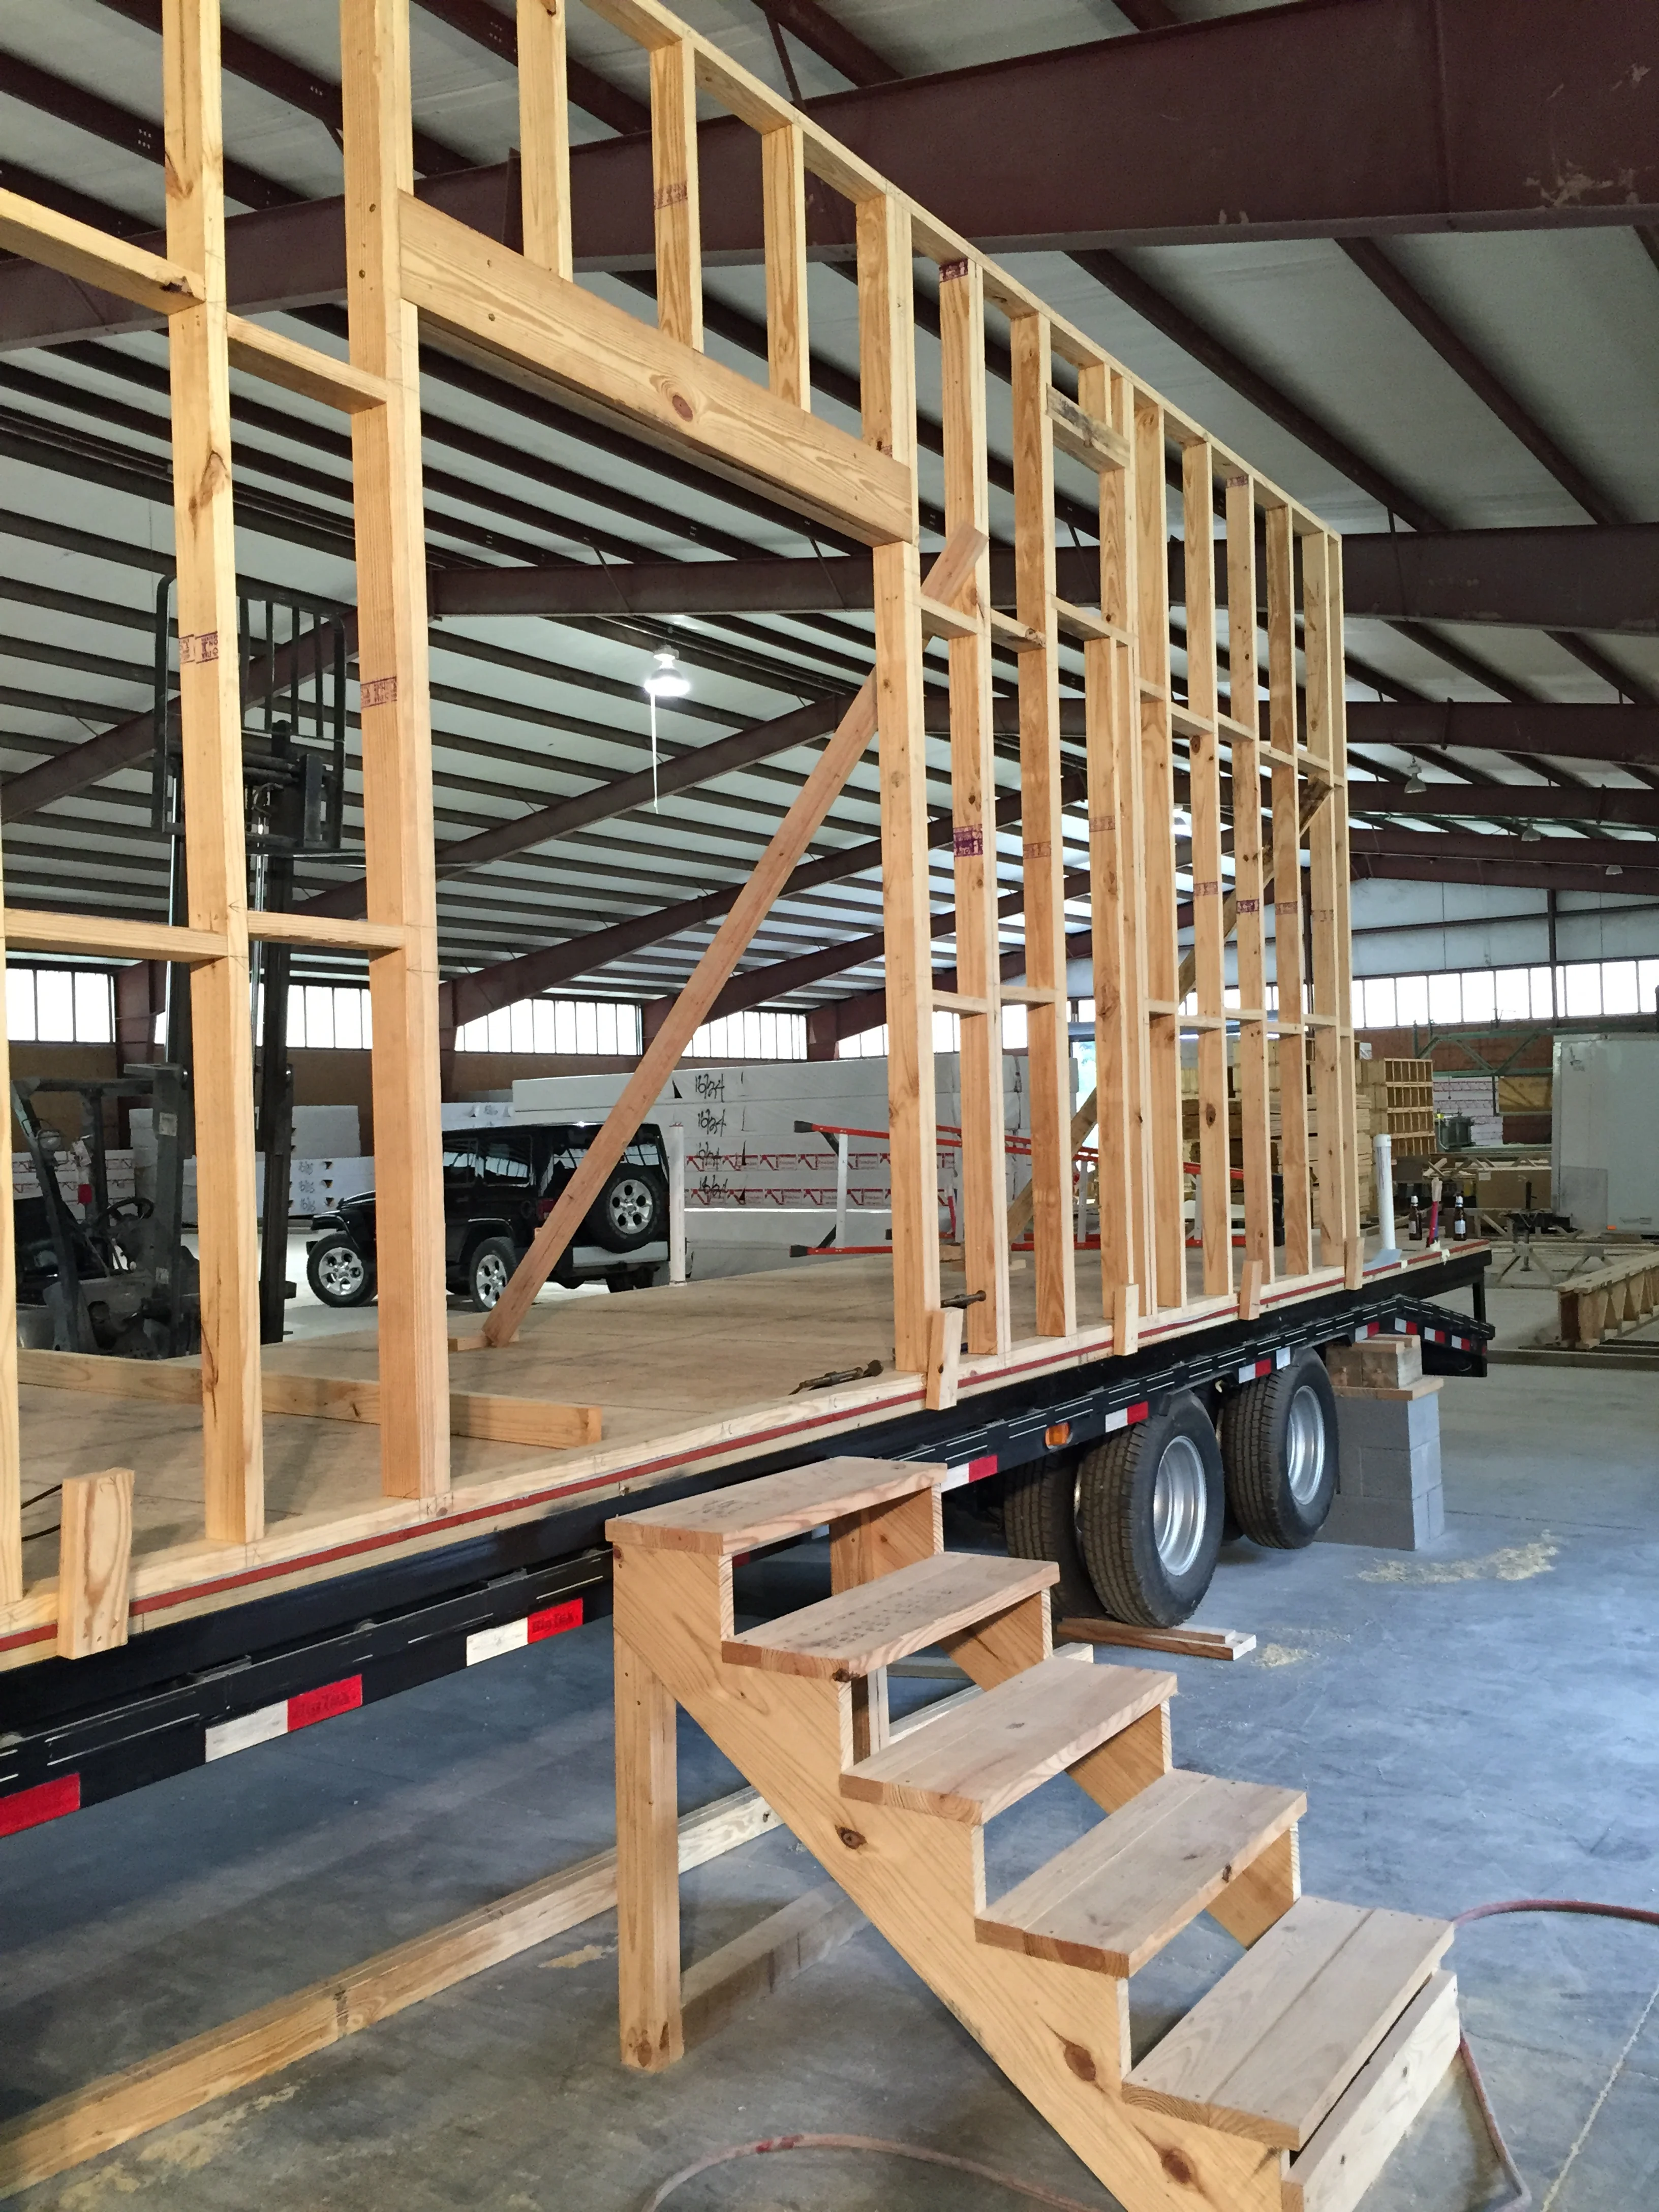
...And finally.... wall construction began!
Not to fool you - wall construction is a beast in itself. You have to think about door sizes, window sizes, rough door sizes, rough window sizes, threshold allowances for doors that swing outward vs. inward, sliding vs. awning vs. fixed vs. casement windows...and on and on! But, this time finally came and we were excited.
We went down to visit our buddy Jack at New Home Building and he gave us great information. Highly suggested: If you have a local building supply store... those guys know a ton and will probably be very interested and accommodating with your build. Go visit them. Their help has be invaluable to us!
After we came home, we sat down and opened up our 3D Revit Model. Which, by the way... Here's the latest!


Note: Materials and finishes haven't been totally decided on yet, so we will update our model/renderings as we pick those out.
We used the model to lay out all of our windows and thus pull all of the dimensions needed to frame out the rough openings in the wall. Here's an example:


We then took these dimensions out to the field and away we went with framing! We started framing the wall with the front door first:

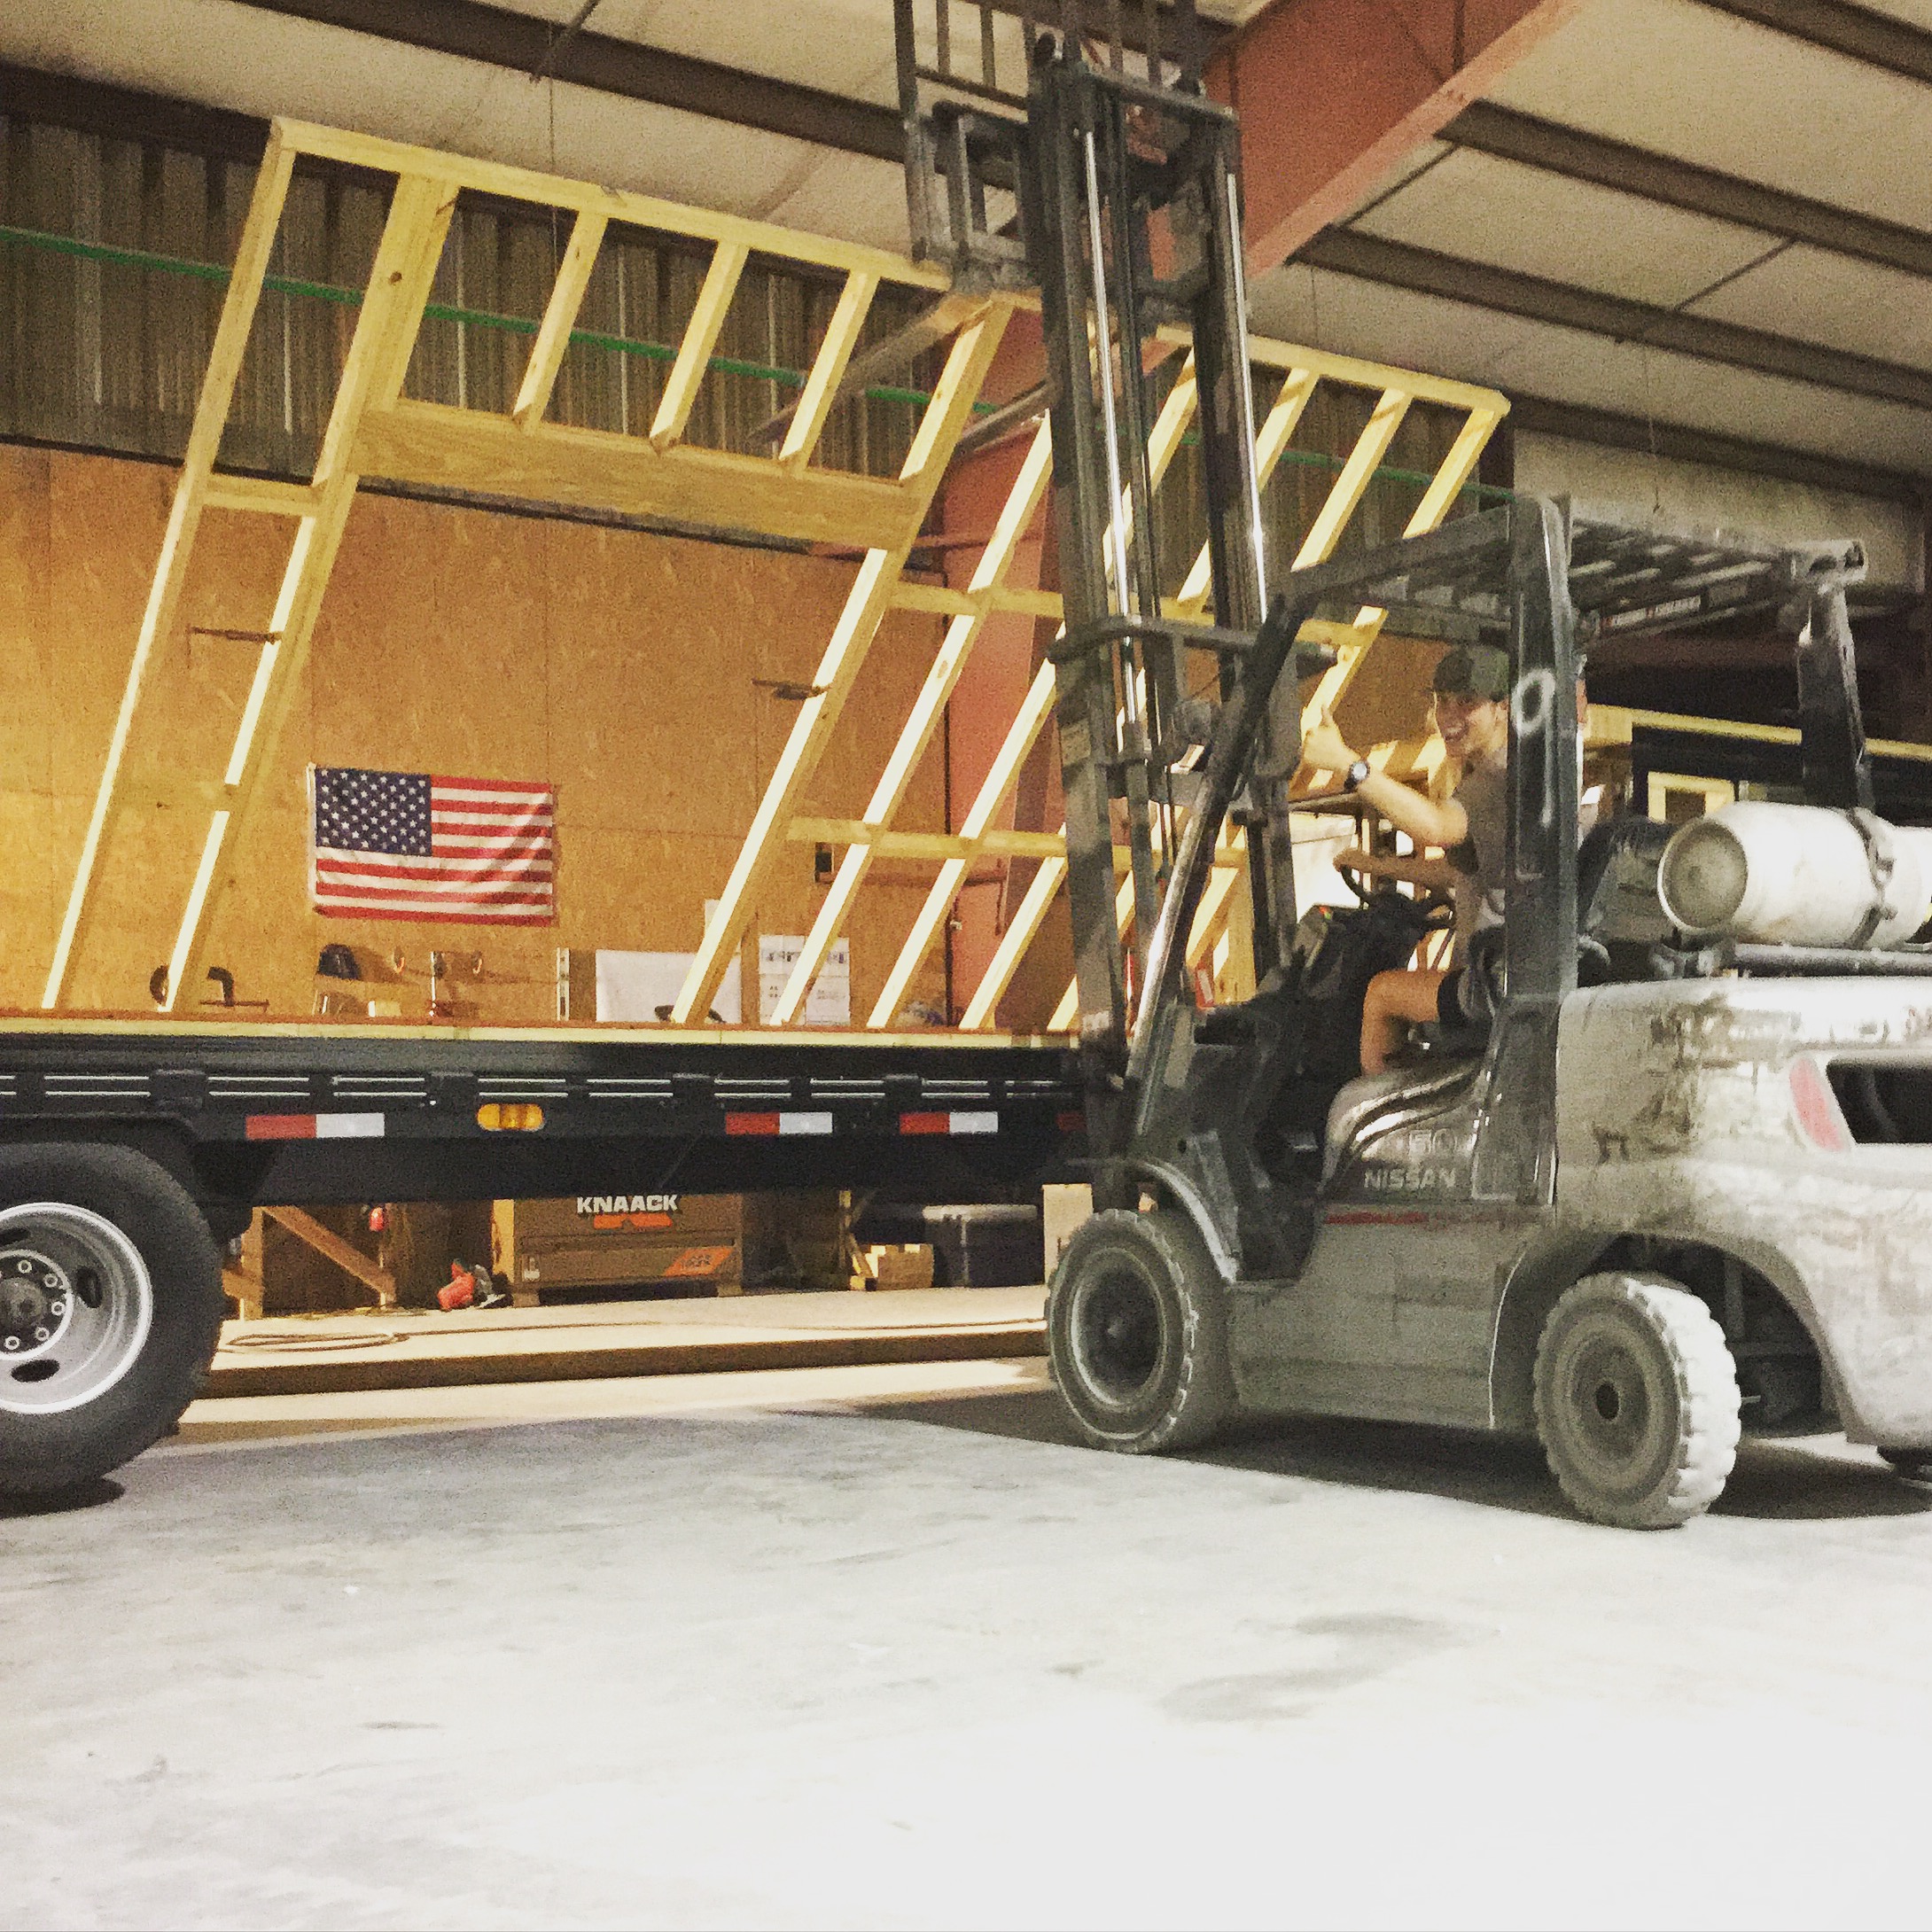
This was the moment that I was speaking of in the beginning... fun, funny, and rewarding. This was when Brian held up this wall (MUCH HEAVIER THAN IT APPEARS) by himself and I jumped down and learned how to operate a forklift while he was shouting commands. Not entirely safe, but it got the job done :).
And here she is, the first wall stood, in all of her glory + one handsome, hardworking husband! You Tiny Housers know that this seems to be such a small feat, but in reality, it's such a large one!

Over the course of this next week, we hope to have the entire house framed out. We have raised a few more walls on the front side and will move to the back side, and then each side of the house.
Tips & TRICKS!
- PURCHASE A NAIL GUN. I put this in all caps because you don't know how many times we've said, "how in the world could we have done this without a nail gun"? End of story. Brian found an incredible deal on Amazon for 4-set Freeman Framing & Finishing Combo Set.
- Think, a lot, before you start framing. I think this is a what makes a tiny house move smoother throughout, but especially with framing. You must think about 30 steps down the road to not make mistakes initially. I know it sounds cliché, but very true.
- After determining the height of the walls, batch cut all common studs to length.